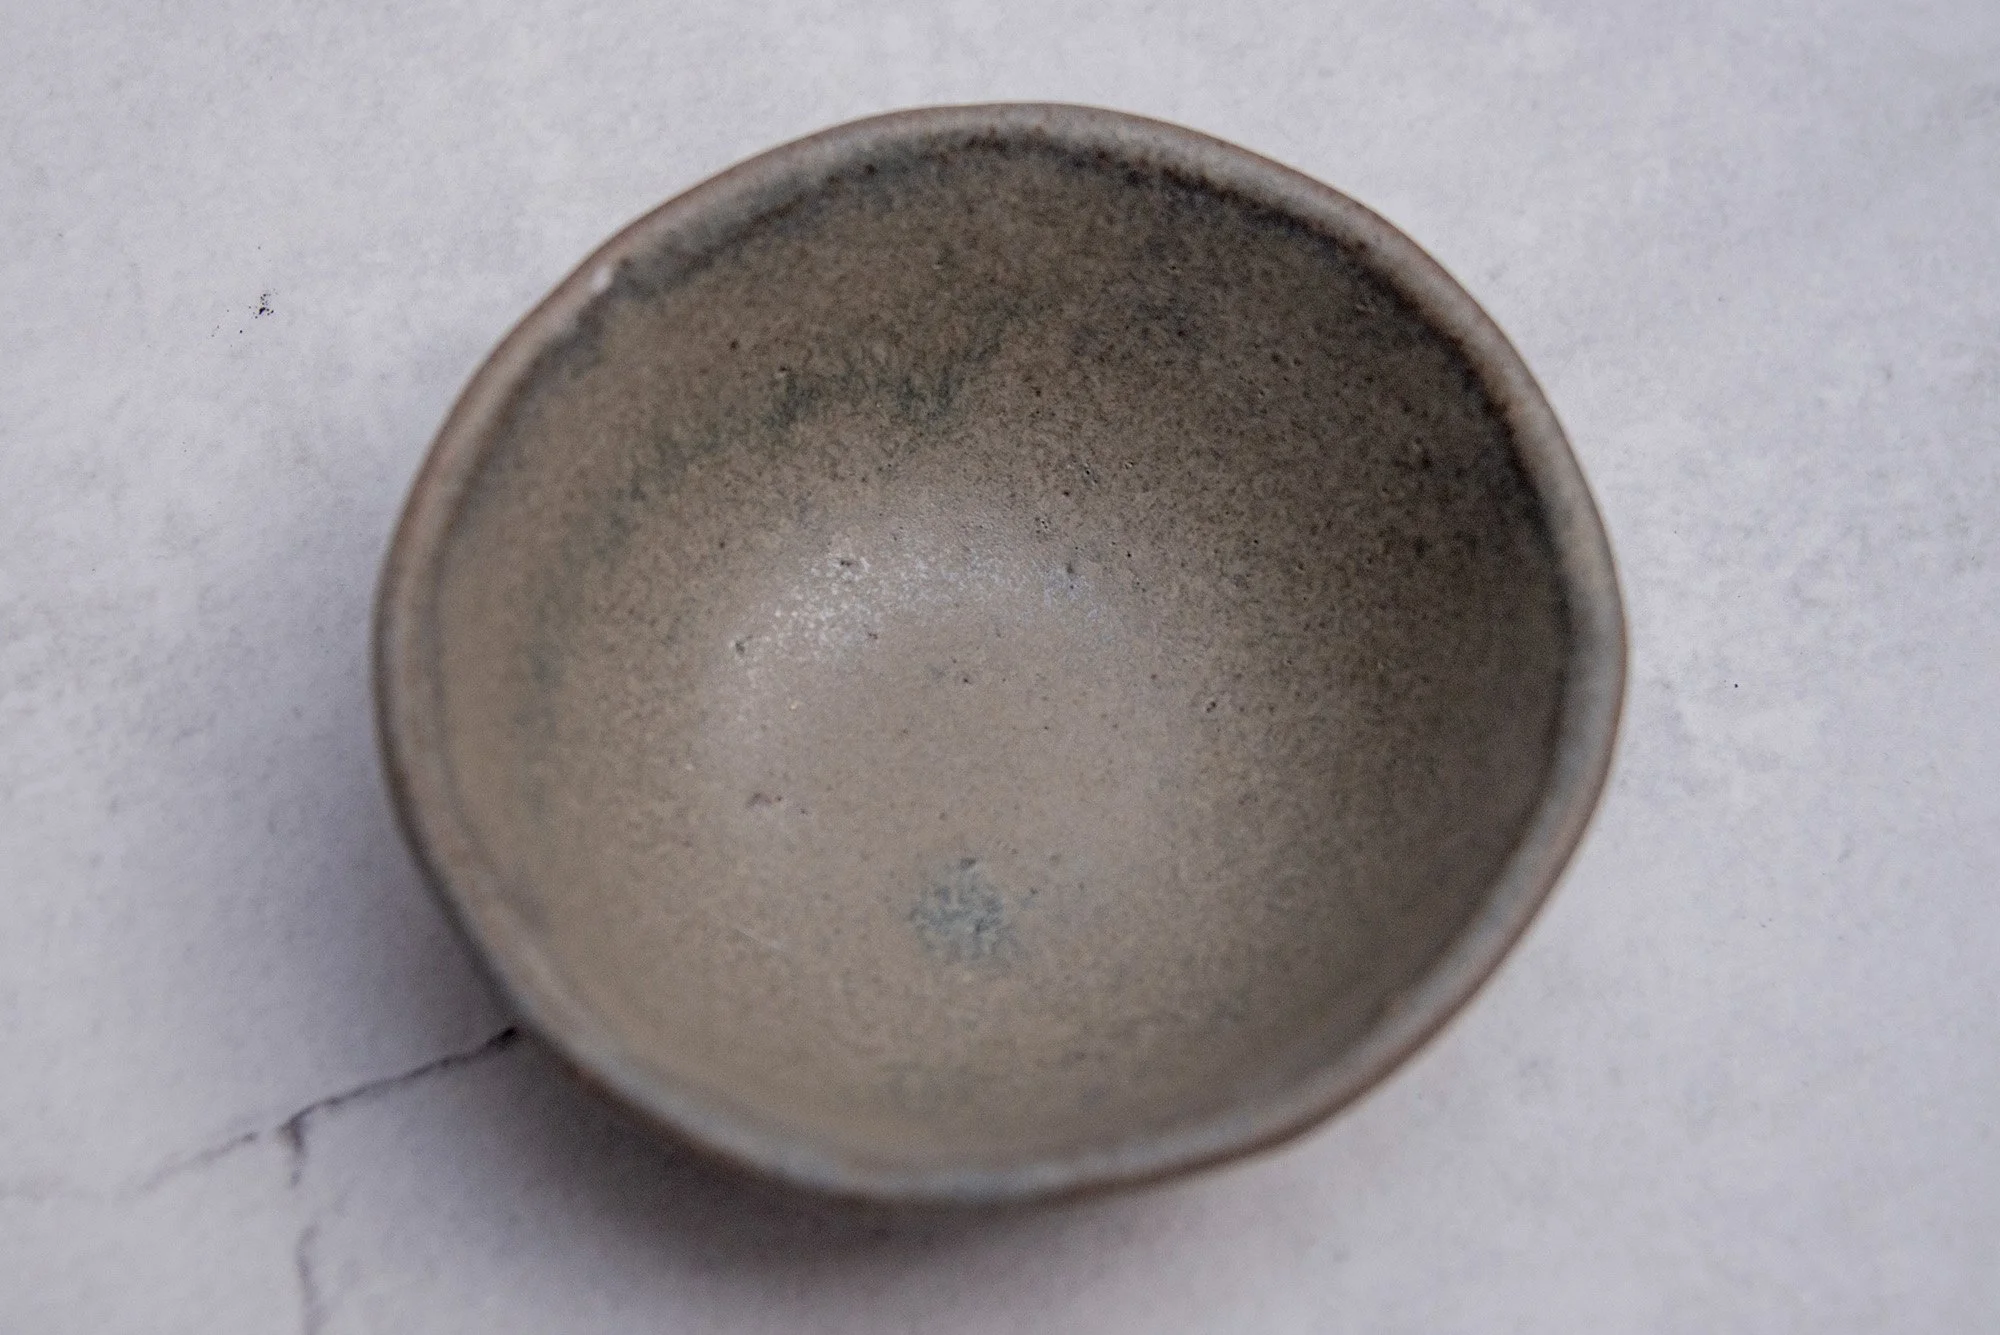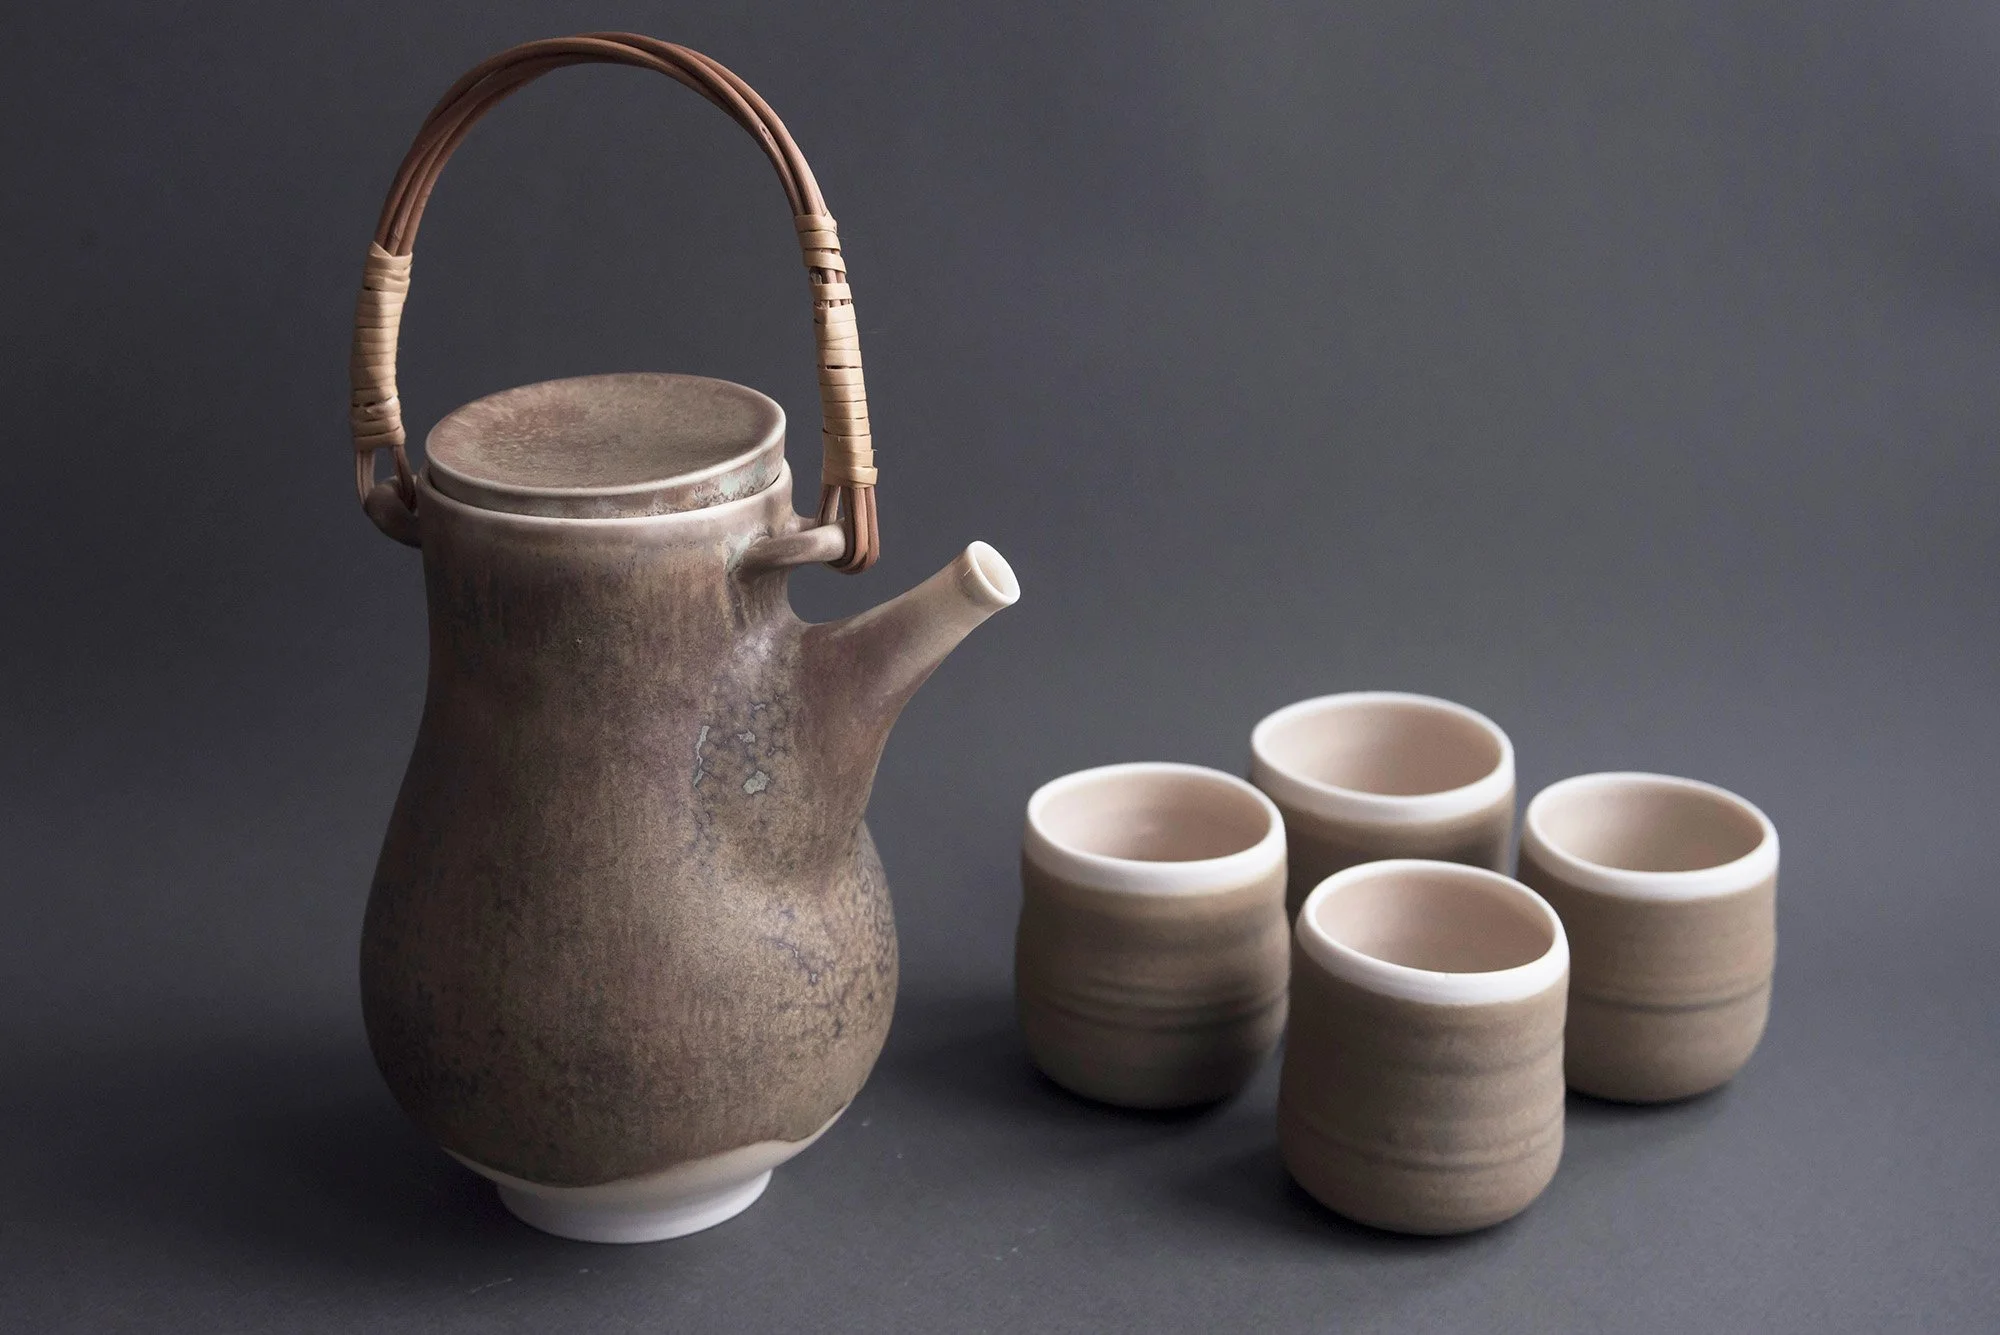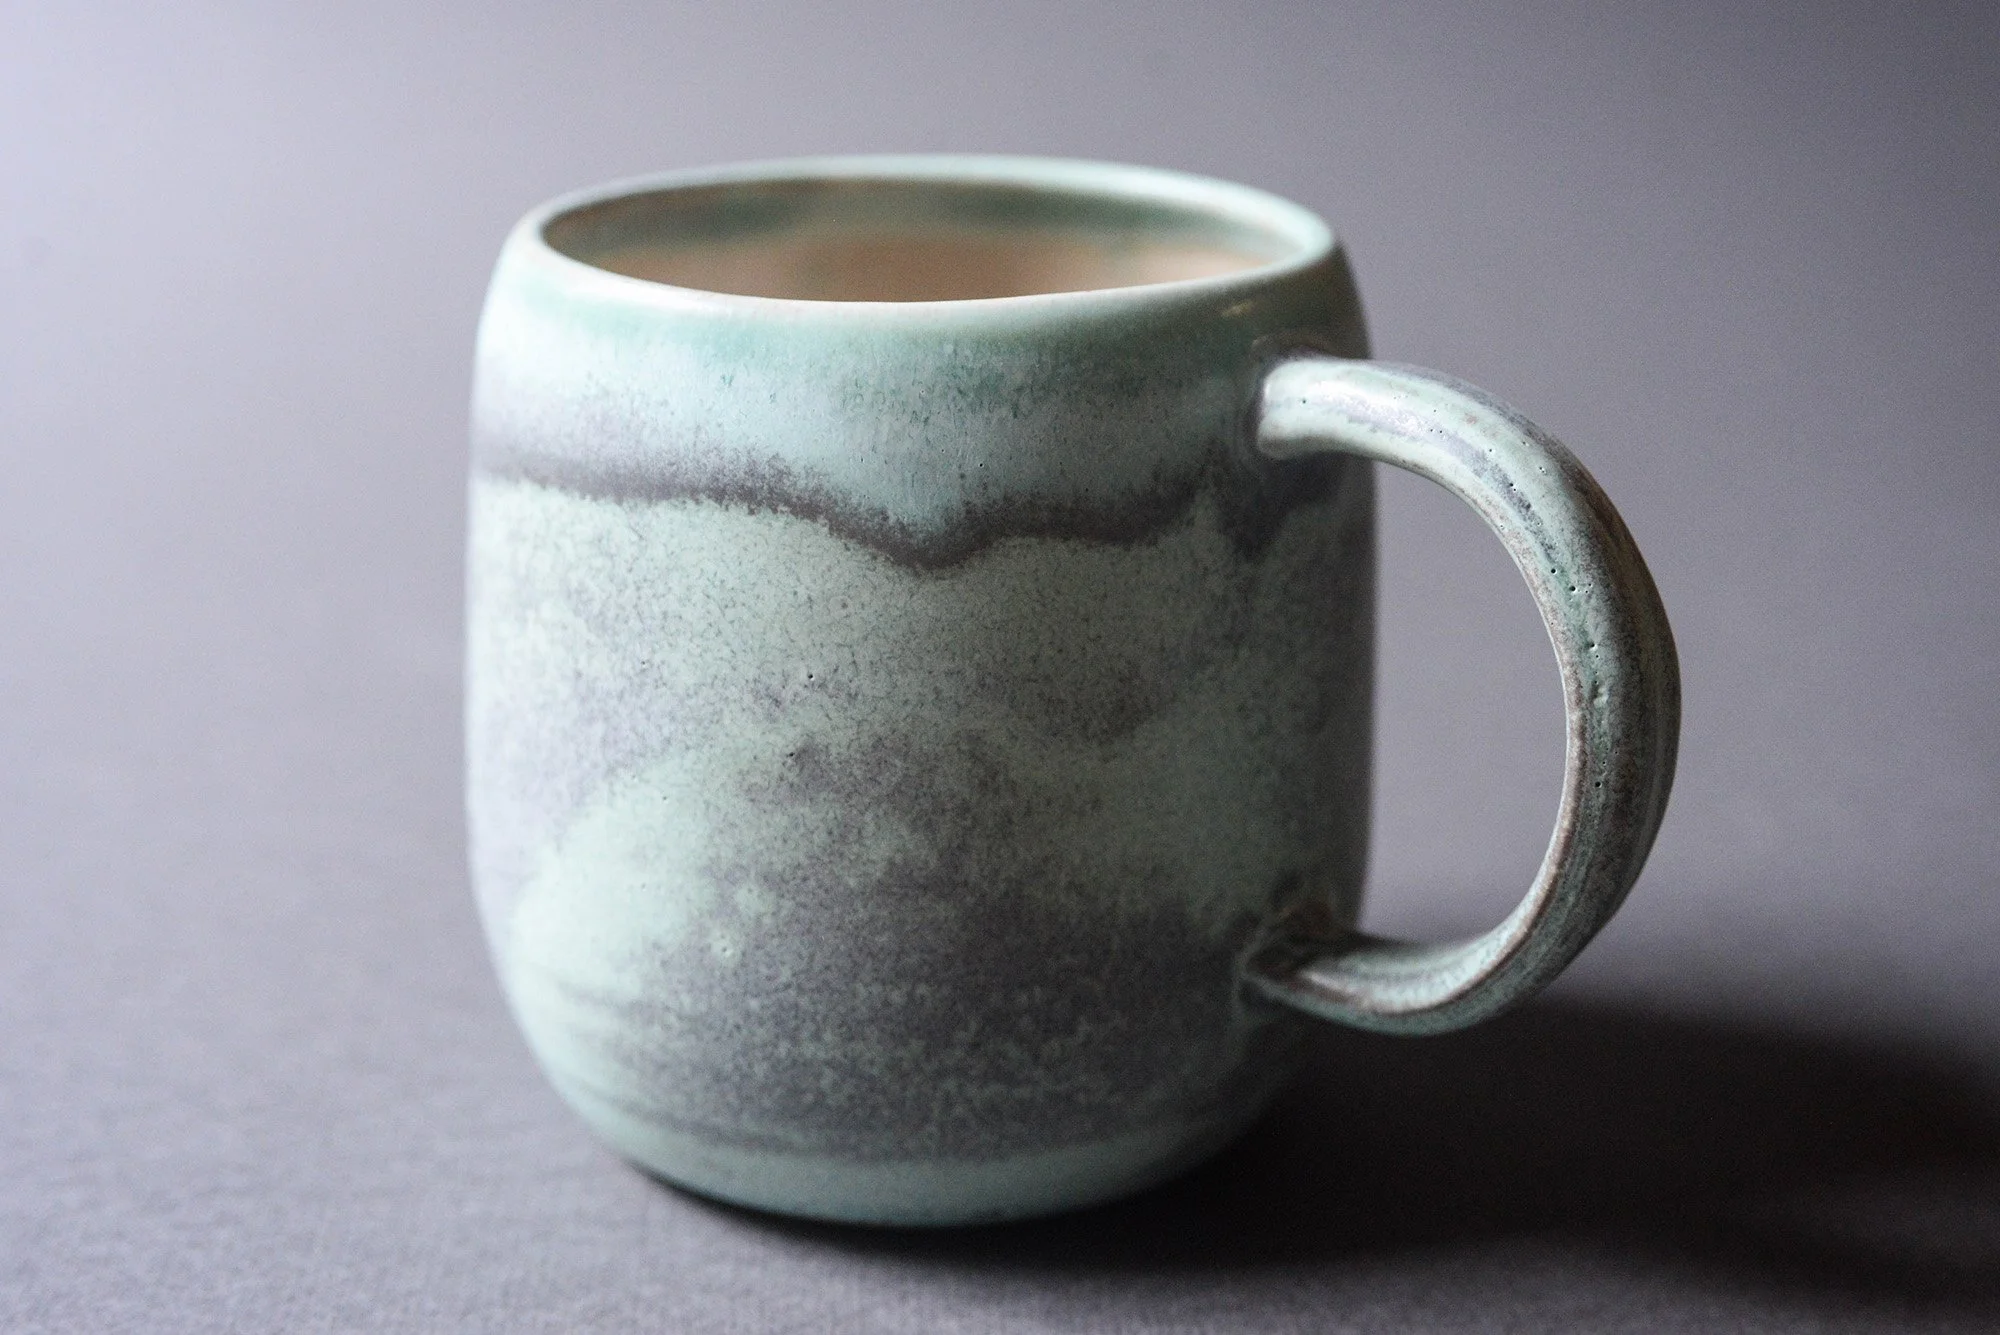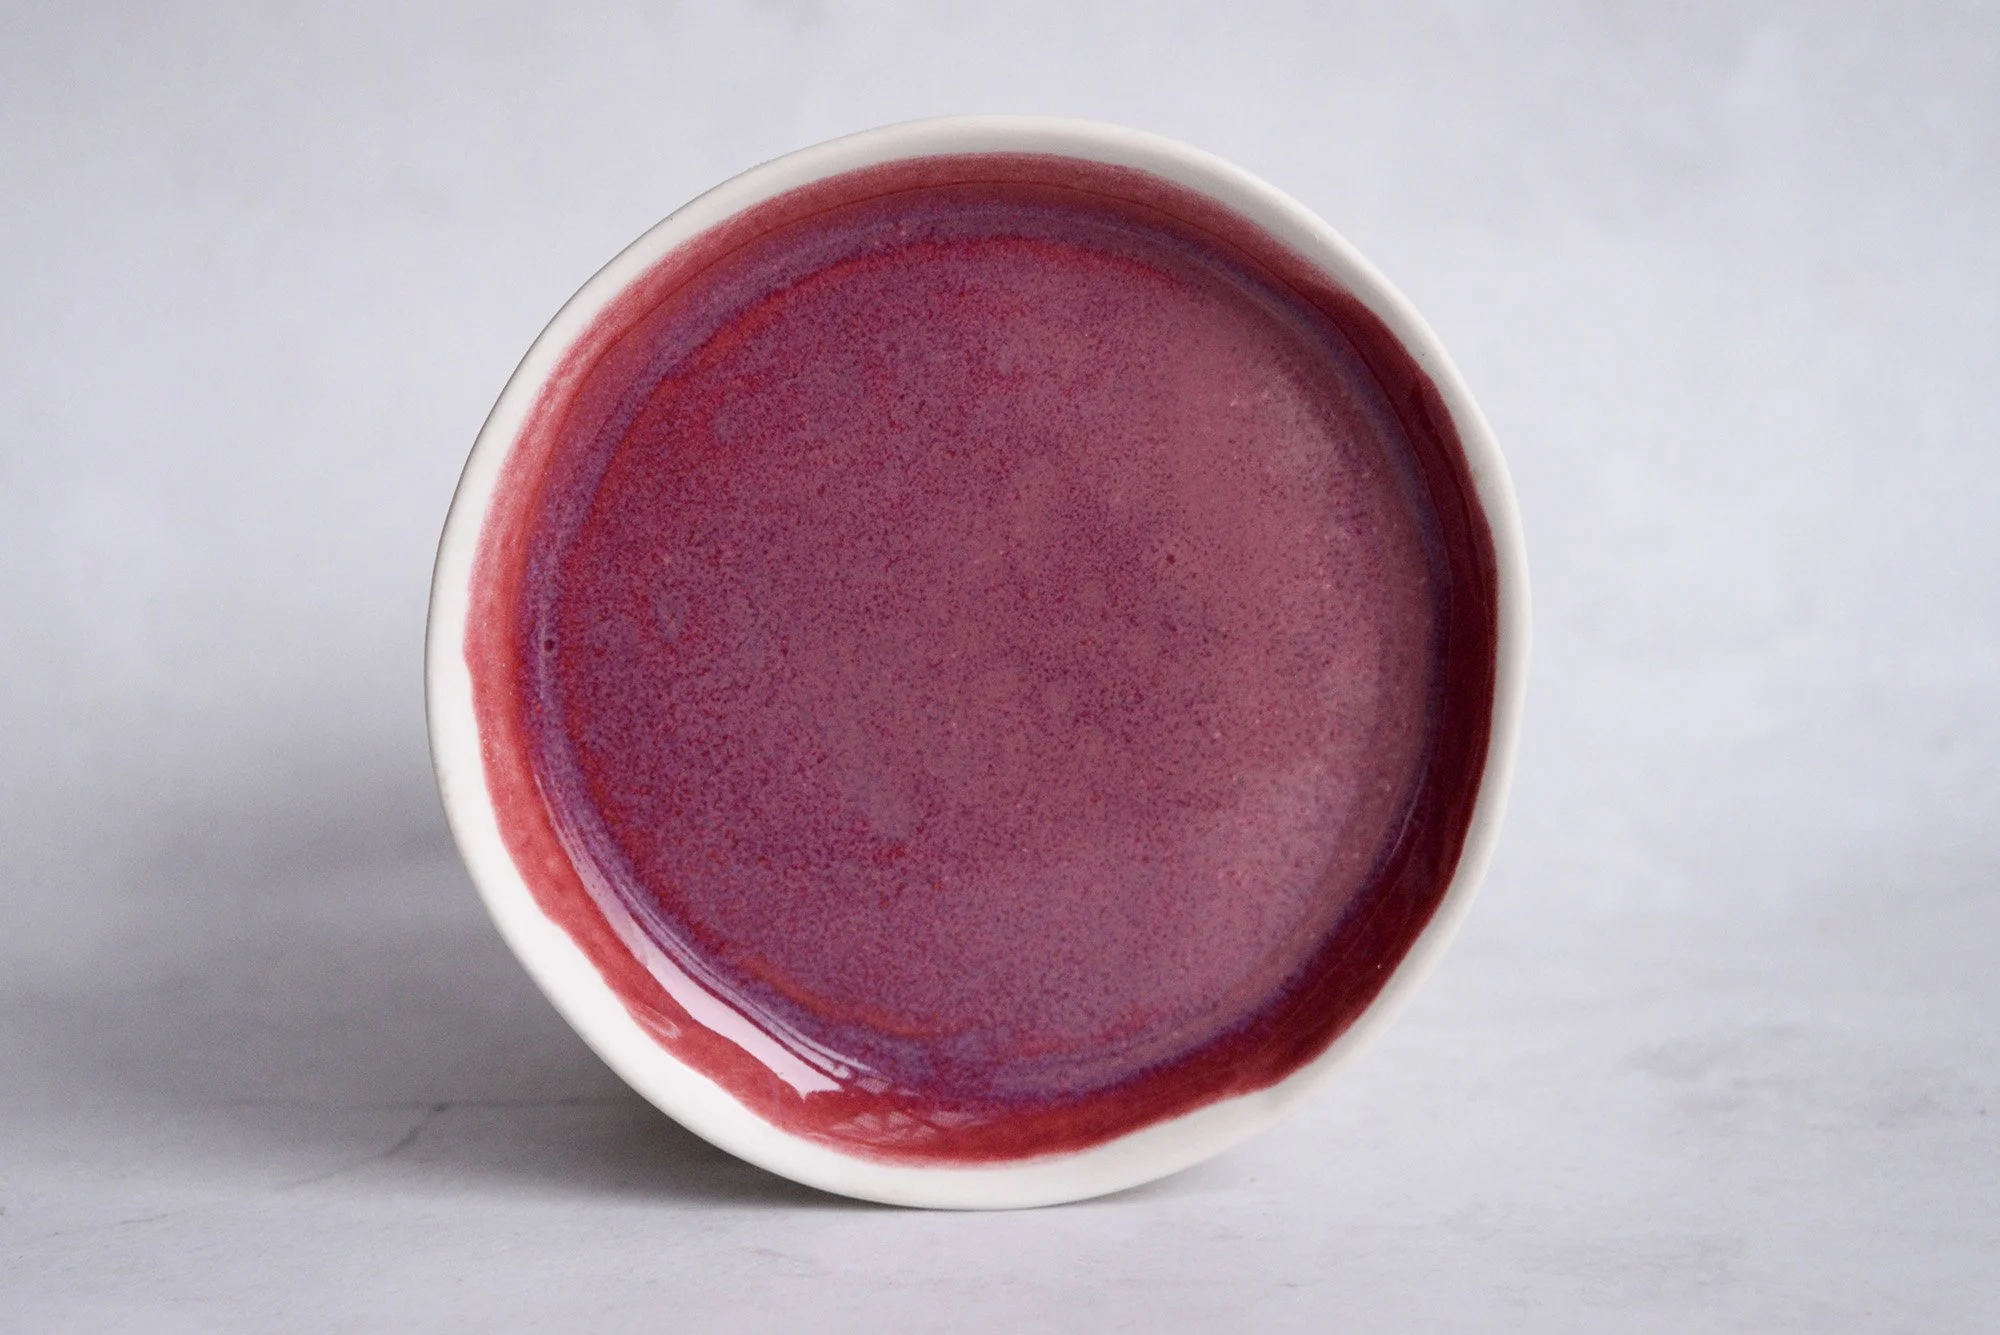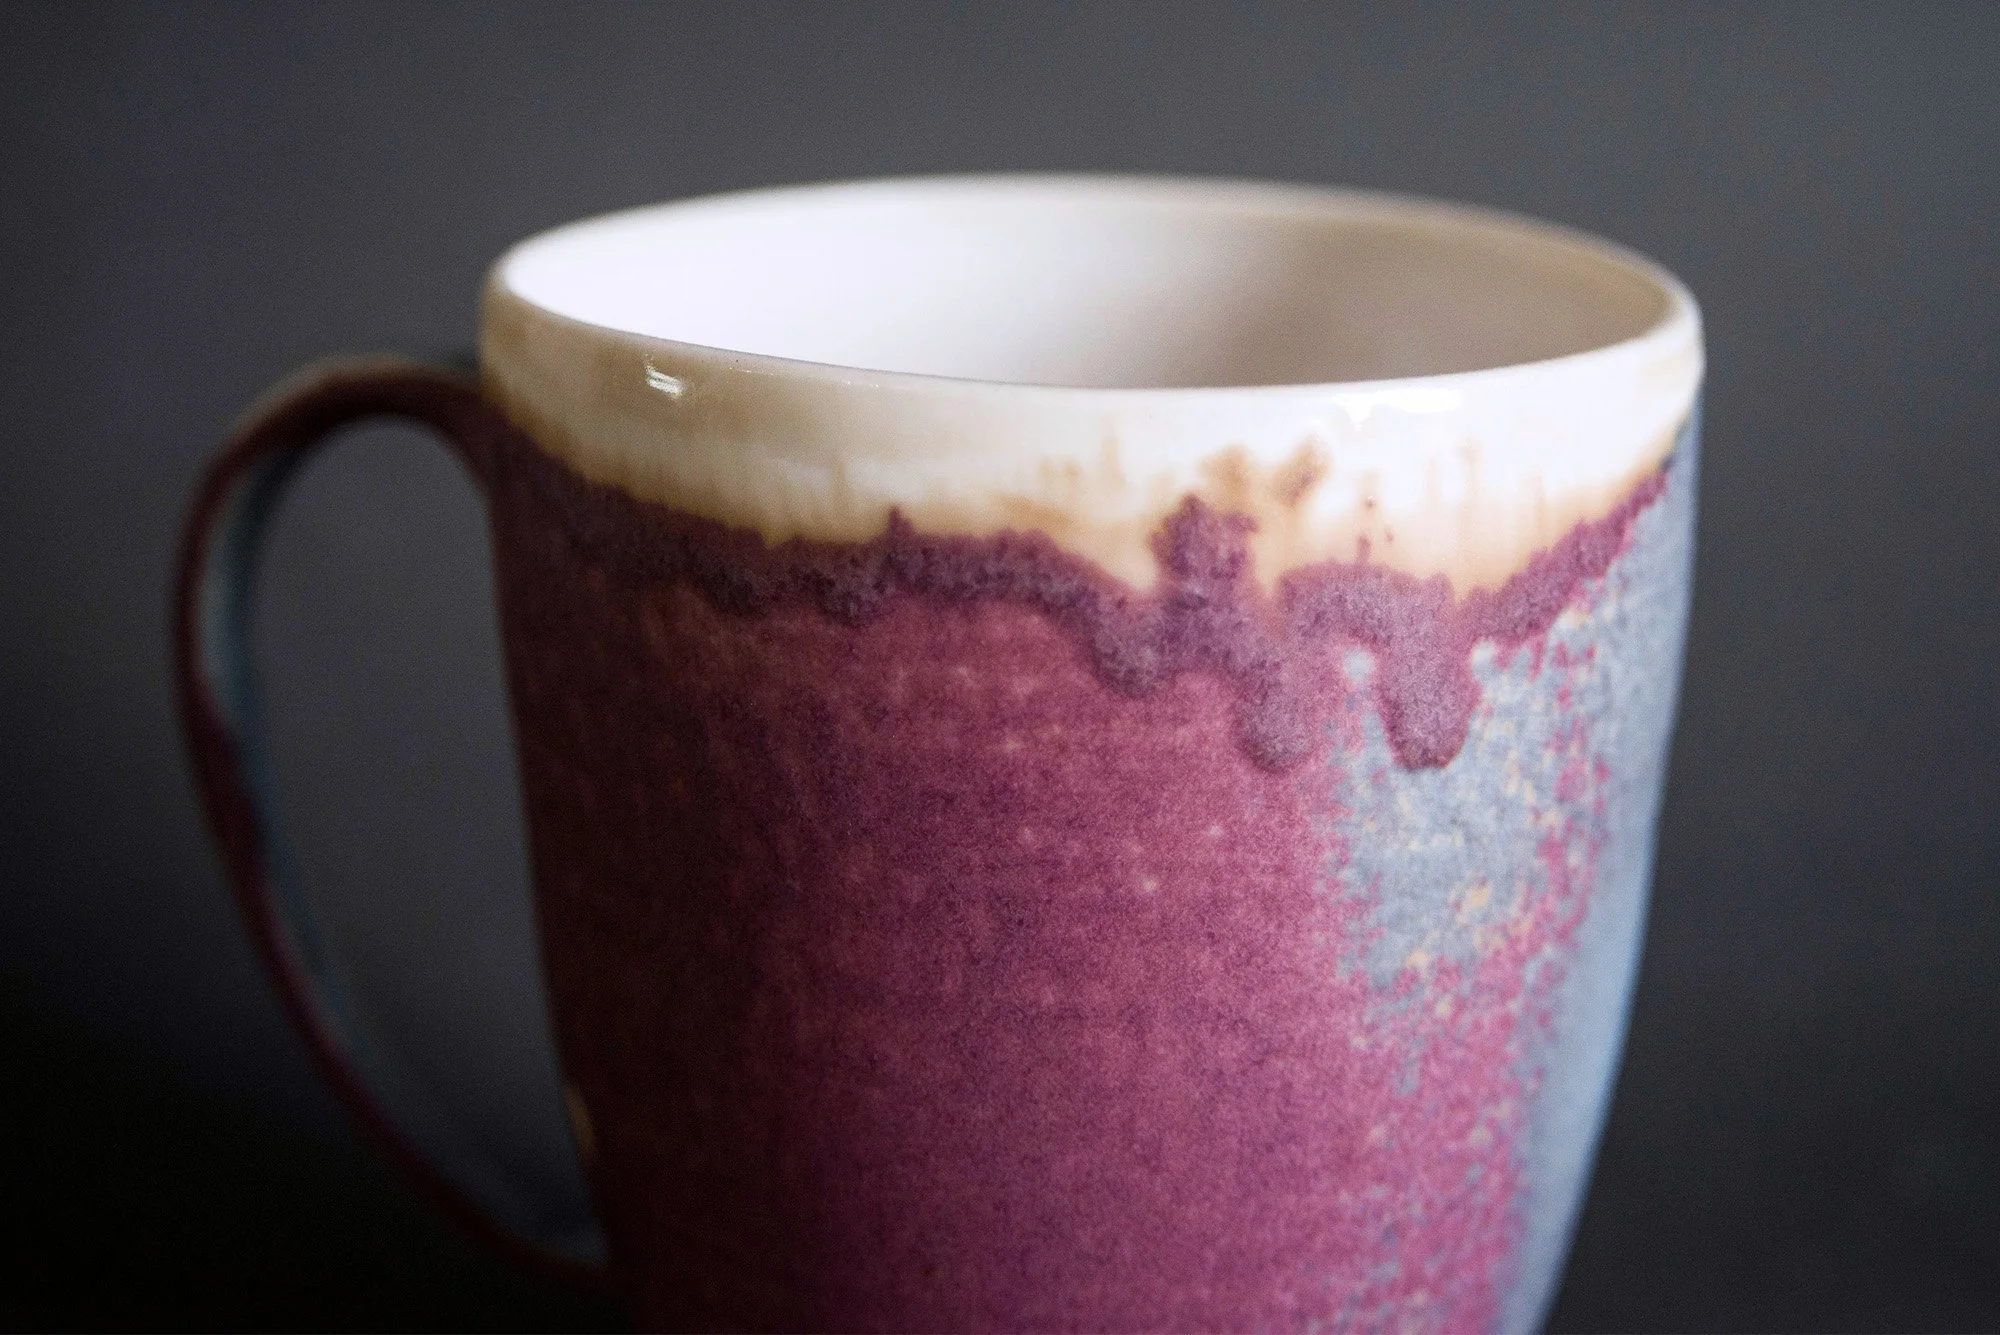
GLAZE RECIPE DIGITAL DOWNLOAD
We share the fruit of 12 years of glaze research - more than 45 tried-and-true glaze recipes — our studio FAVOURITES.
Watch FREE GLAZE MIXING VIDEO
Join our GLAZE INTRO ONLINE COURSE
EBOOKS are self-paced and guidance is available through the online lessons and in-person events.
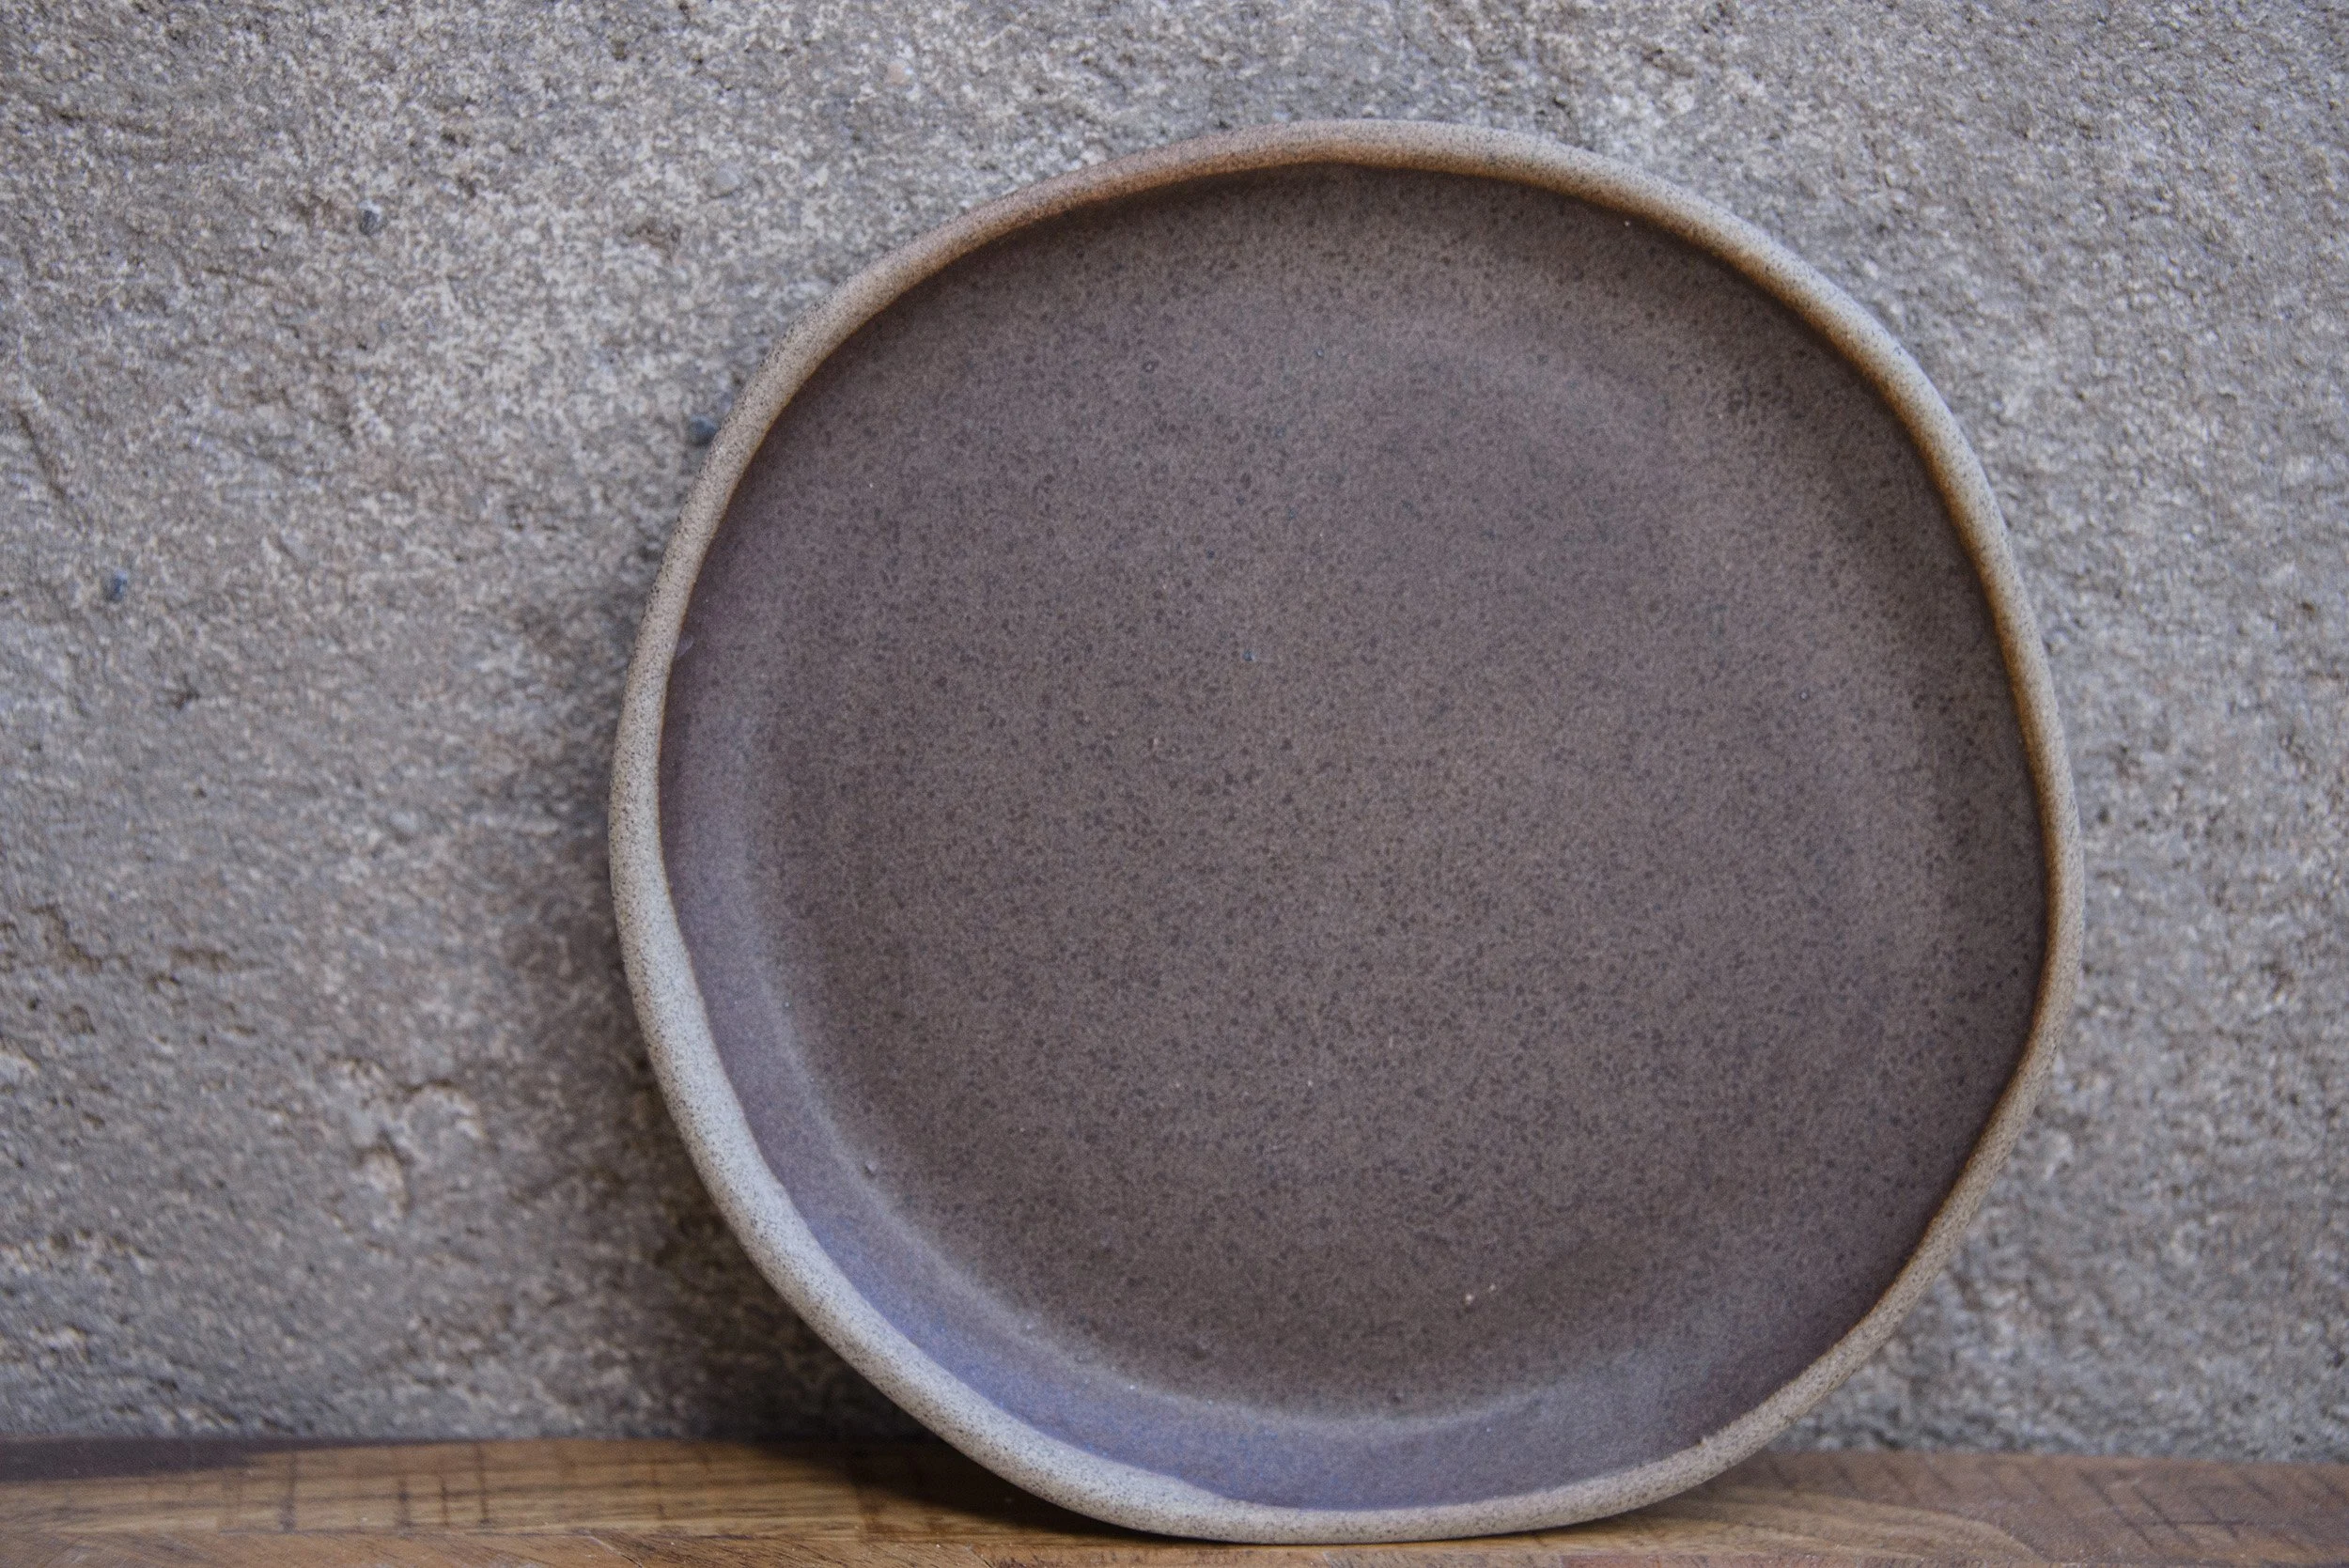
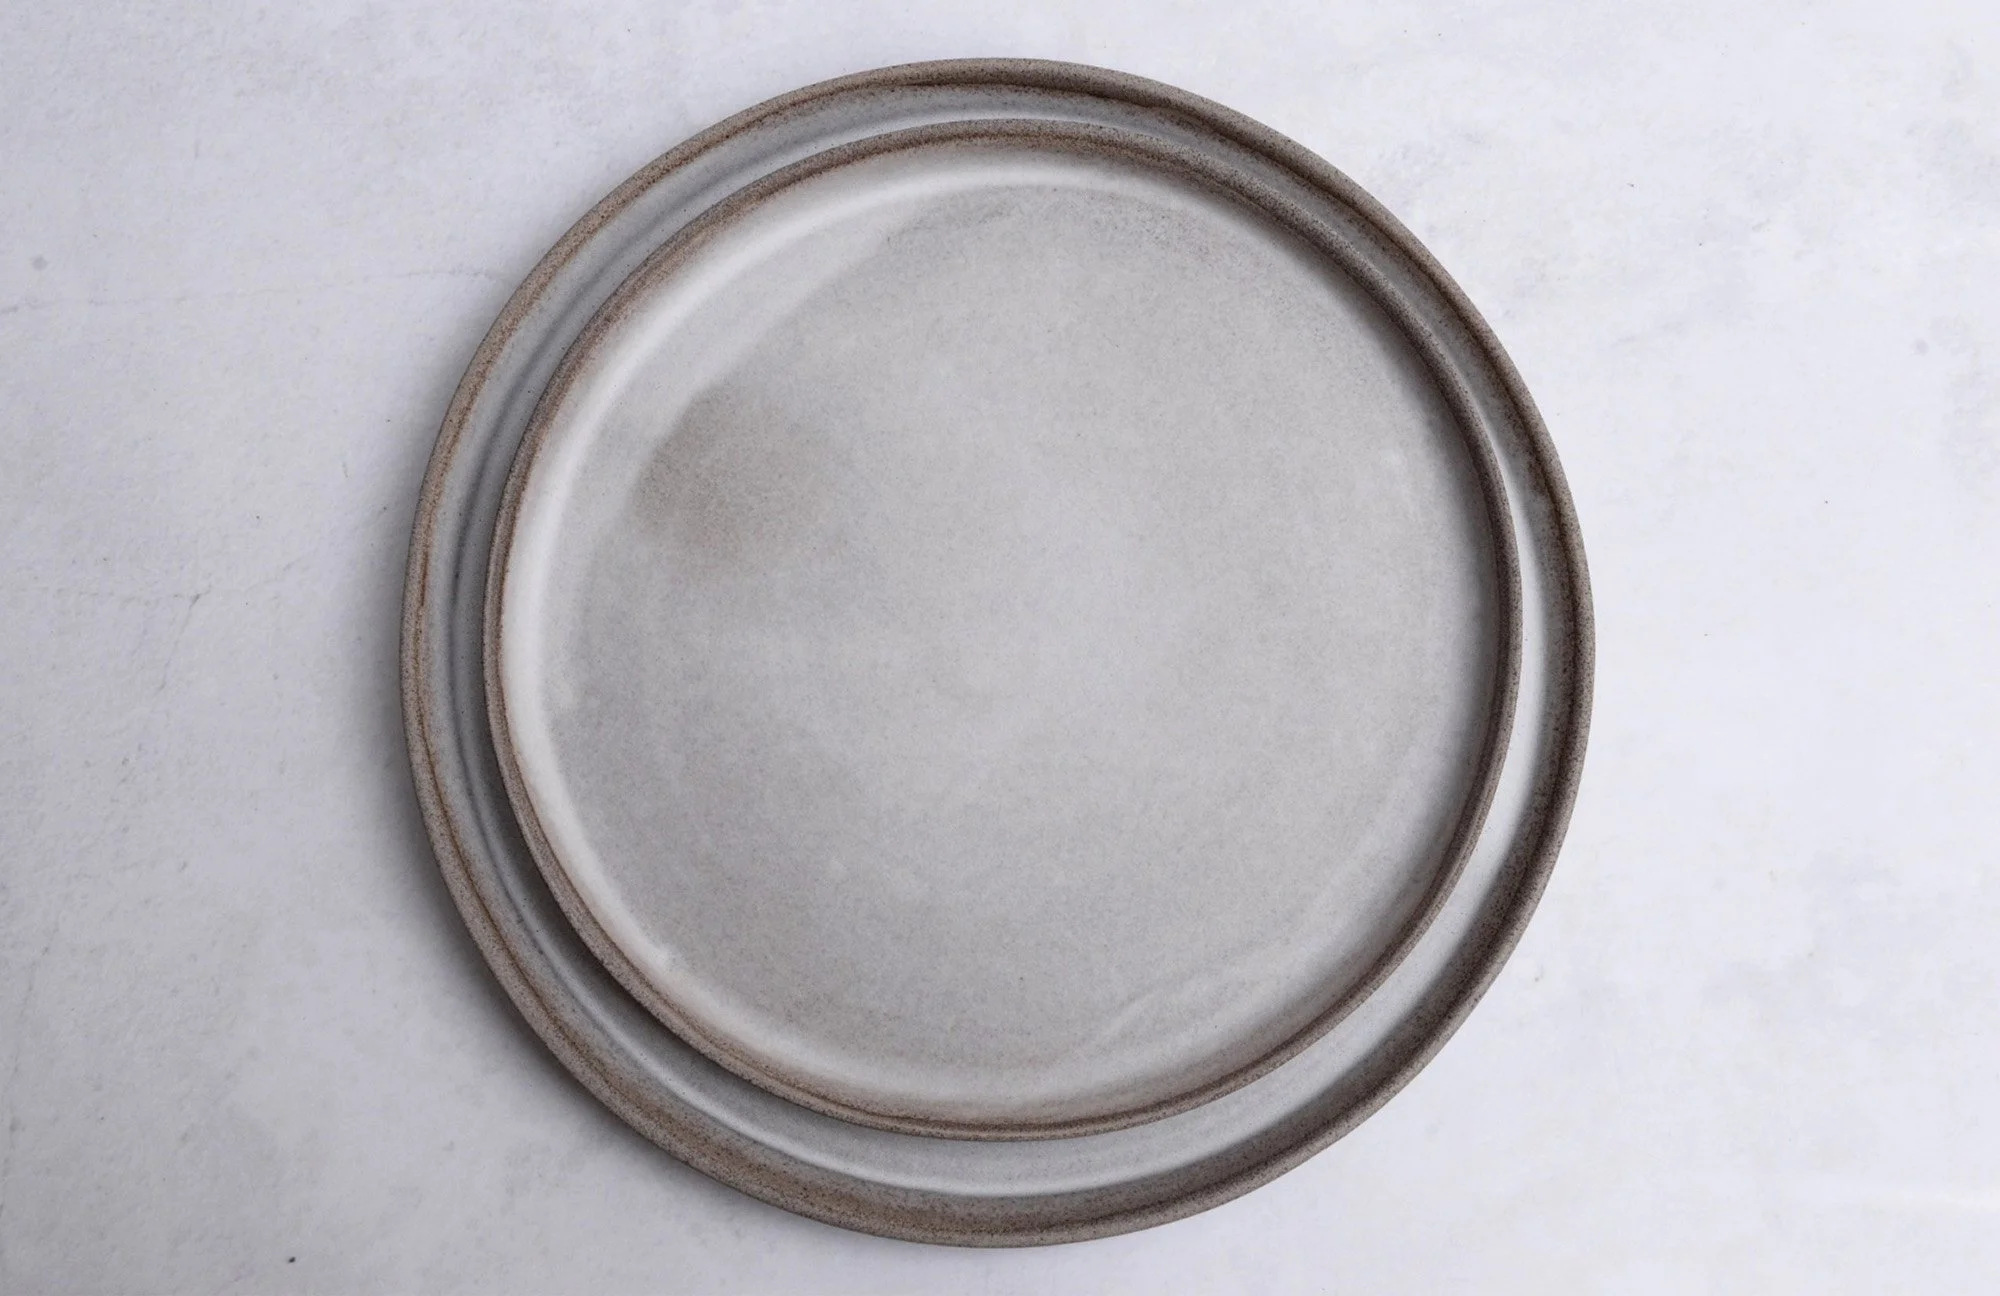
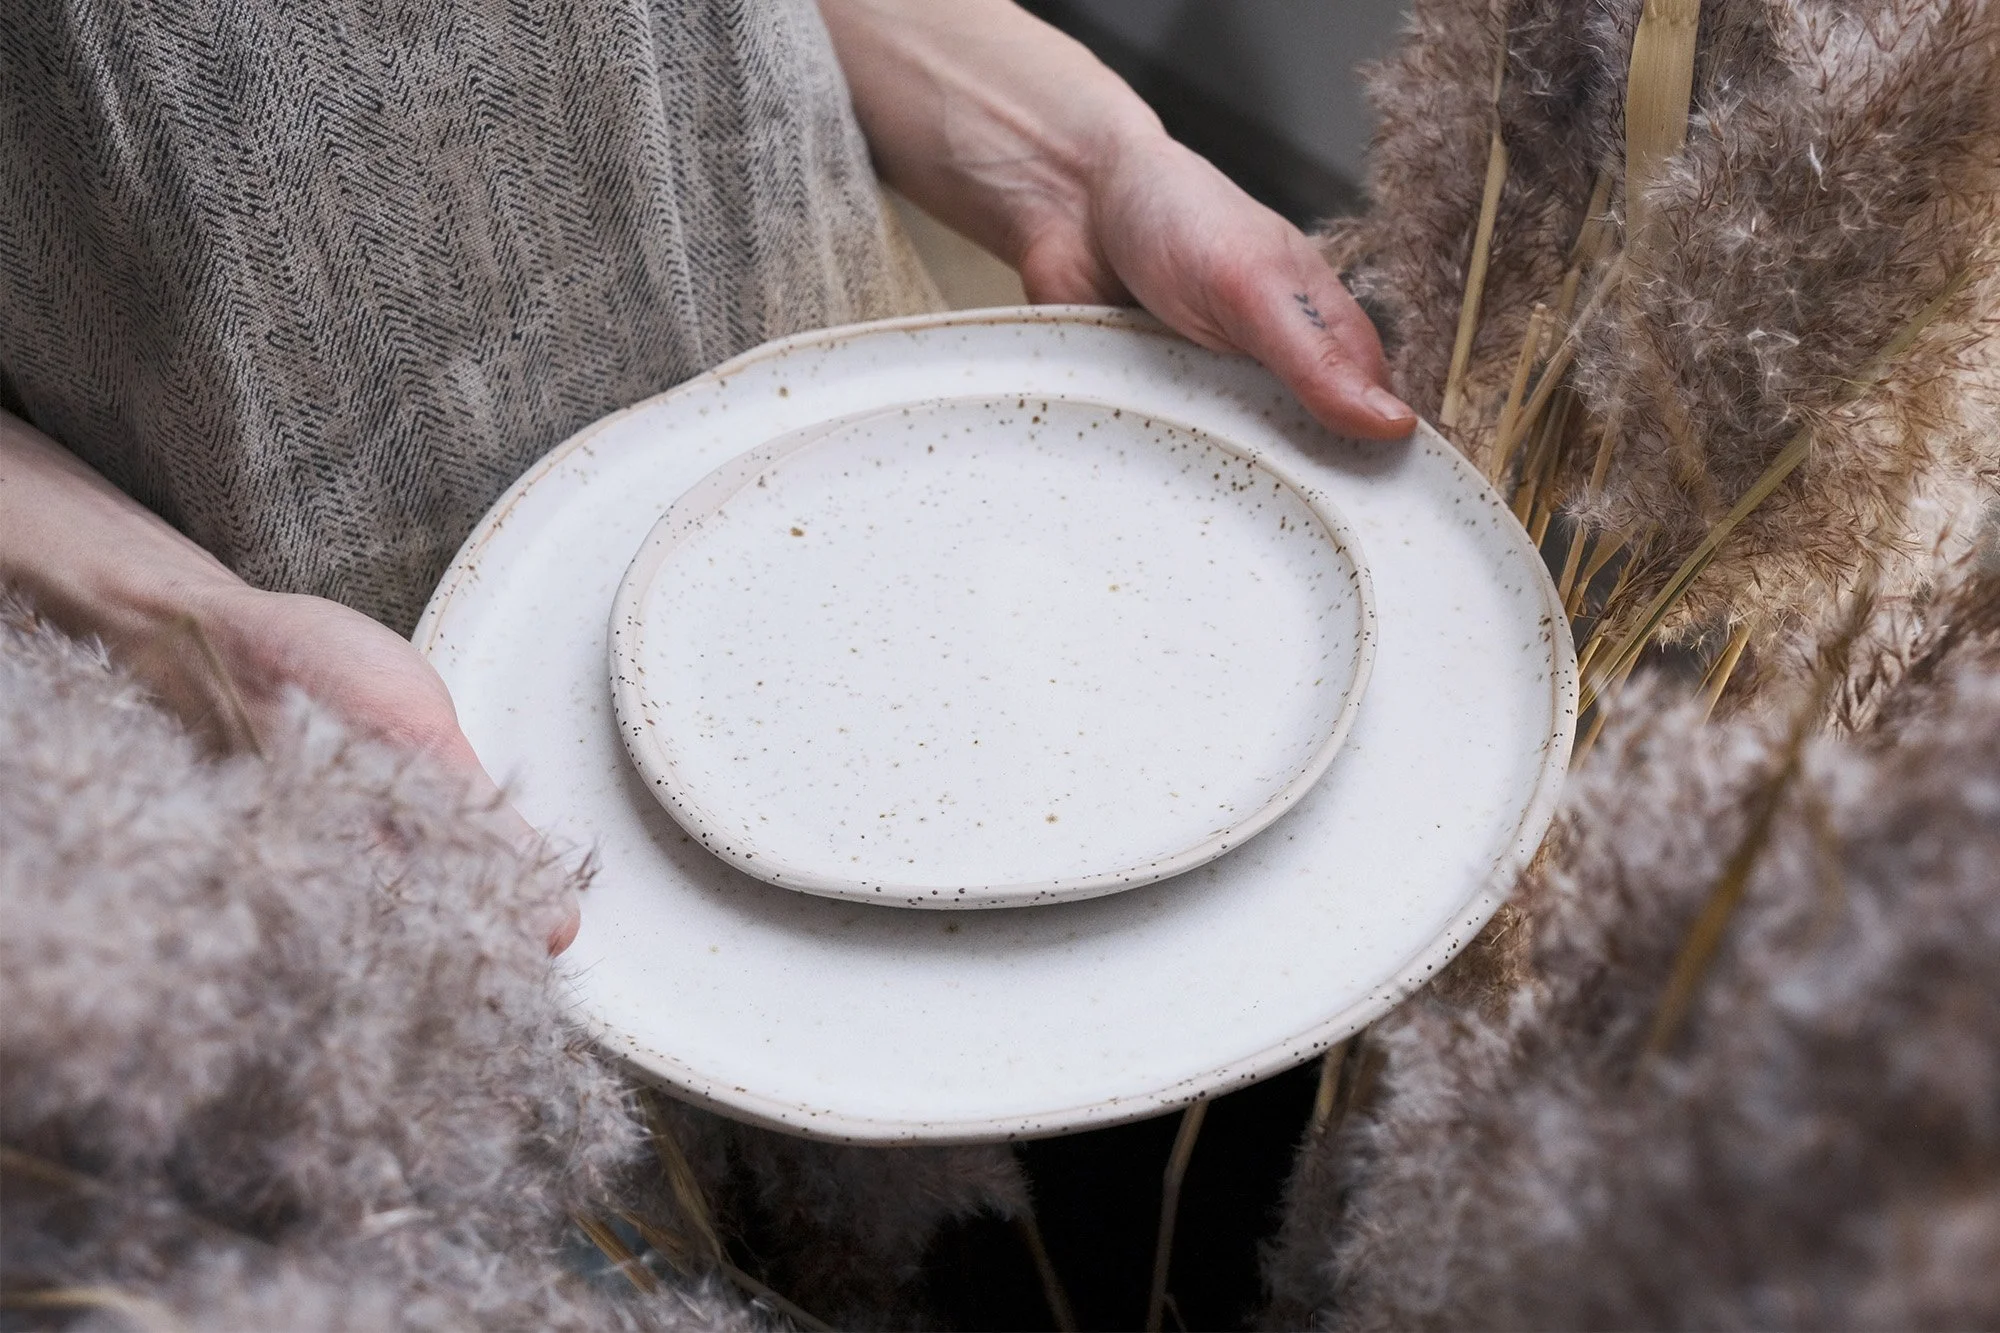
All glazes are tested at our studio at 1260°C (≈2300°F).
After purchase, you’ll receive an email with a private download link to your glaze guide. The PDF includes the full recipe, recommended firing schedule, and additional notes to help you recreate the results.
Frequently Asked Questions
-
The honest answer is — it depends.
But there is a reliable starting point.STARTING RATIO
A good baseline is 1:1 (water : glaze powder) by weight.
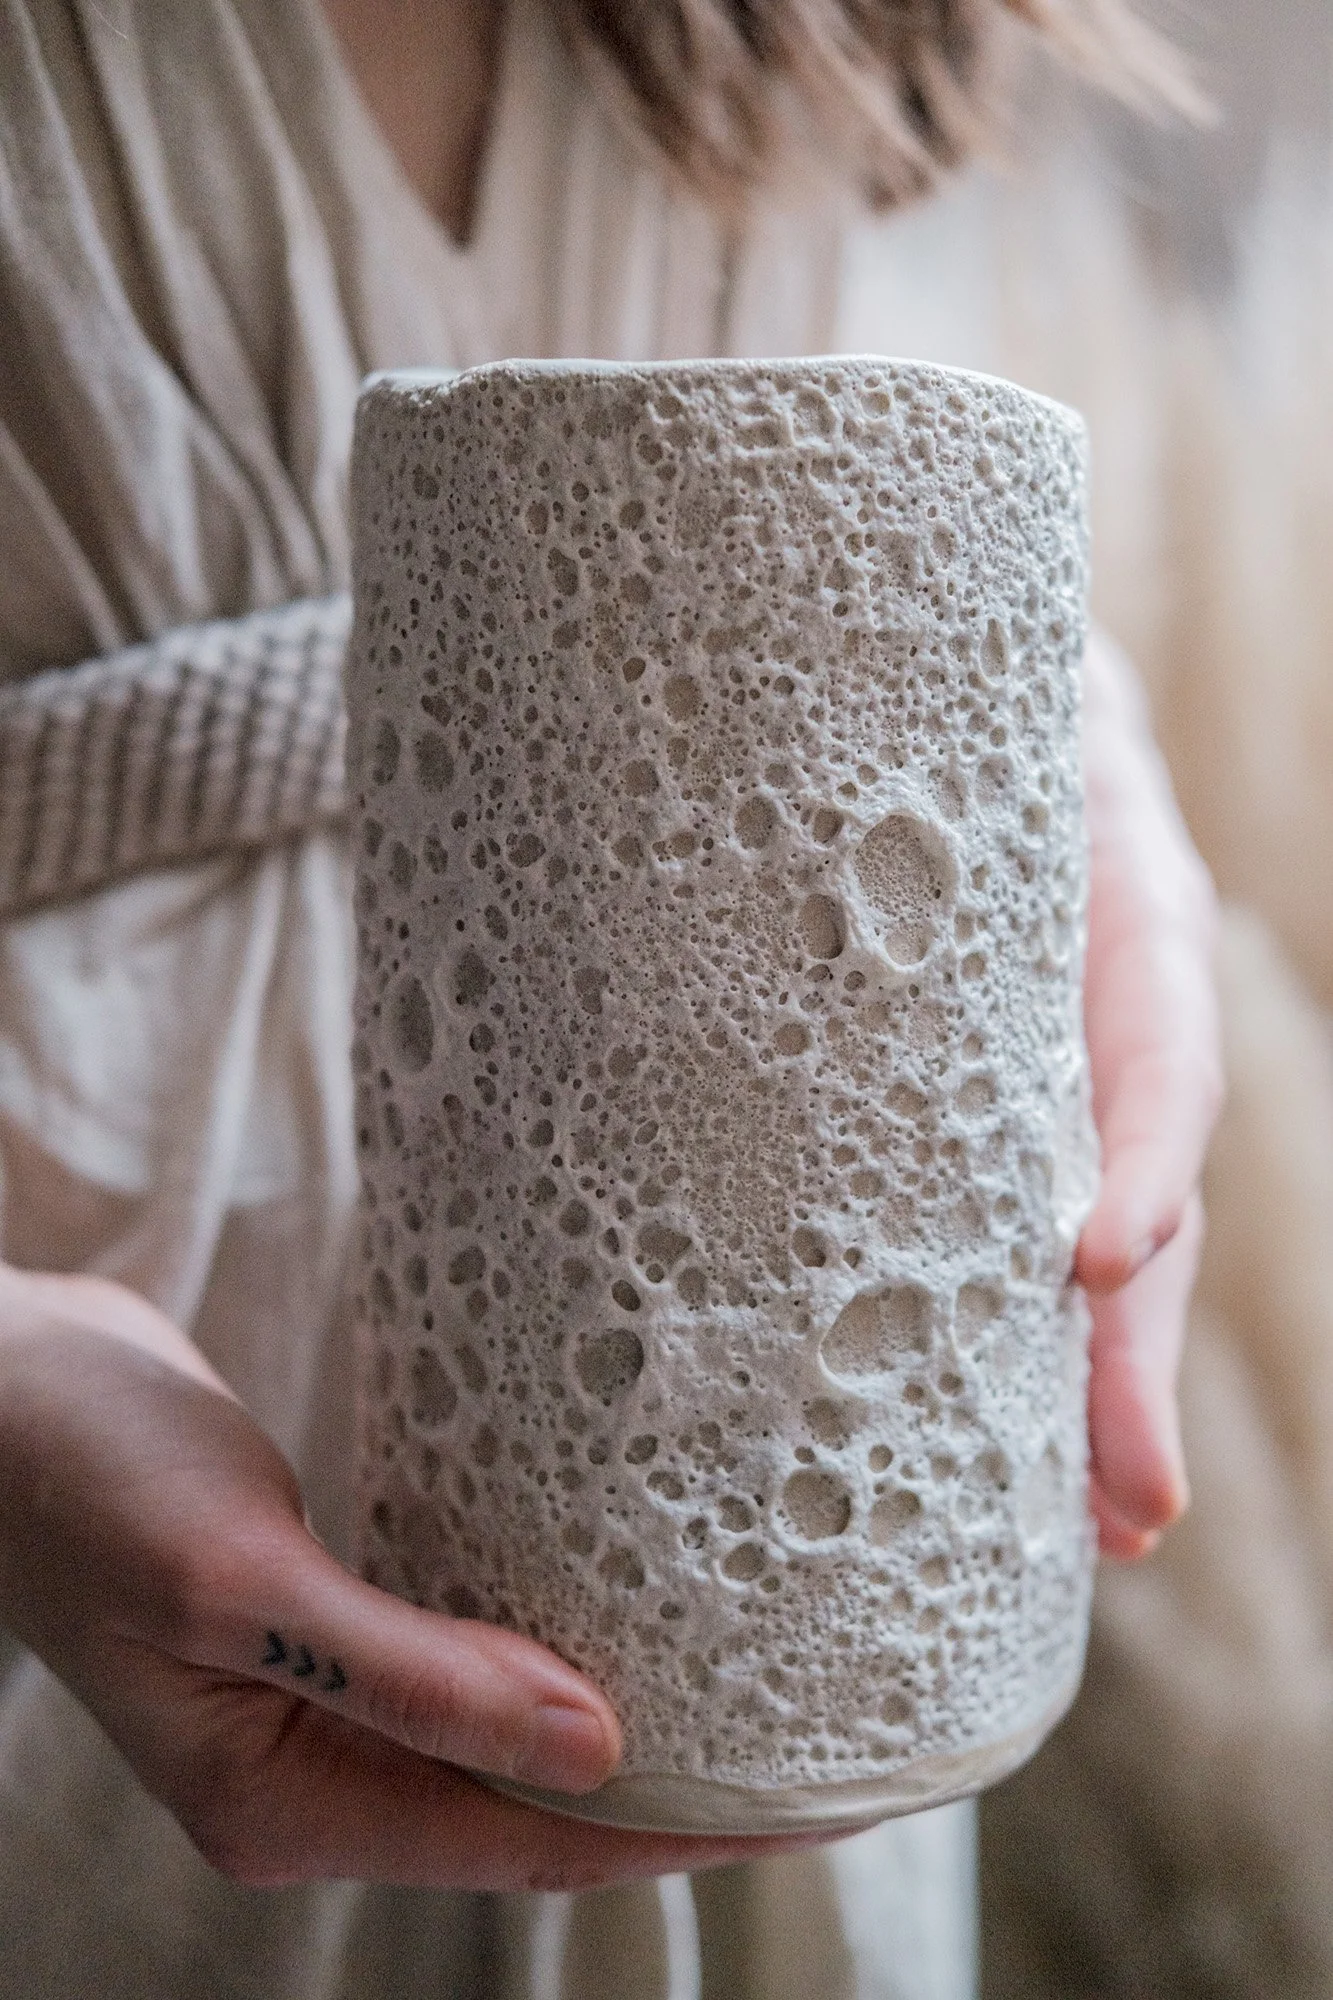
For LAVA, CRATER & VOLCANIC glazes to achieve more pronounced texture we recommend using less water — approximately 0.7:1.
In practice, I always recommend starting slightly thicker, then gradually adding water as you go. It’s far easier to thin a glaze than to fix one that has become too runny.
Get detailed GLAZE MIXING GUIDELINES AND WATER: POWDER RATIO in my blog
-
For consistency and repeatable results, working with Specific Gravity (SG) is essential.
As a general guide:
Spraying: ~1.40 (thinner)
Dipping: ~1.45 (medium)
Brushing: ~1.50 (thicker)
This means:
100 ml of glaze should weigh between 140–150 g, depending on your application method.Special-effect glazes — such as lava or crawl glazes — often benefit from being even thicker, but this still depends on how you apply them (dipping, brushing, layering).
-
Always begin thicker and slowly add water.
If your glaze becomes too thin:
Let it settle for a few hours
Carefully pour off excess water from the top
This is a simple but very effective way to correct consistency.
-
You don’t need any special equipment to measure Specific Gravity accurately.
The simplest and most reliable method is weighing.
WHAT YOU NEED:
a digital scale
a container or cup
water
your glaze
STEP-BY-STEP:
Place your empty container on the scale and tare it to zero
Fill it with exactly 100 ml of water → this should weigh 100 g
(this helps you confirm your measurement reference)Empty and dry the container
Fill it with 100 ml of your glaze
Weigh it
HOW TO READ THE RESULT:
140 g = SG 1.40 (good for spraying)
145 g = SG 1.45 (good for dipping)
150 g = SG 1.50 (good for brushing)
This method is:
fast
accurate
repeatable
…and once you start using it, it becomes an essential part of your glaze routine.
A SMALL BUT IMPORTANT HABIT
Always record:
the SG
your application method
and the firing result
Over time, this becomes your personal glaze map — and this is where real control begins.
-
Exact water amounts cannot be prescribed universally, as they depend on:
application method (brushing, dipping, spraying, layering)
clay body absorption
desired thickness and effect
Some glazes prefer thick application, others need to be built in layers.
-
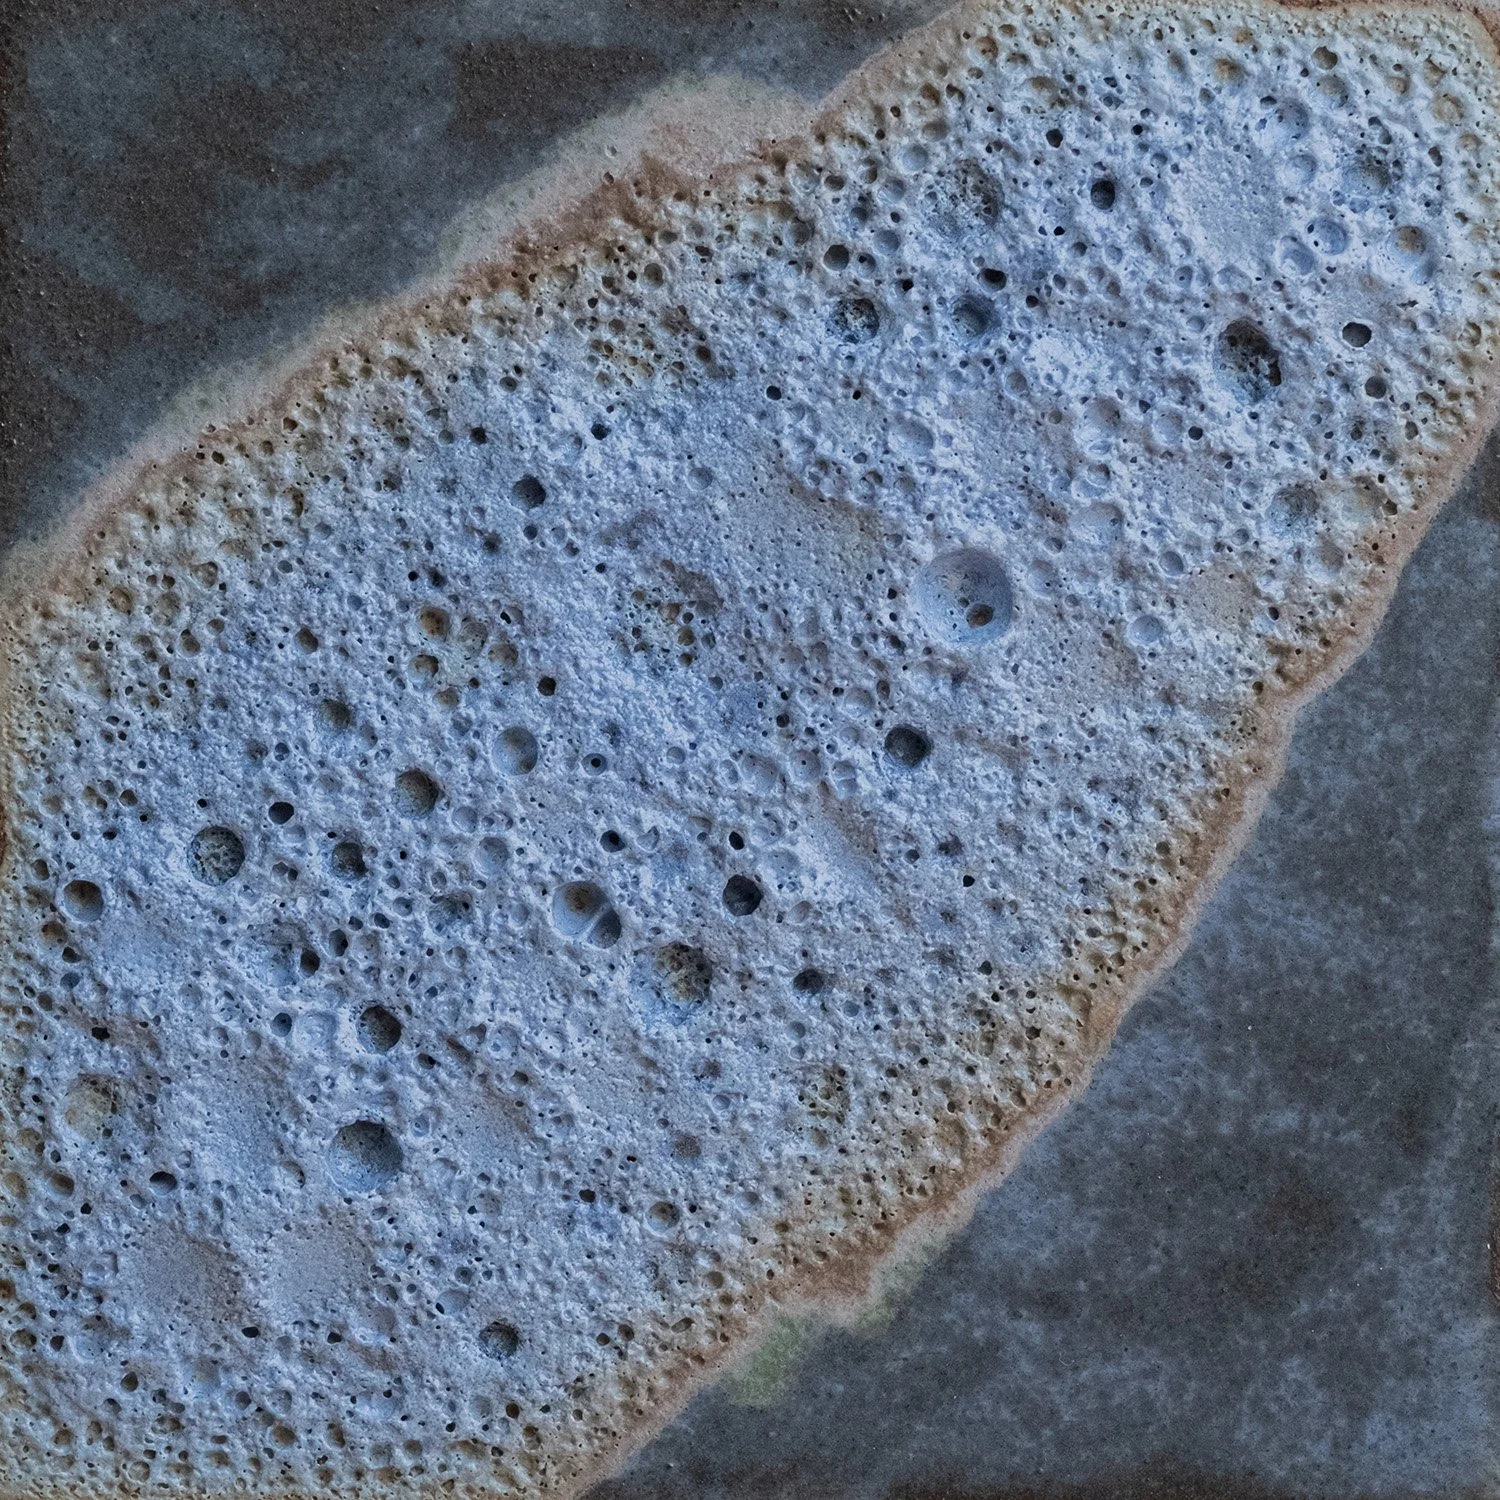
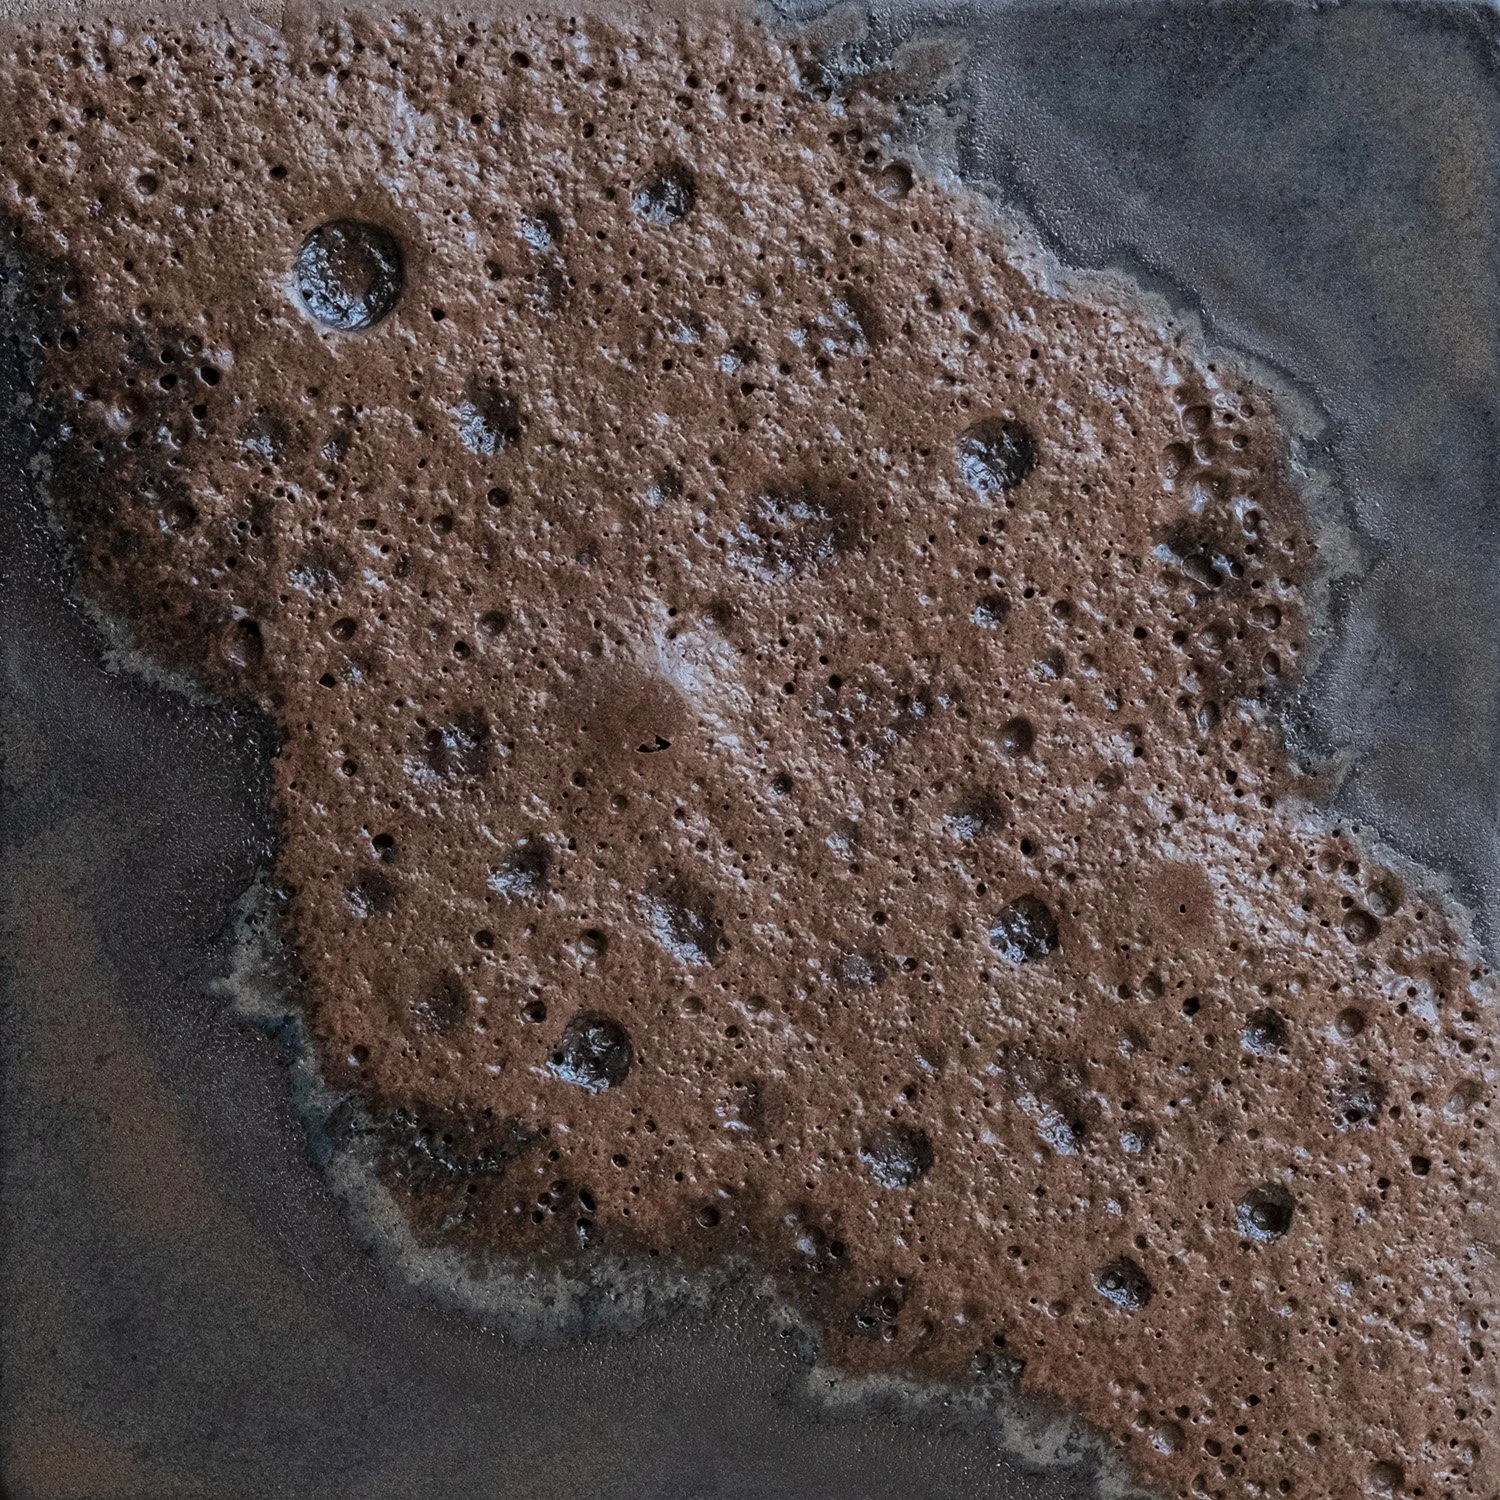
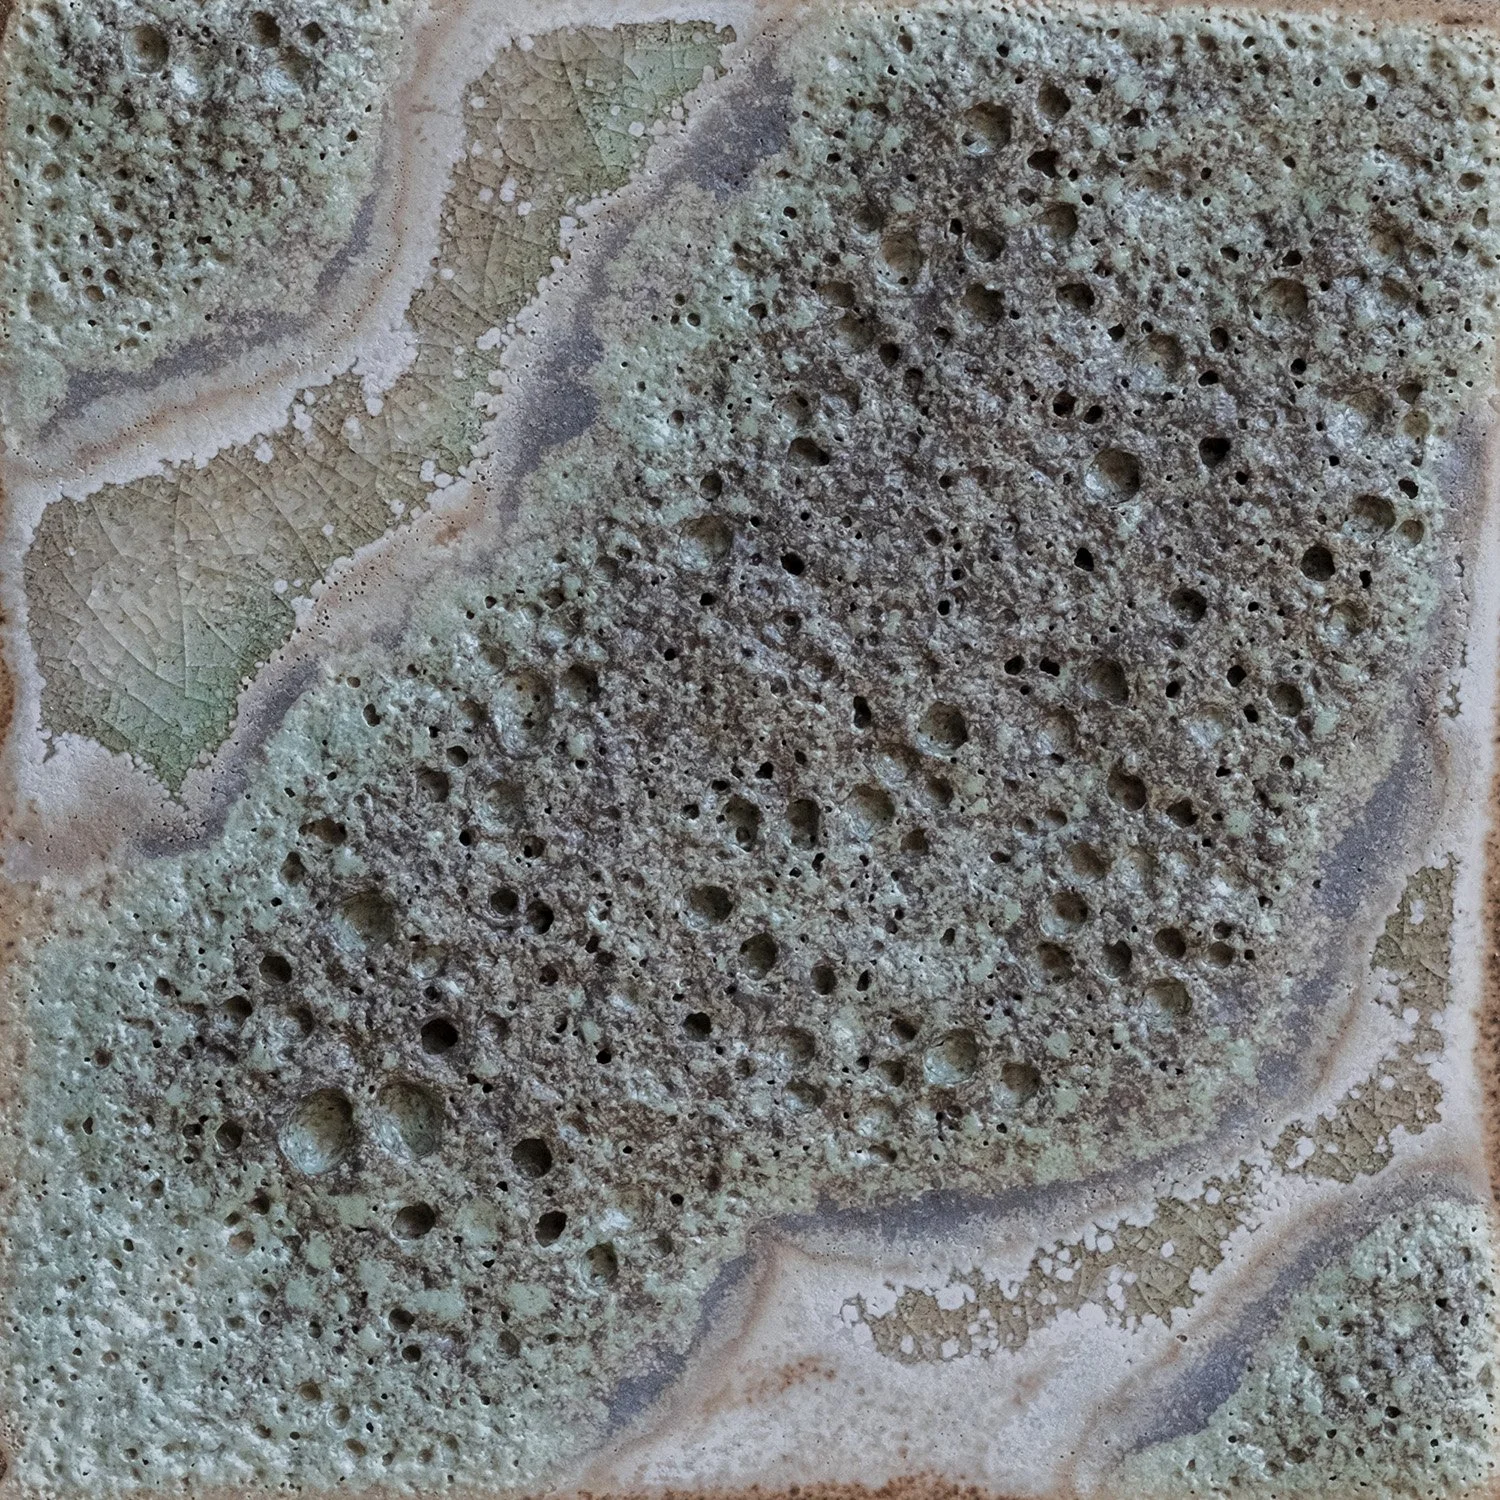
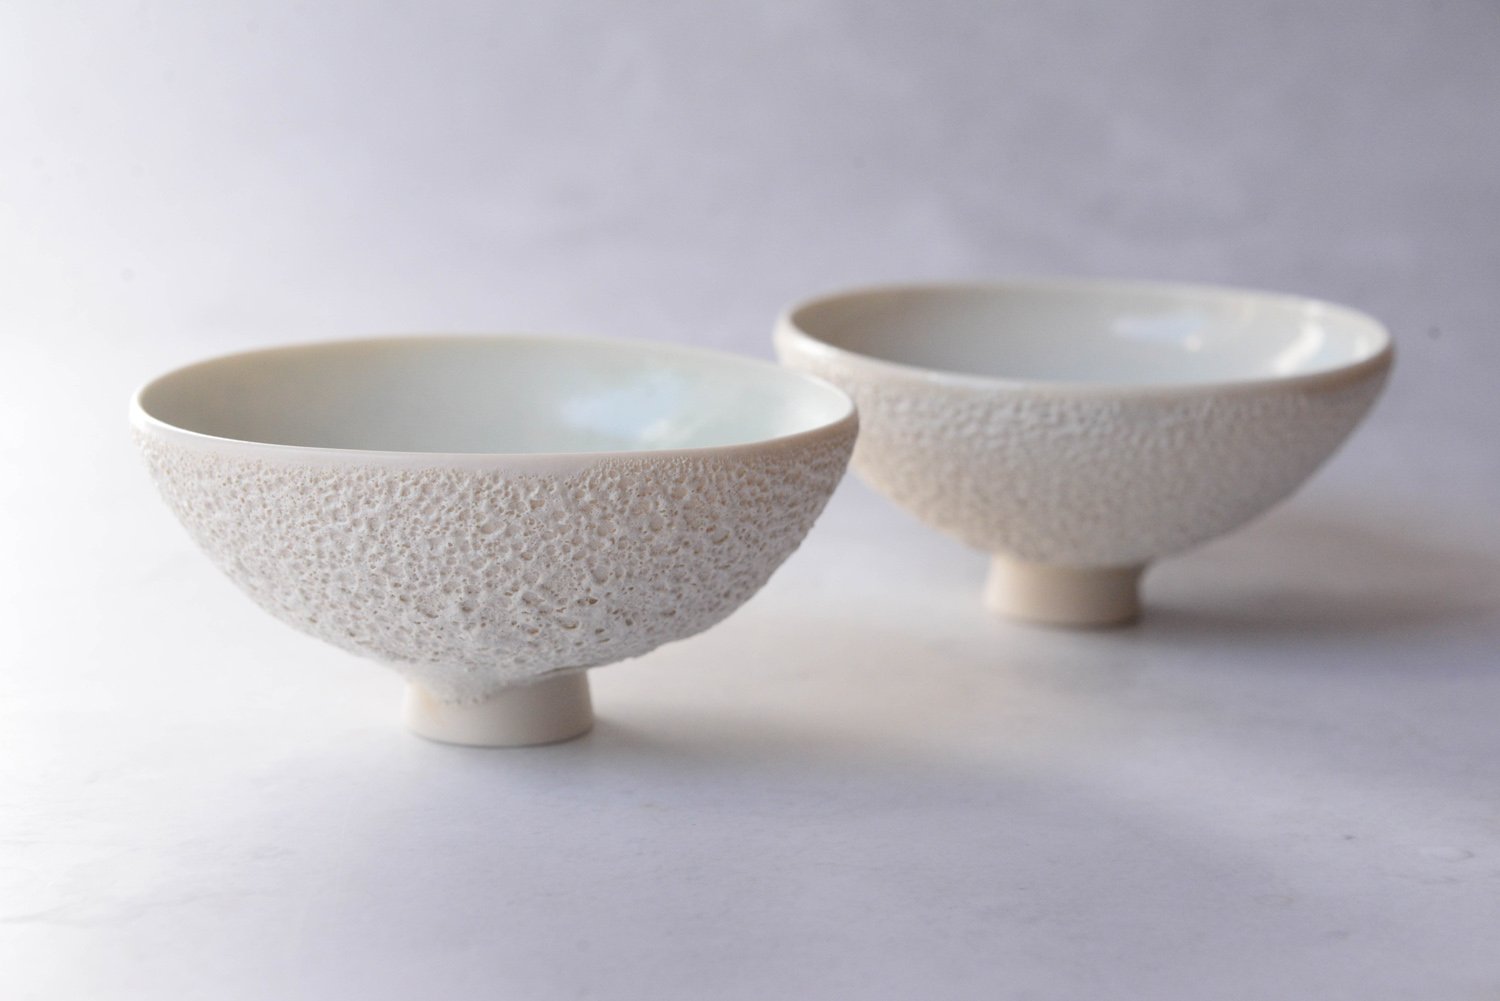
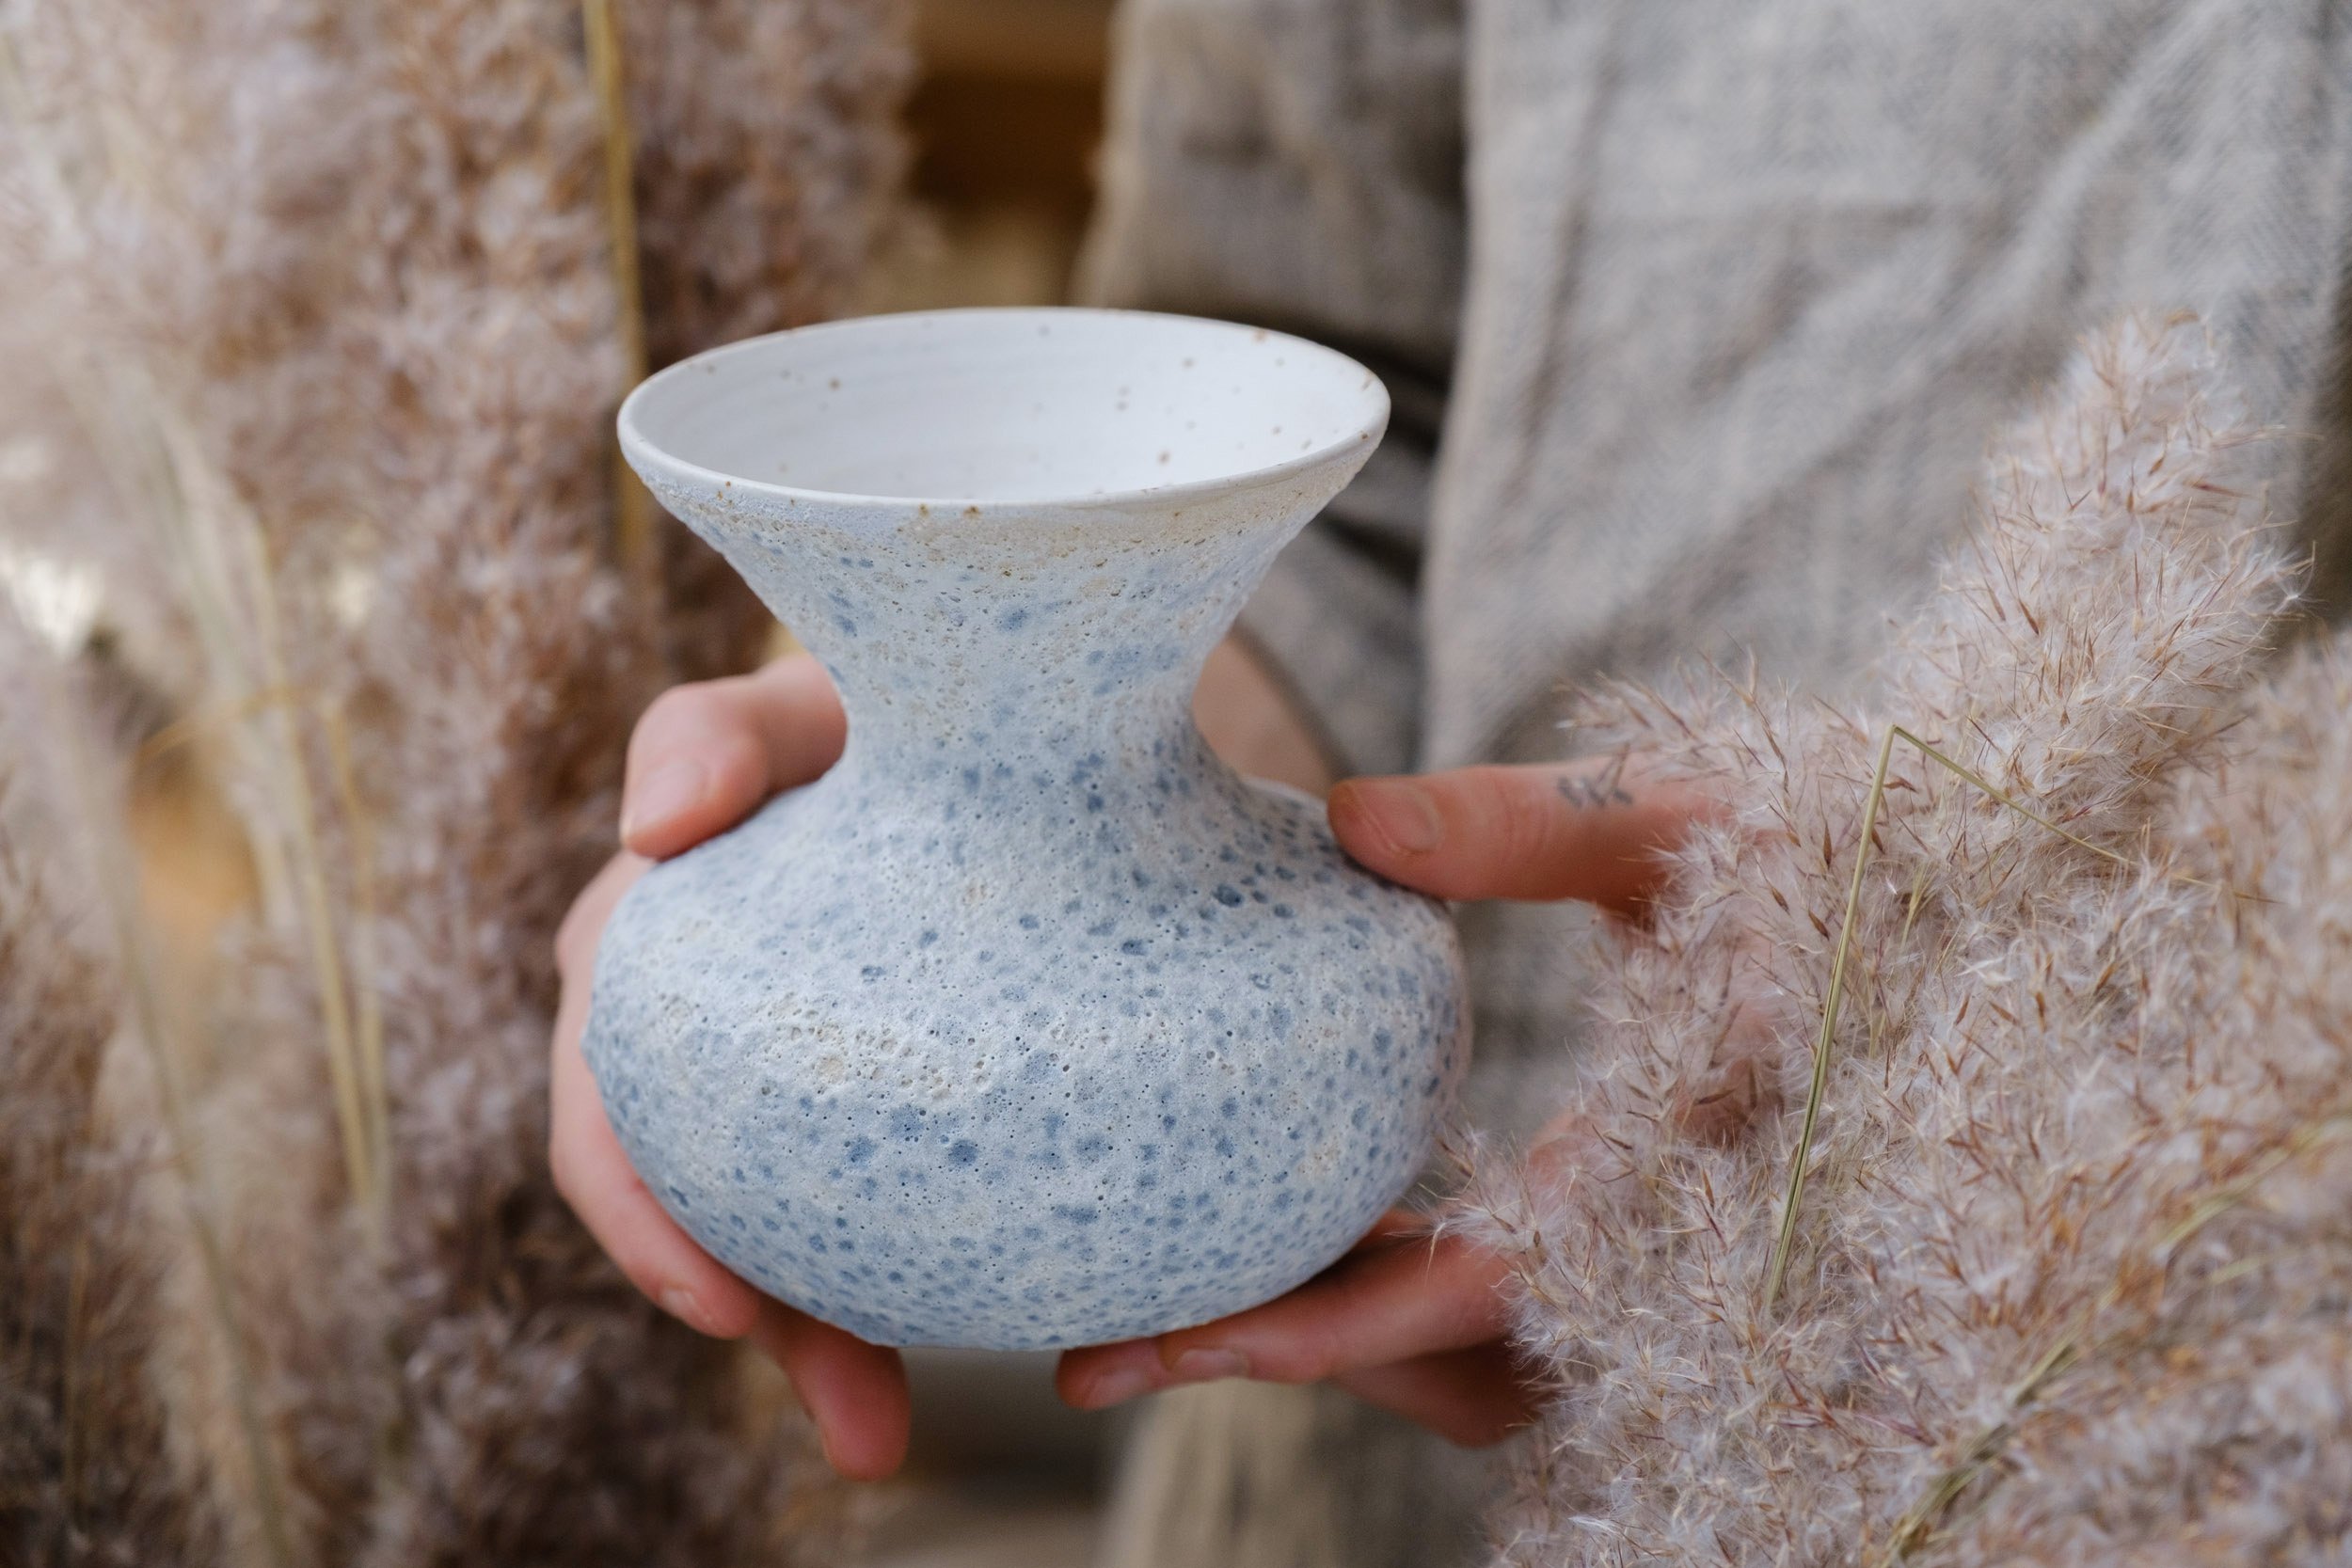
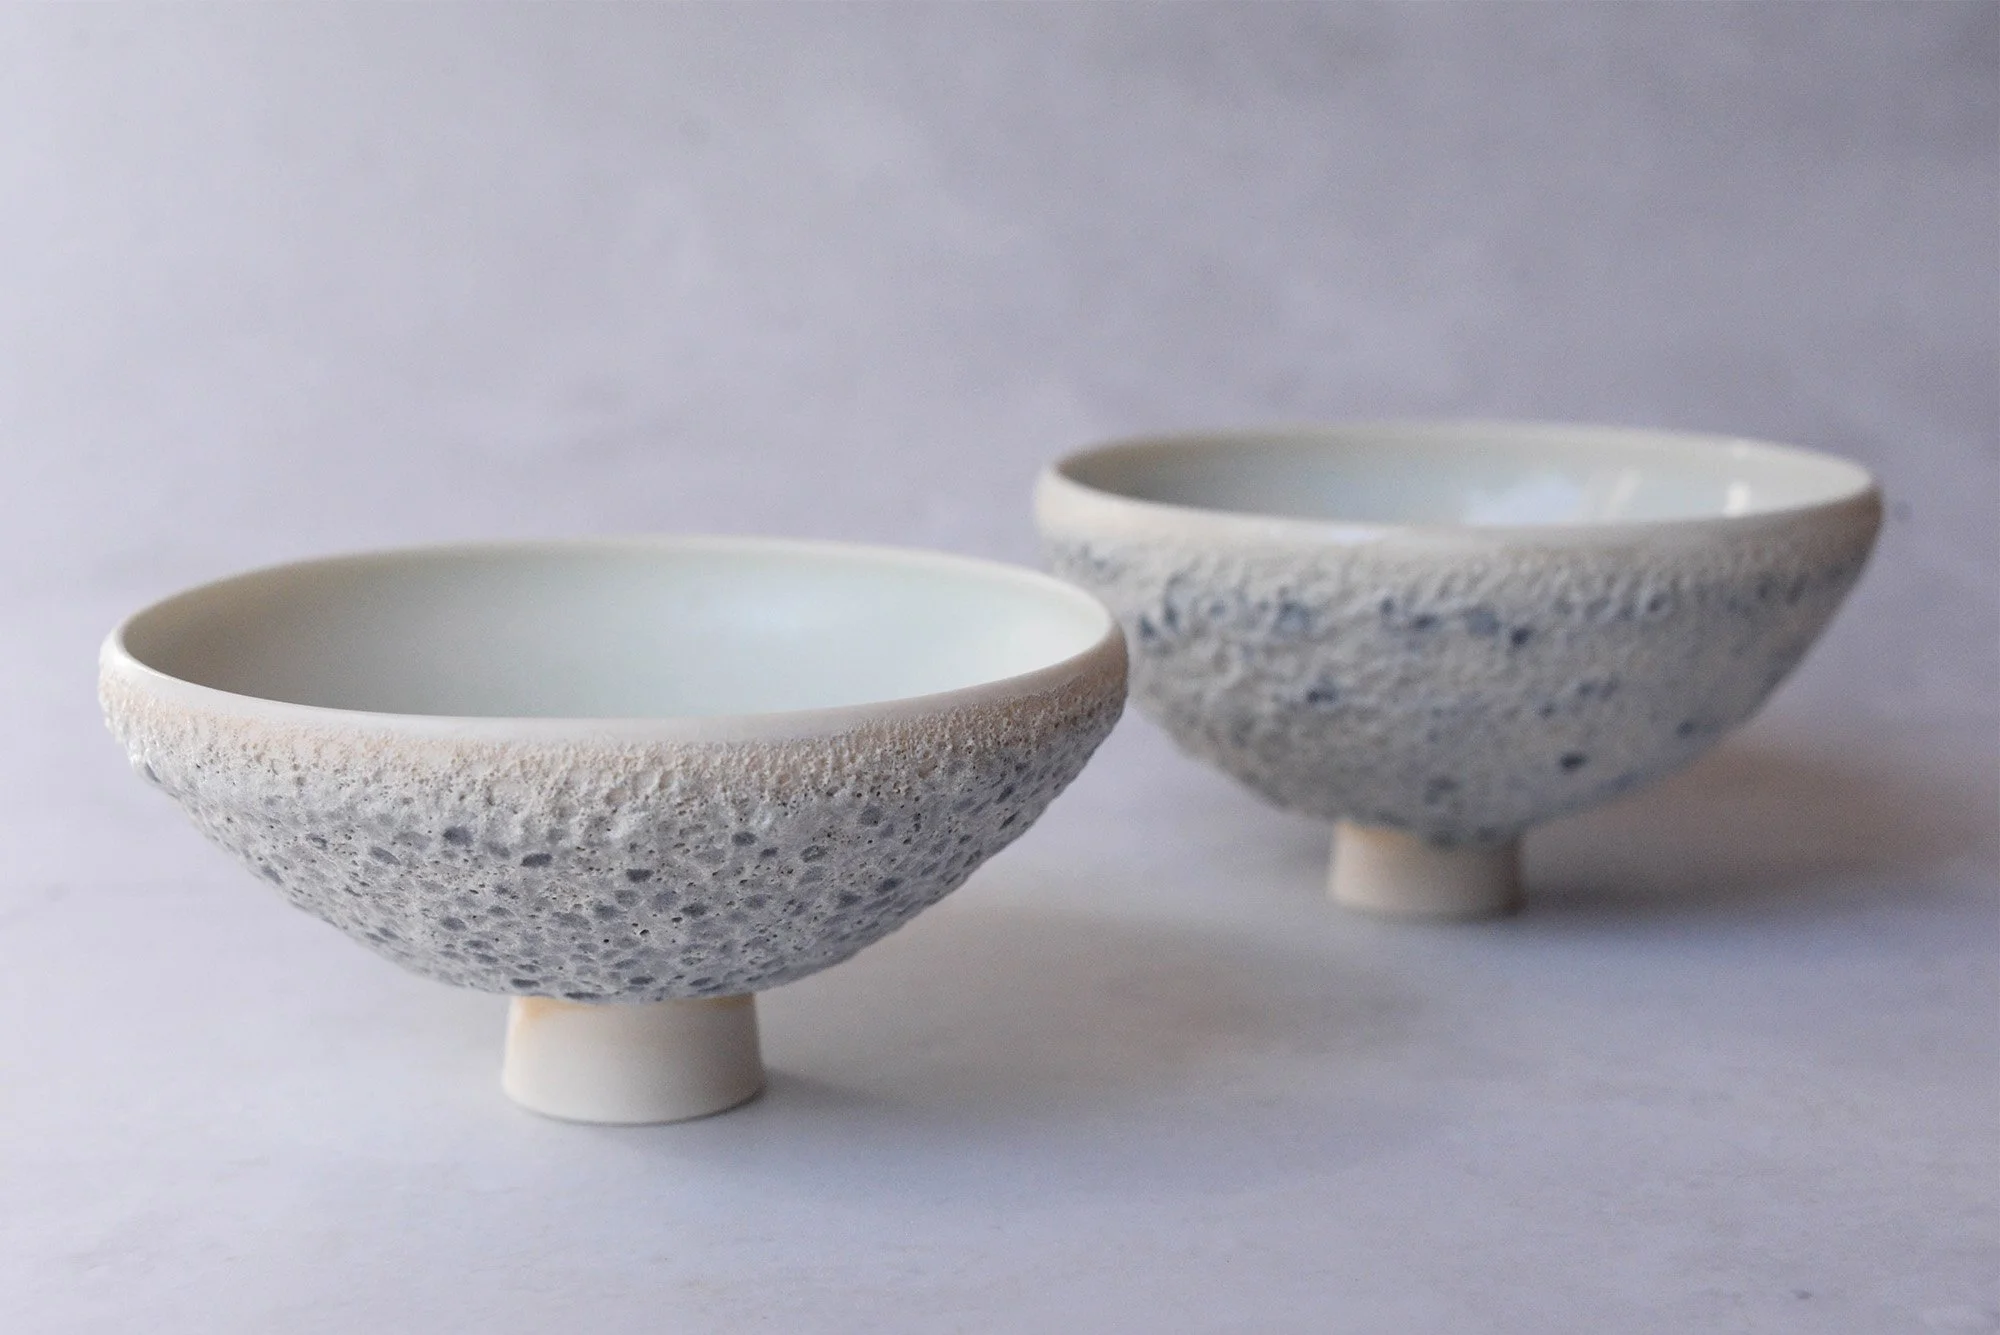
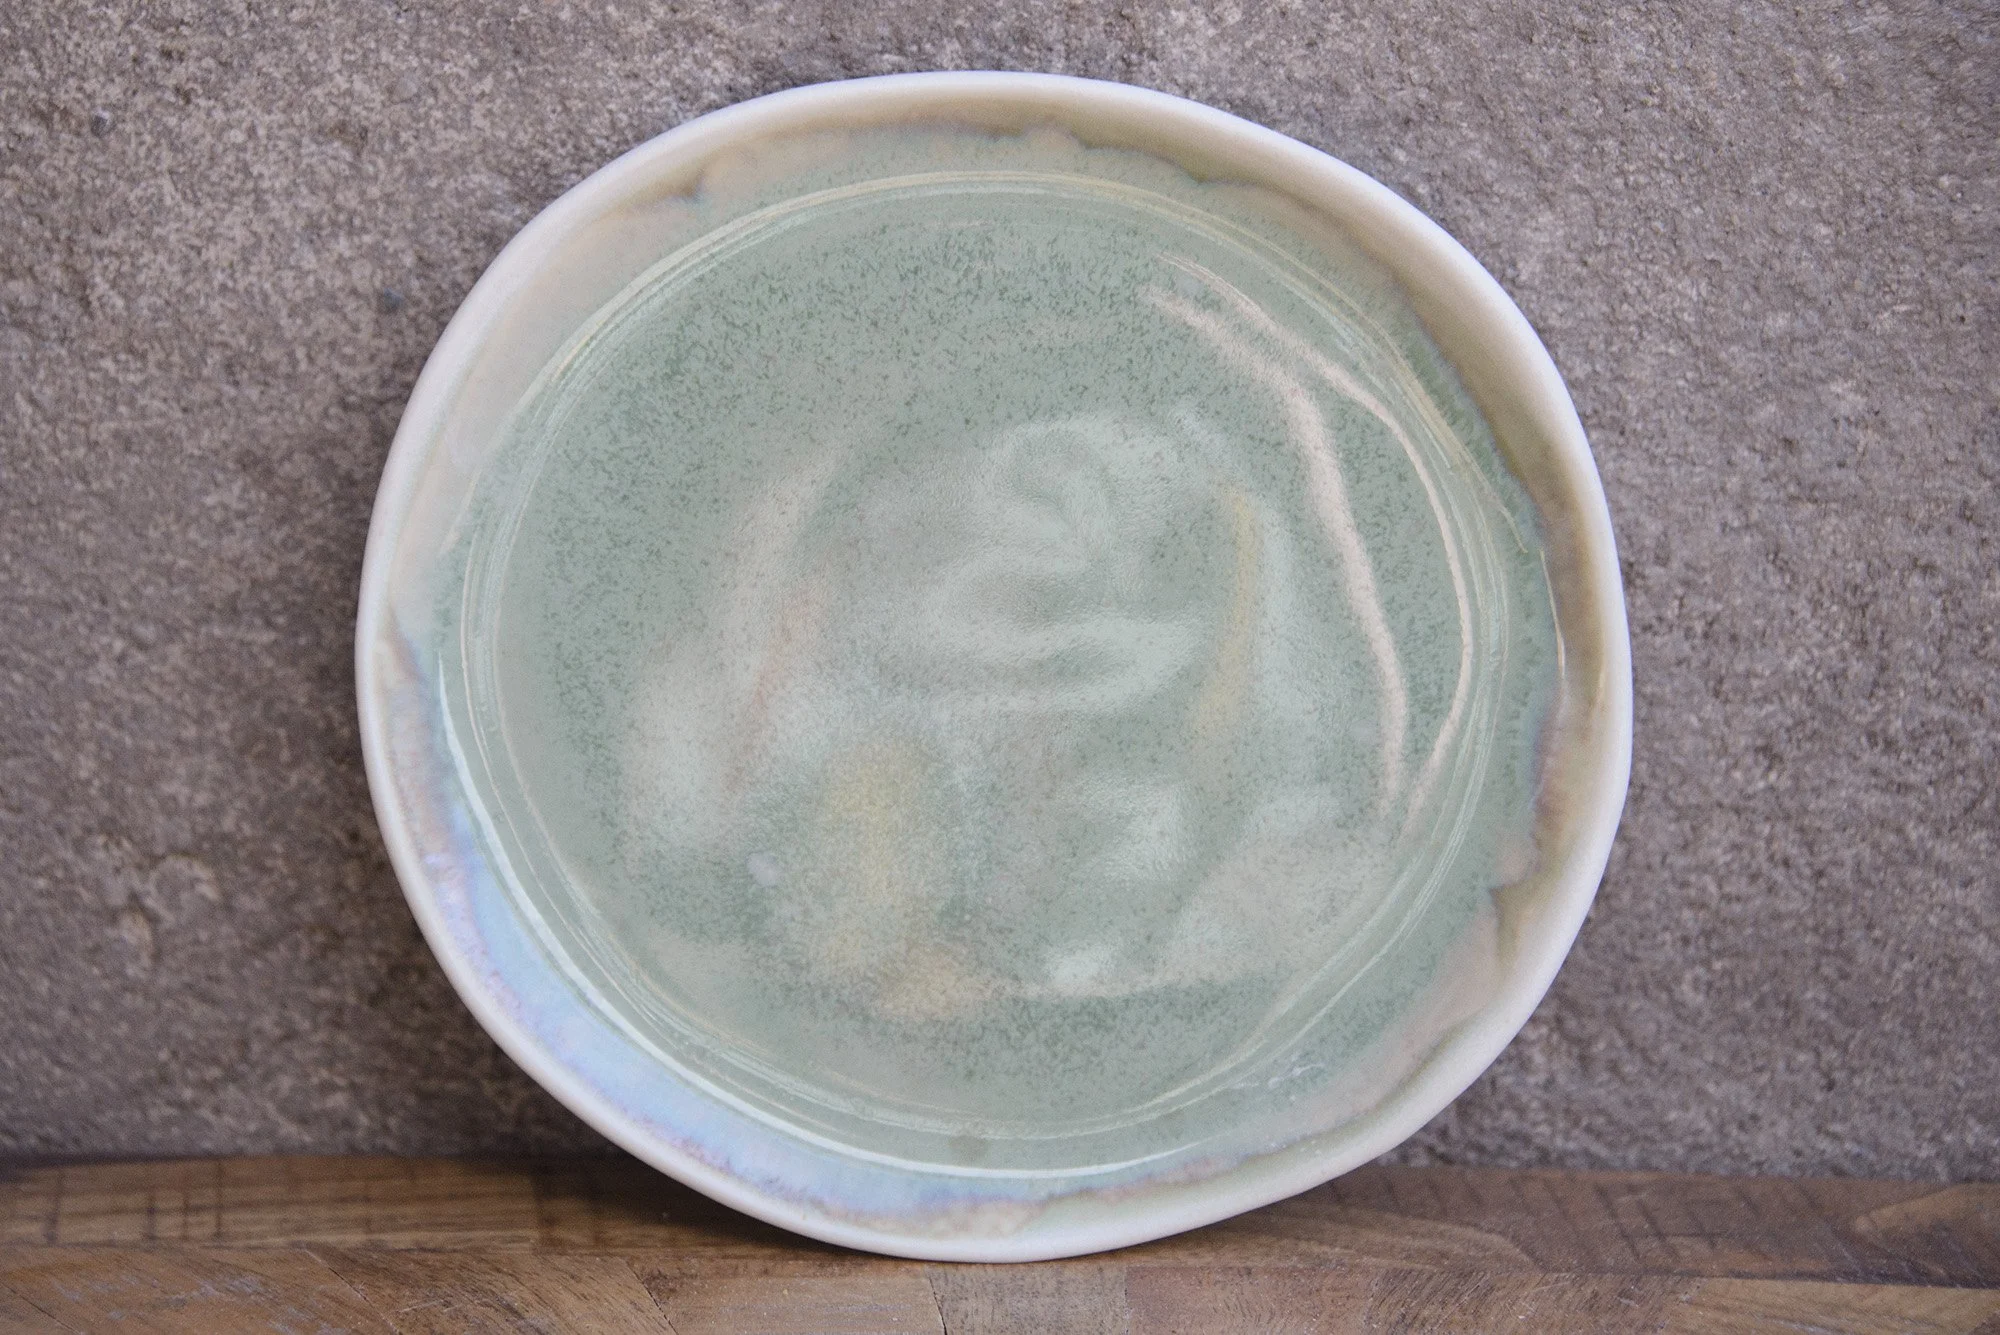
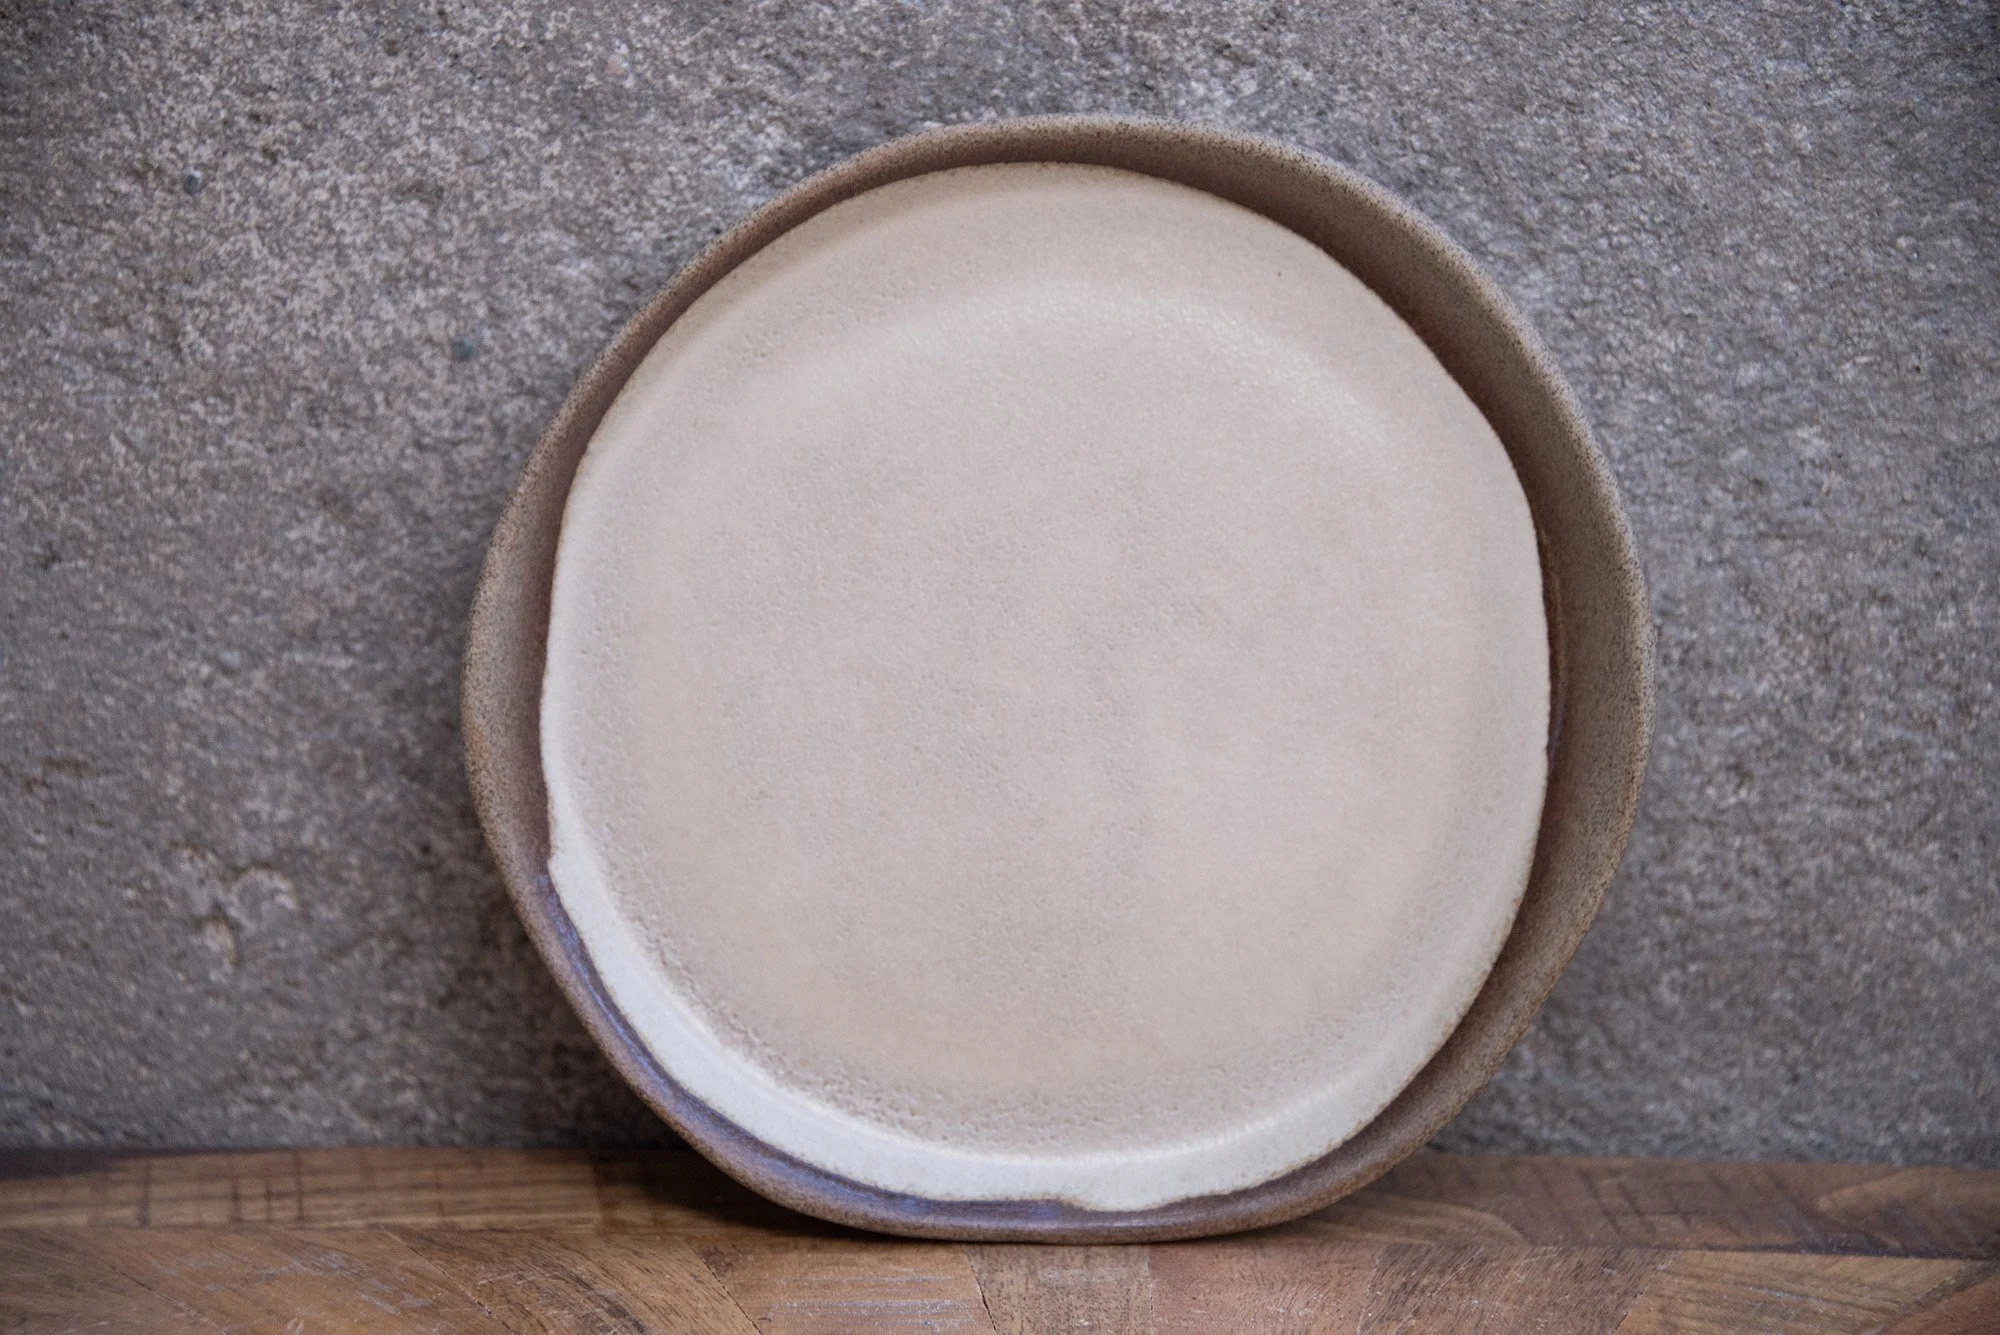
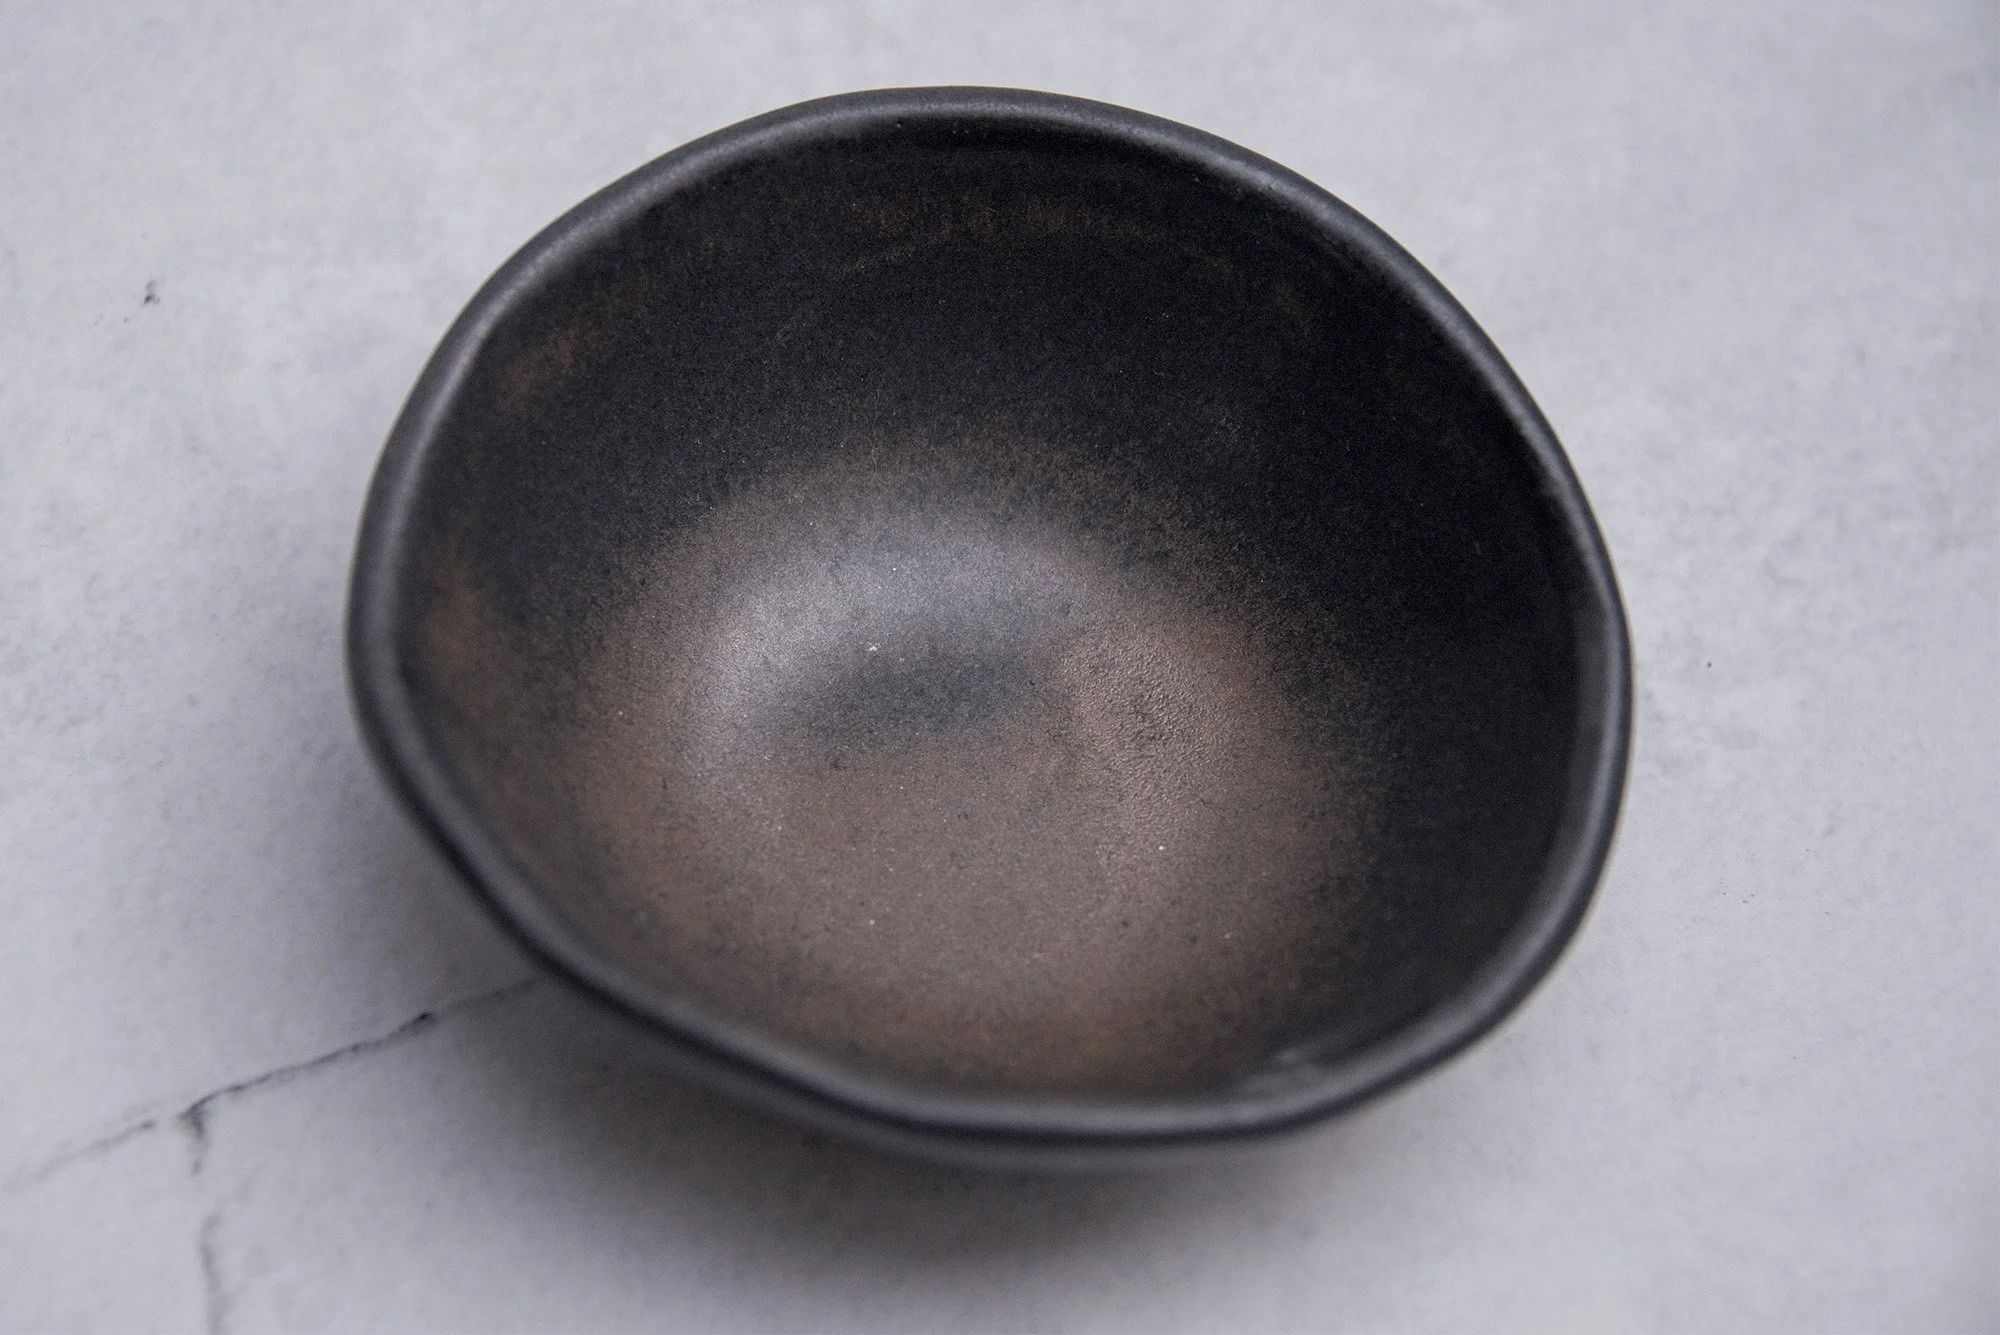
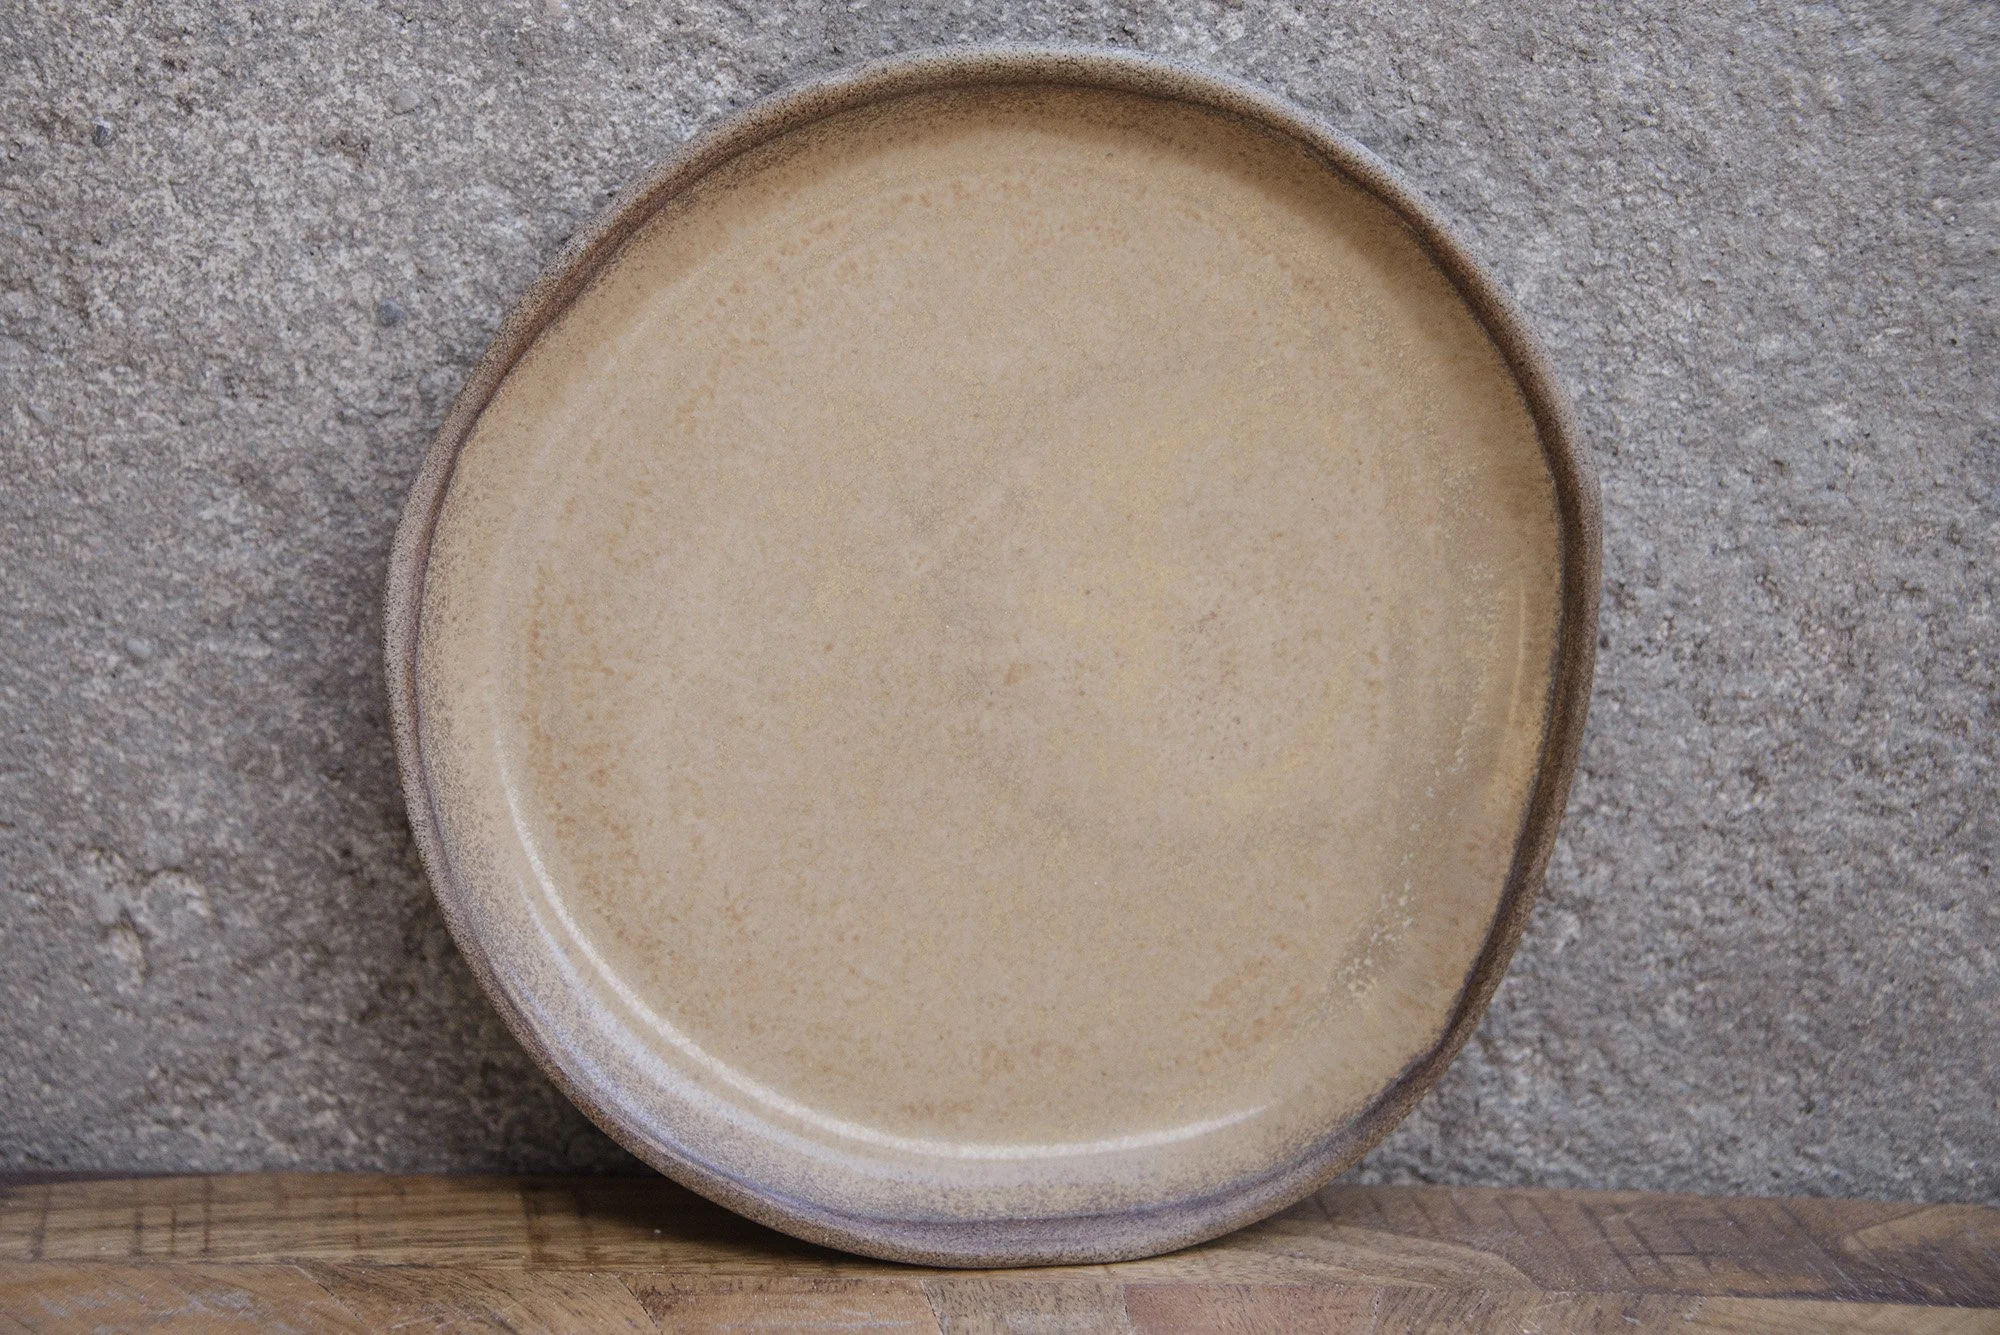
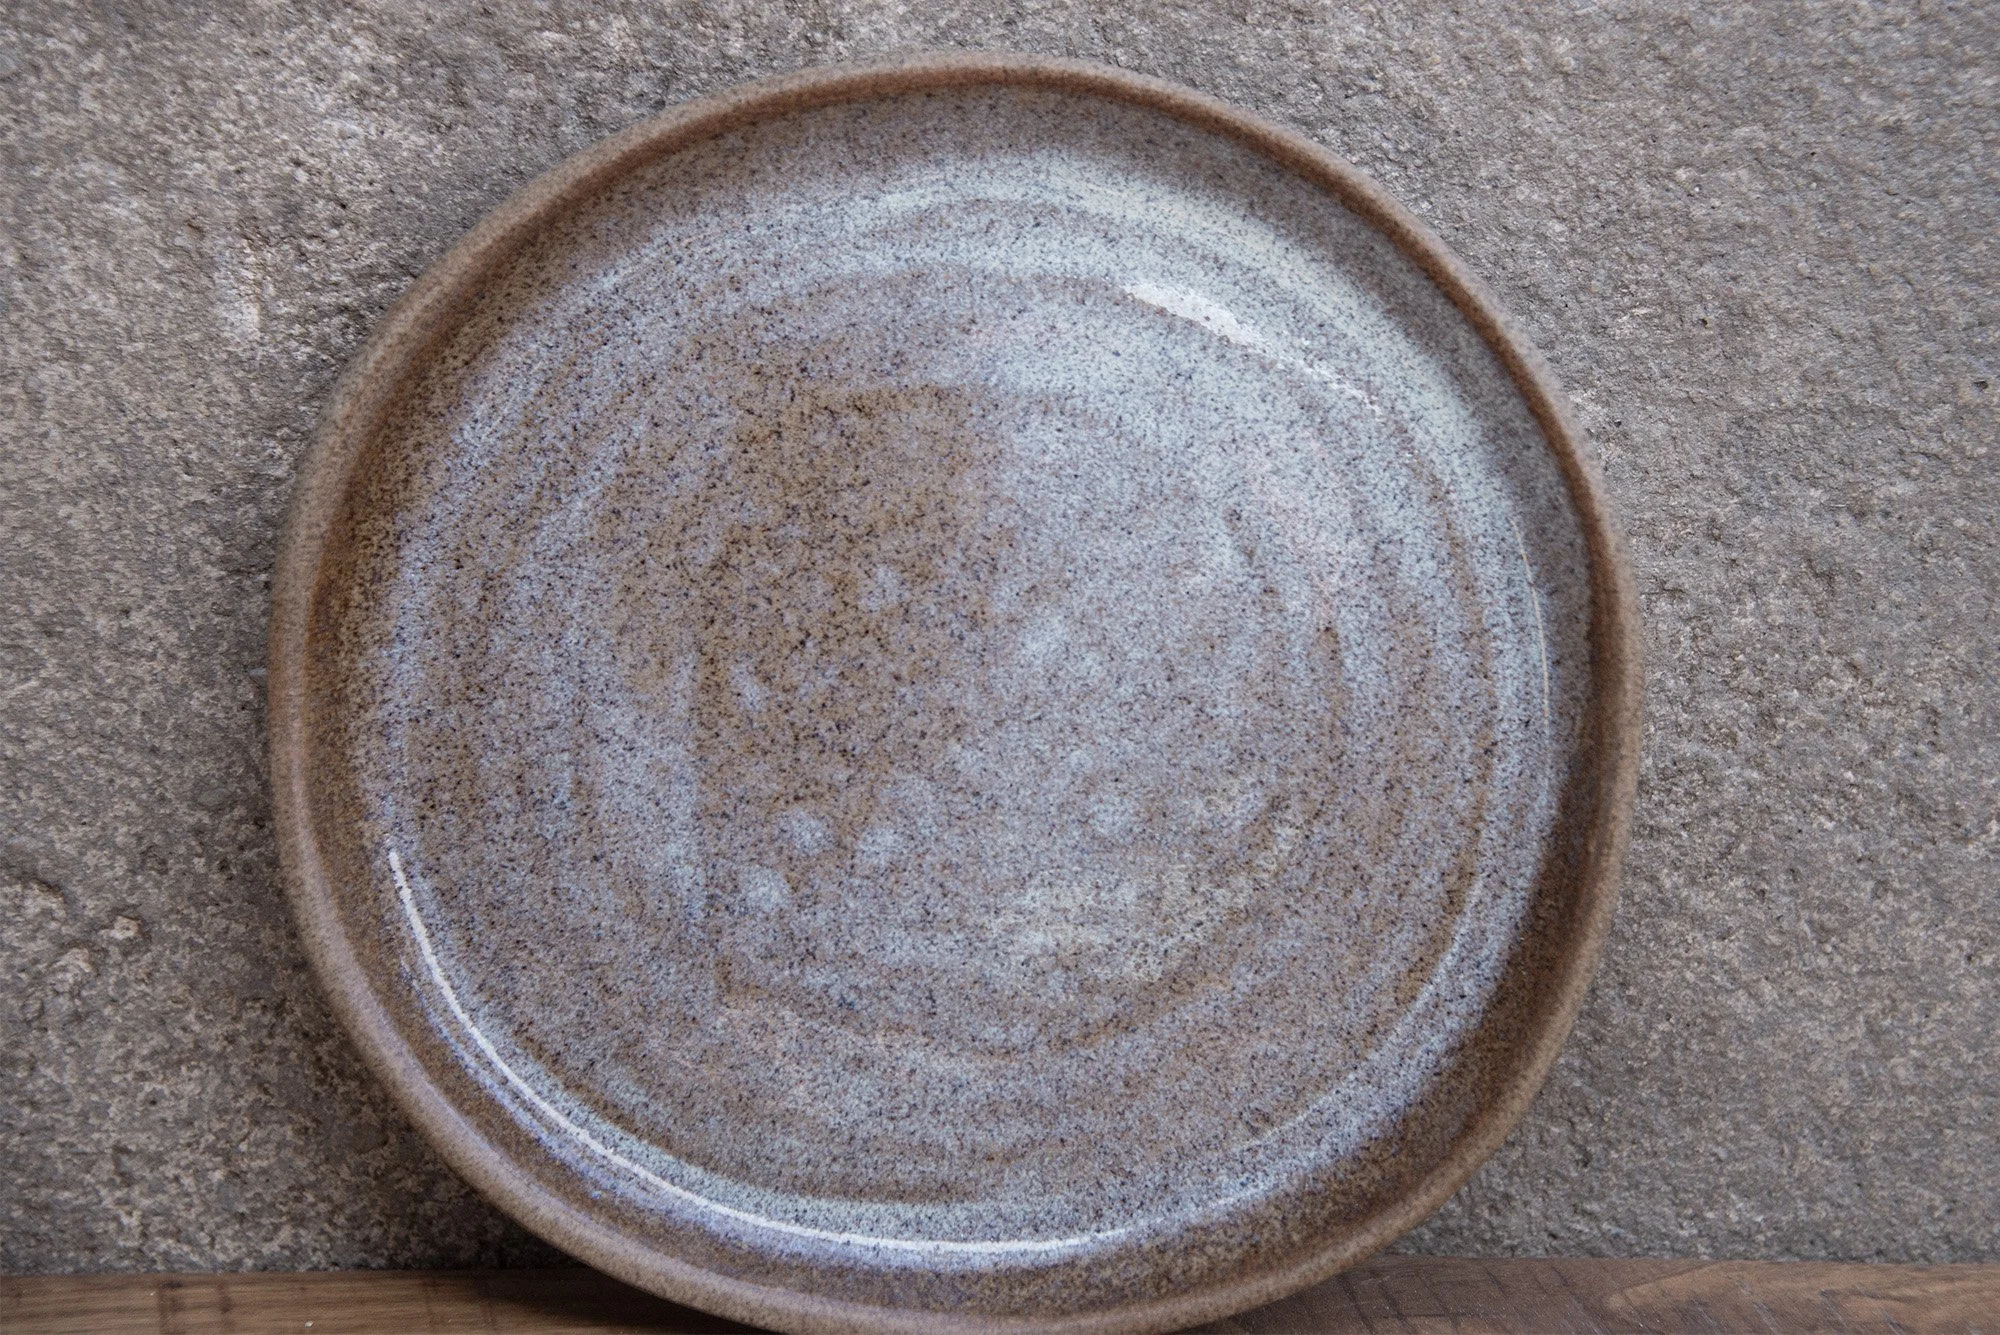
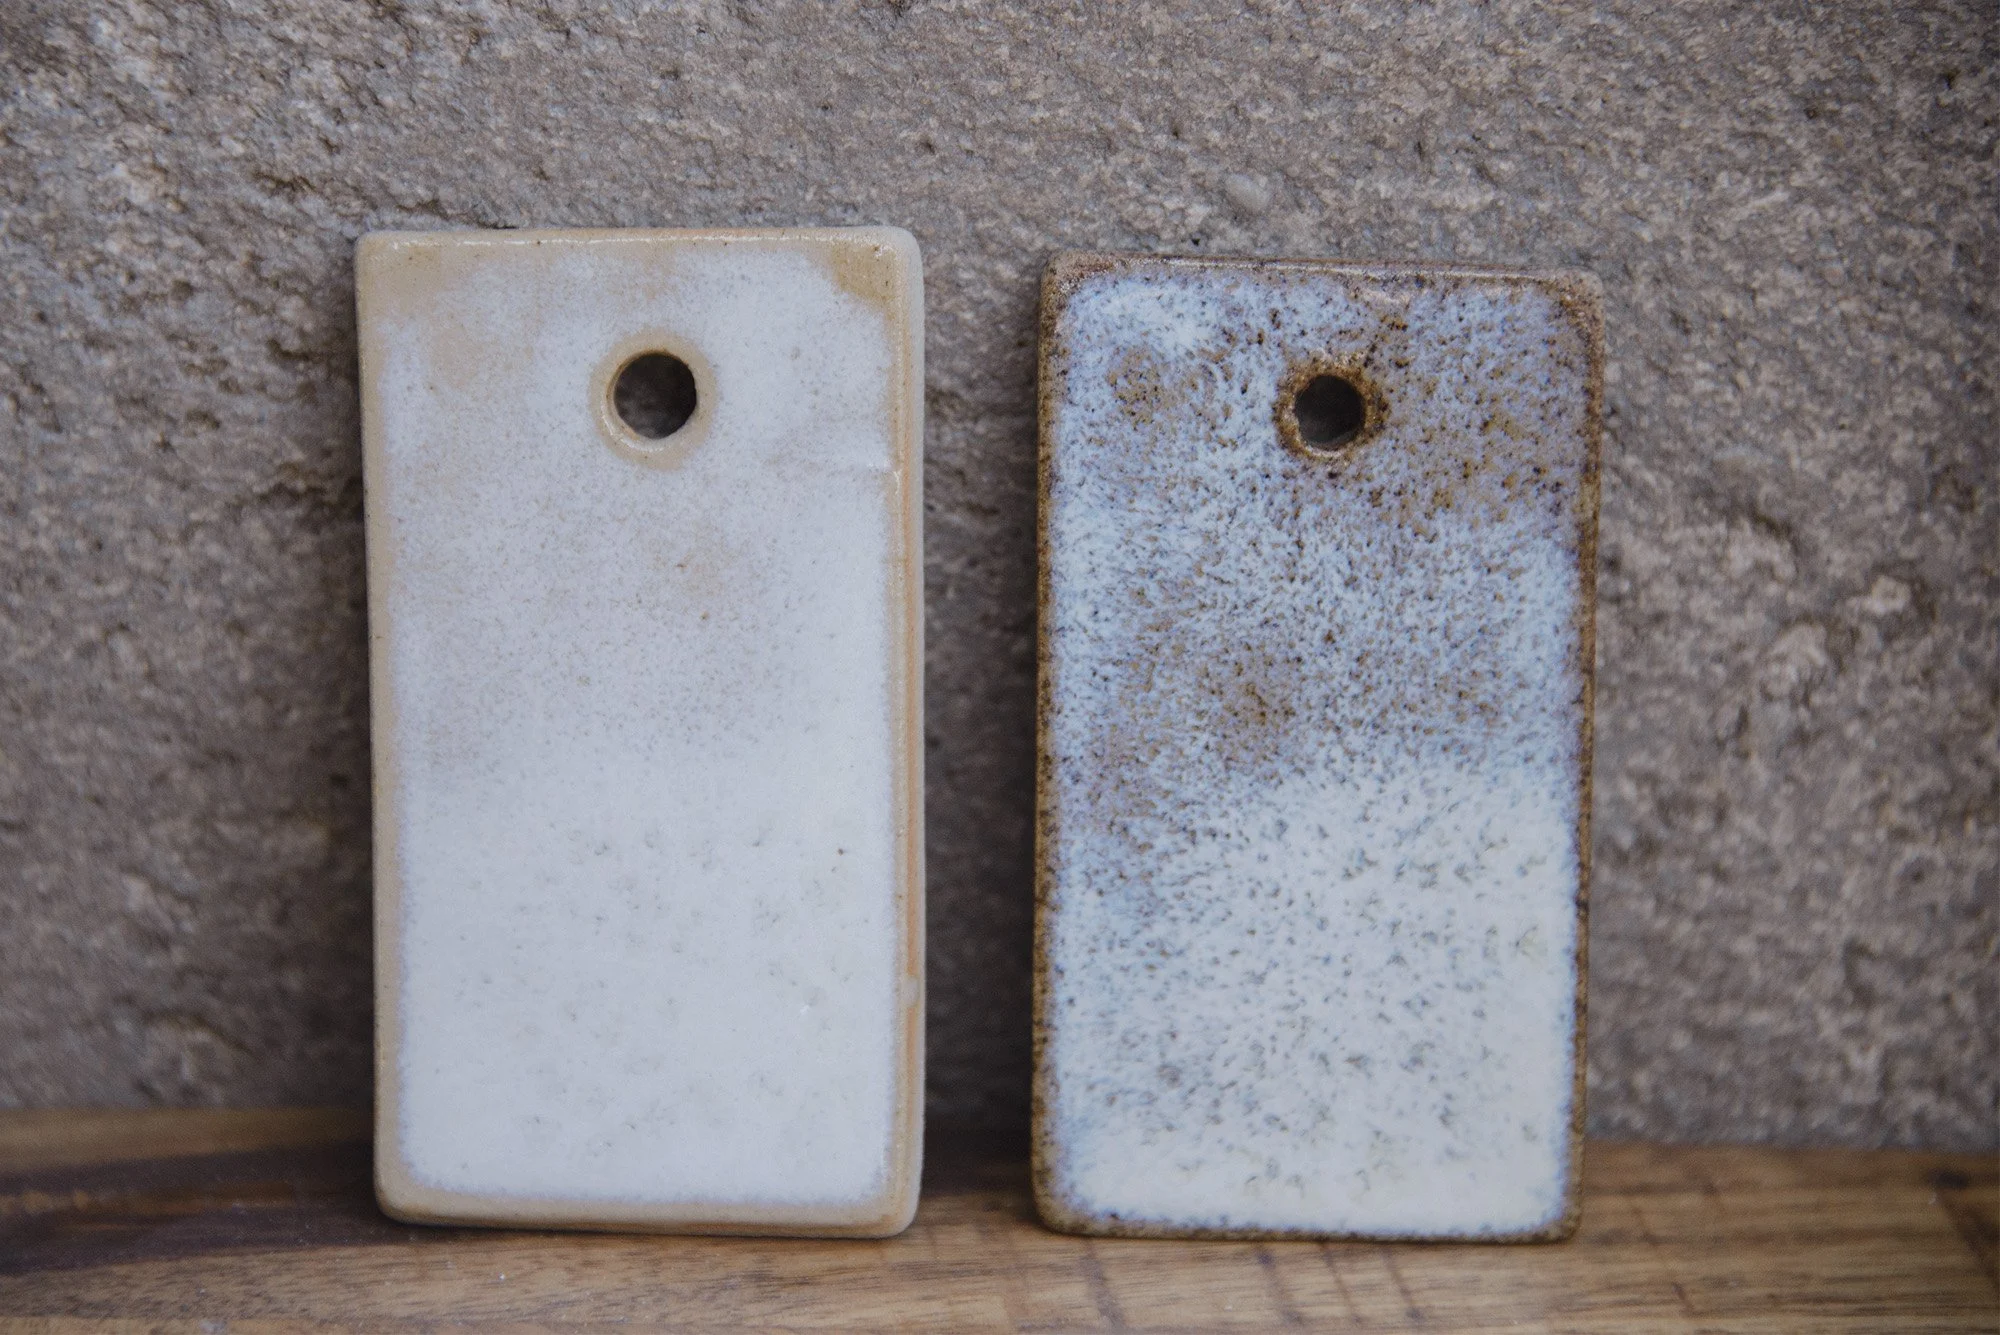
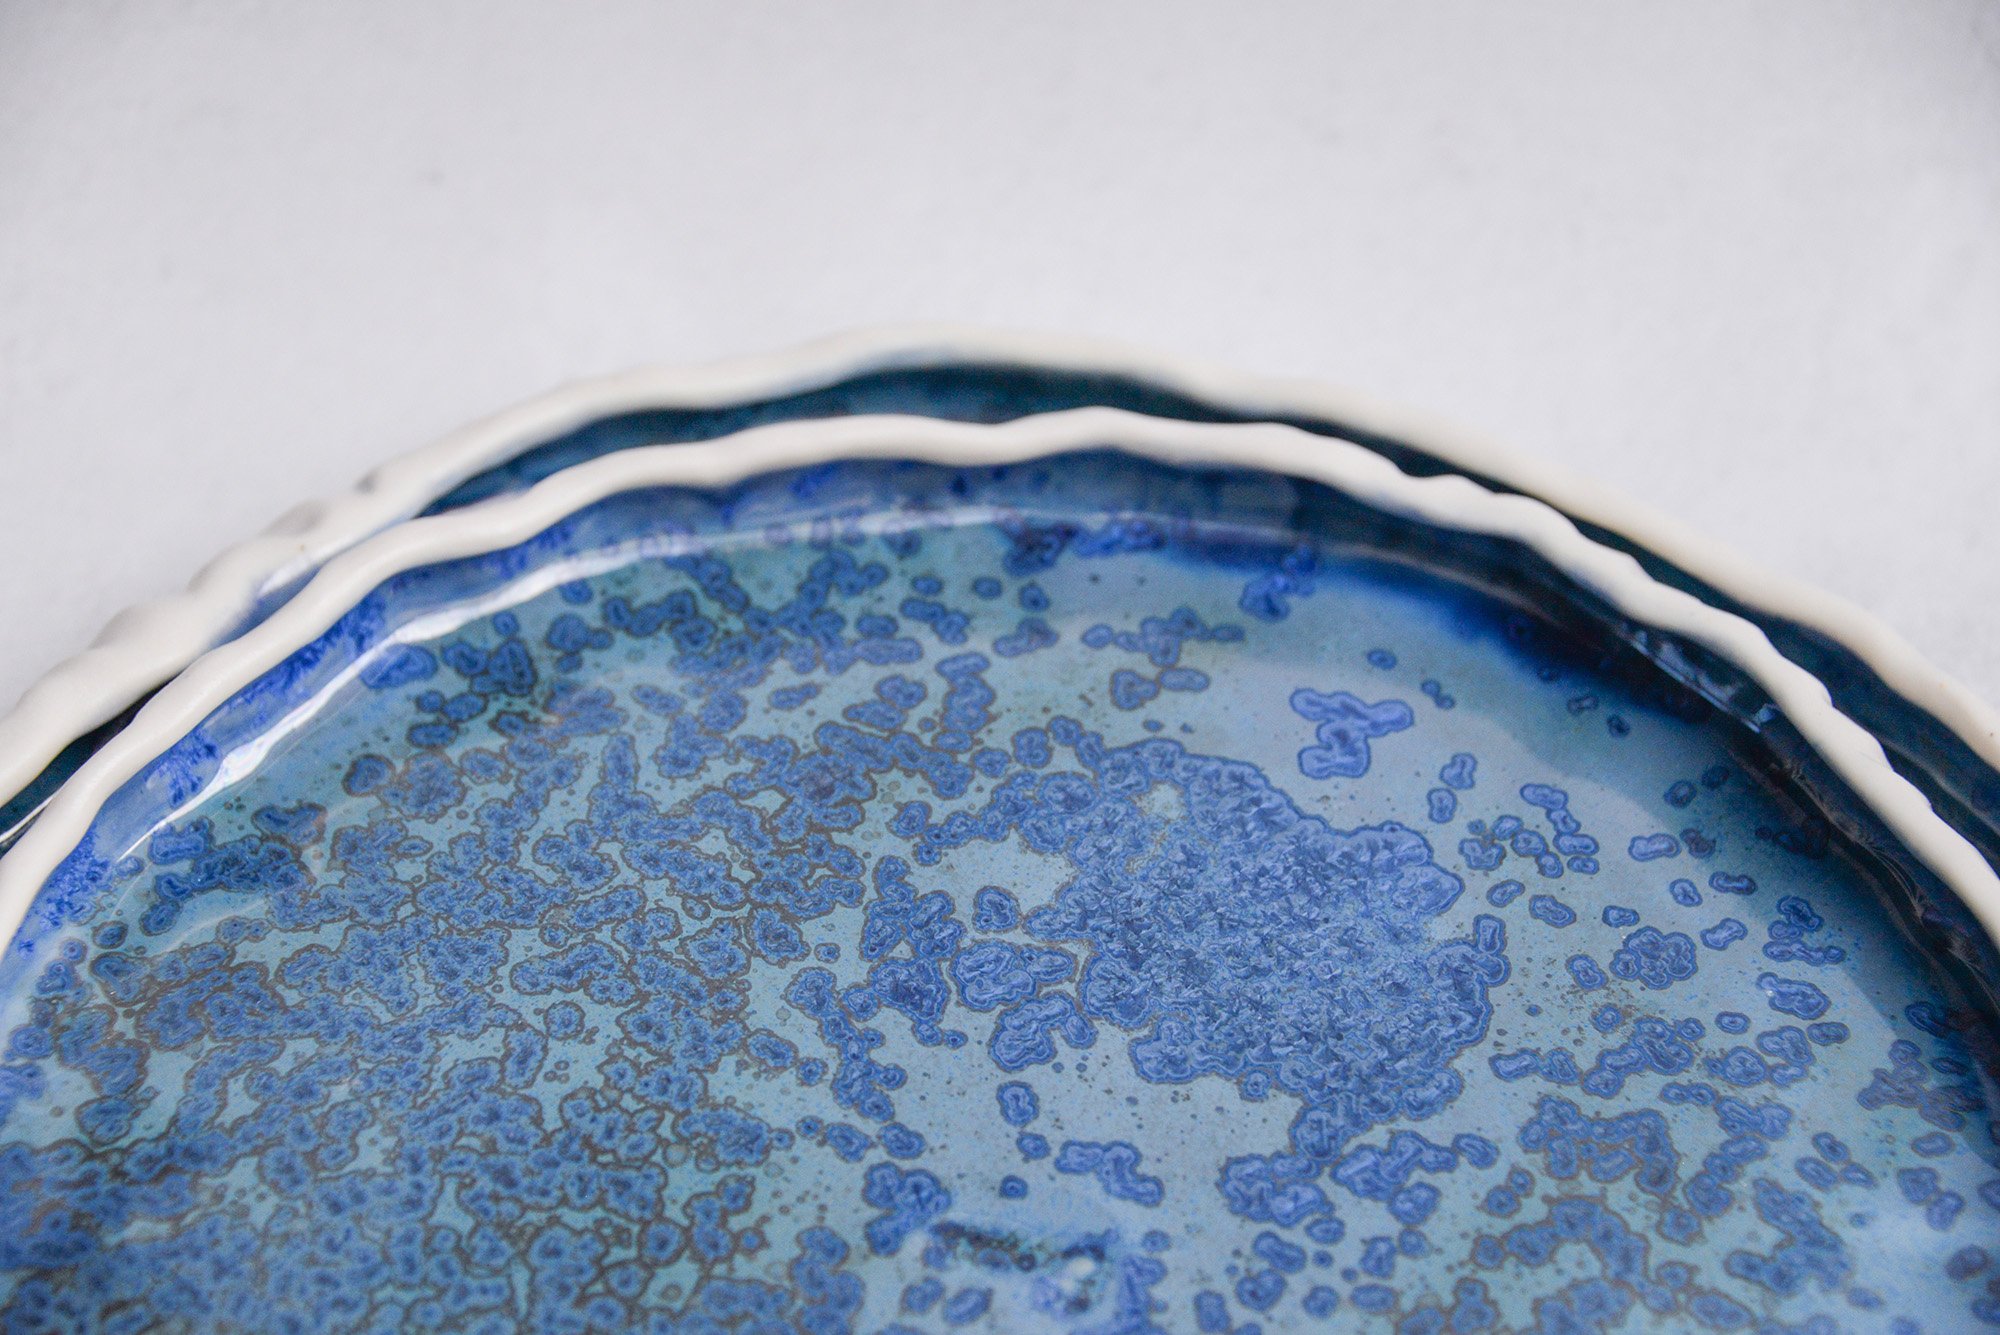
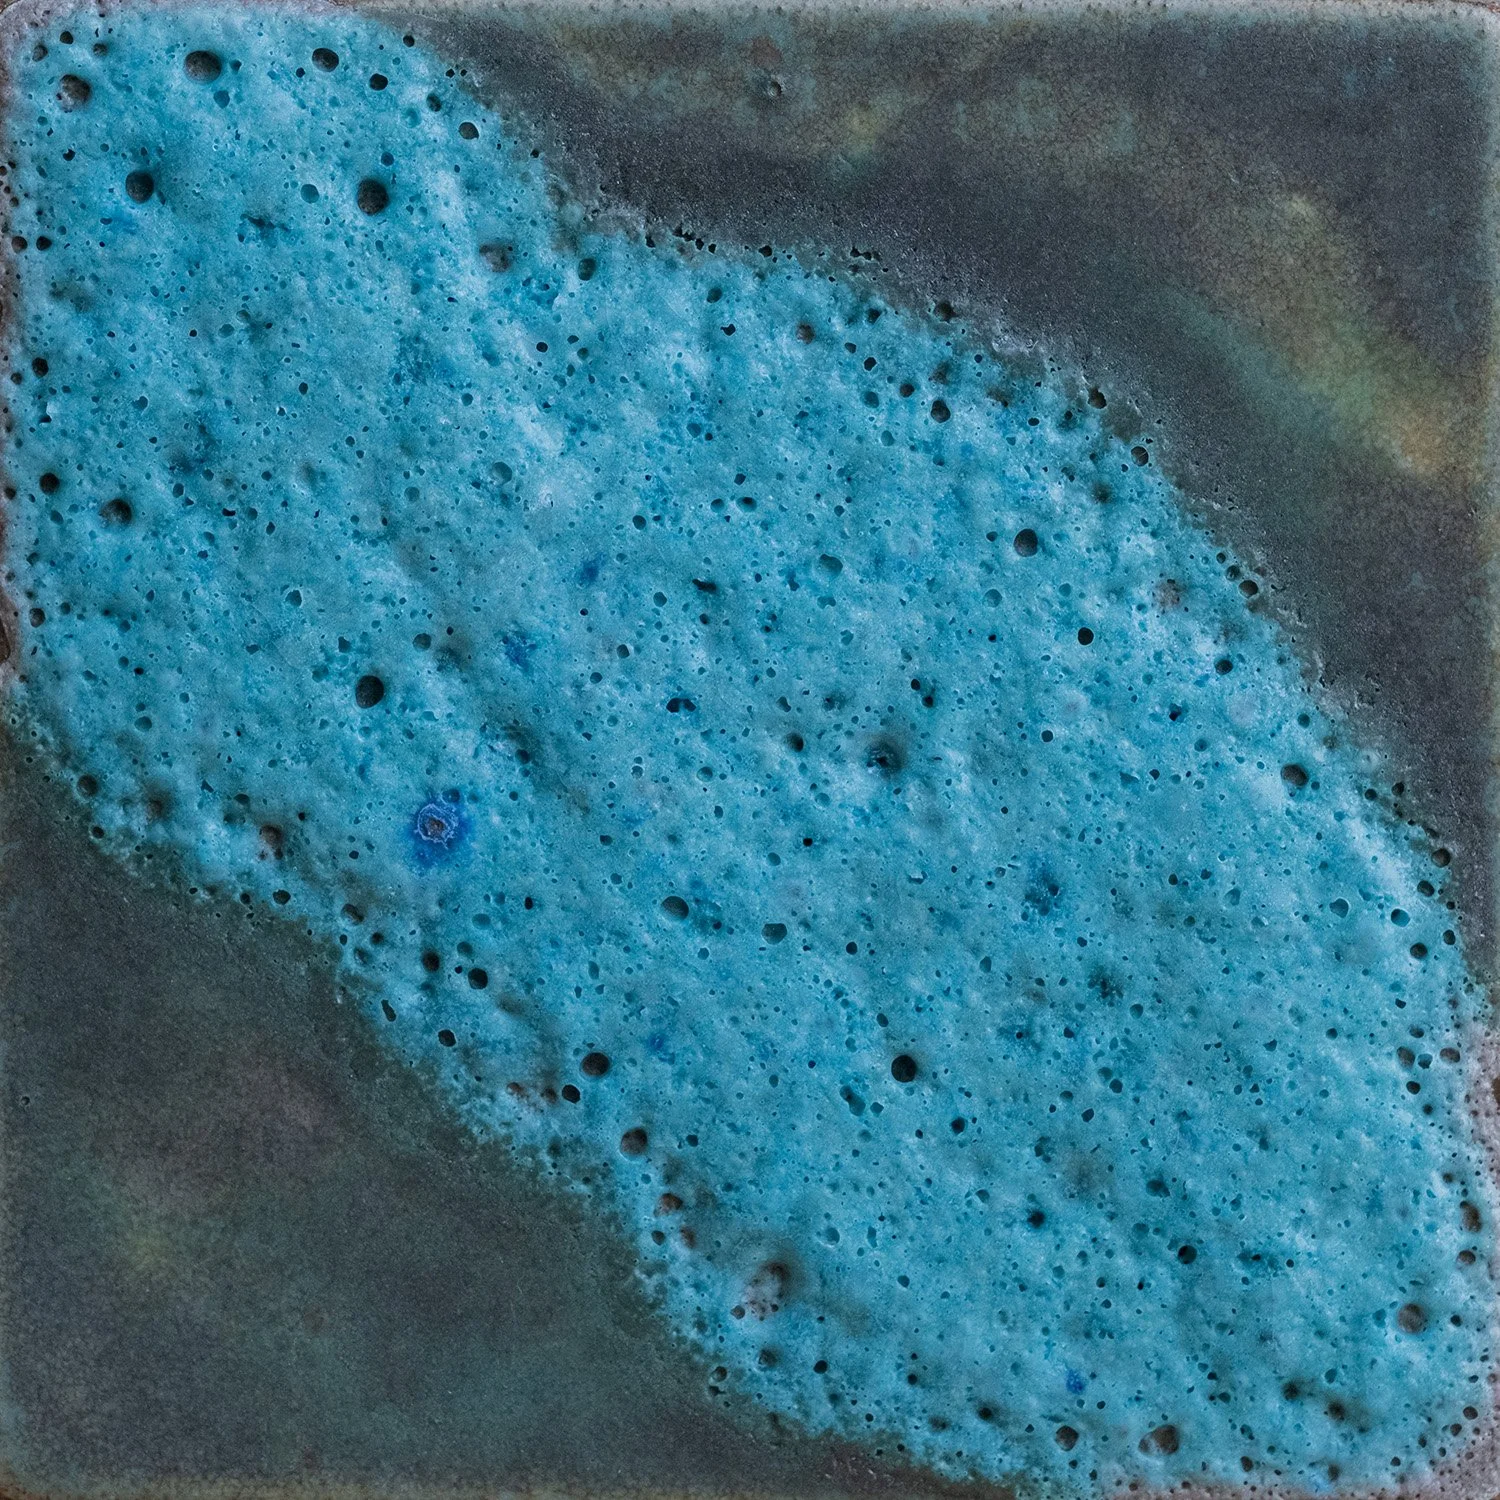
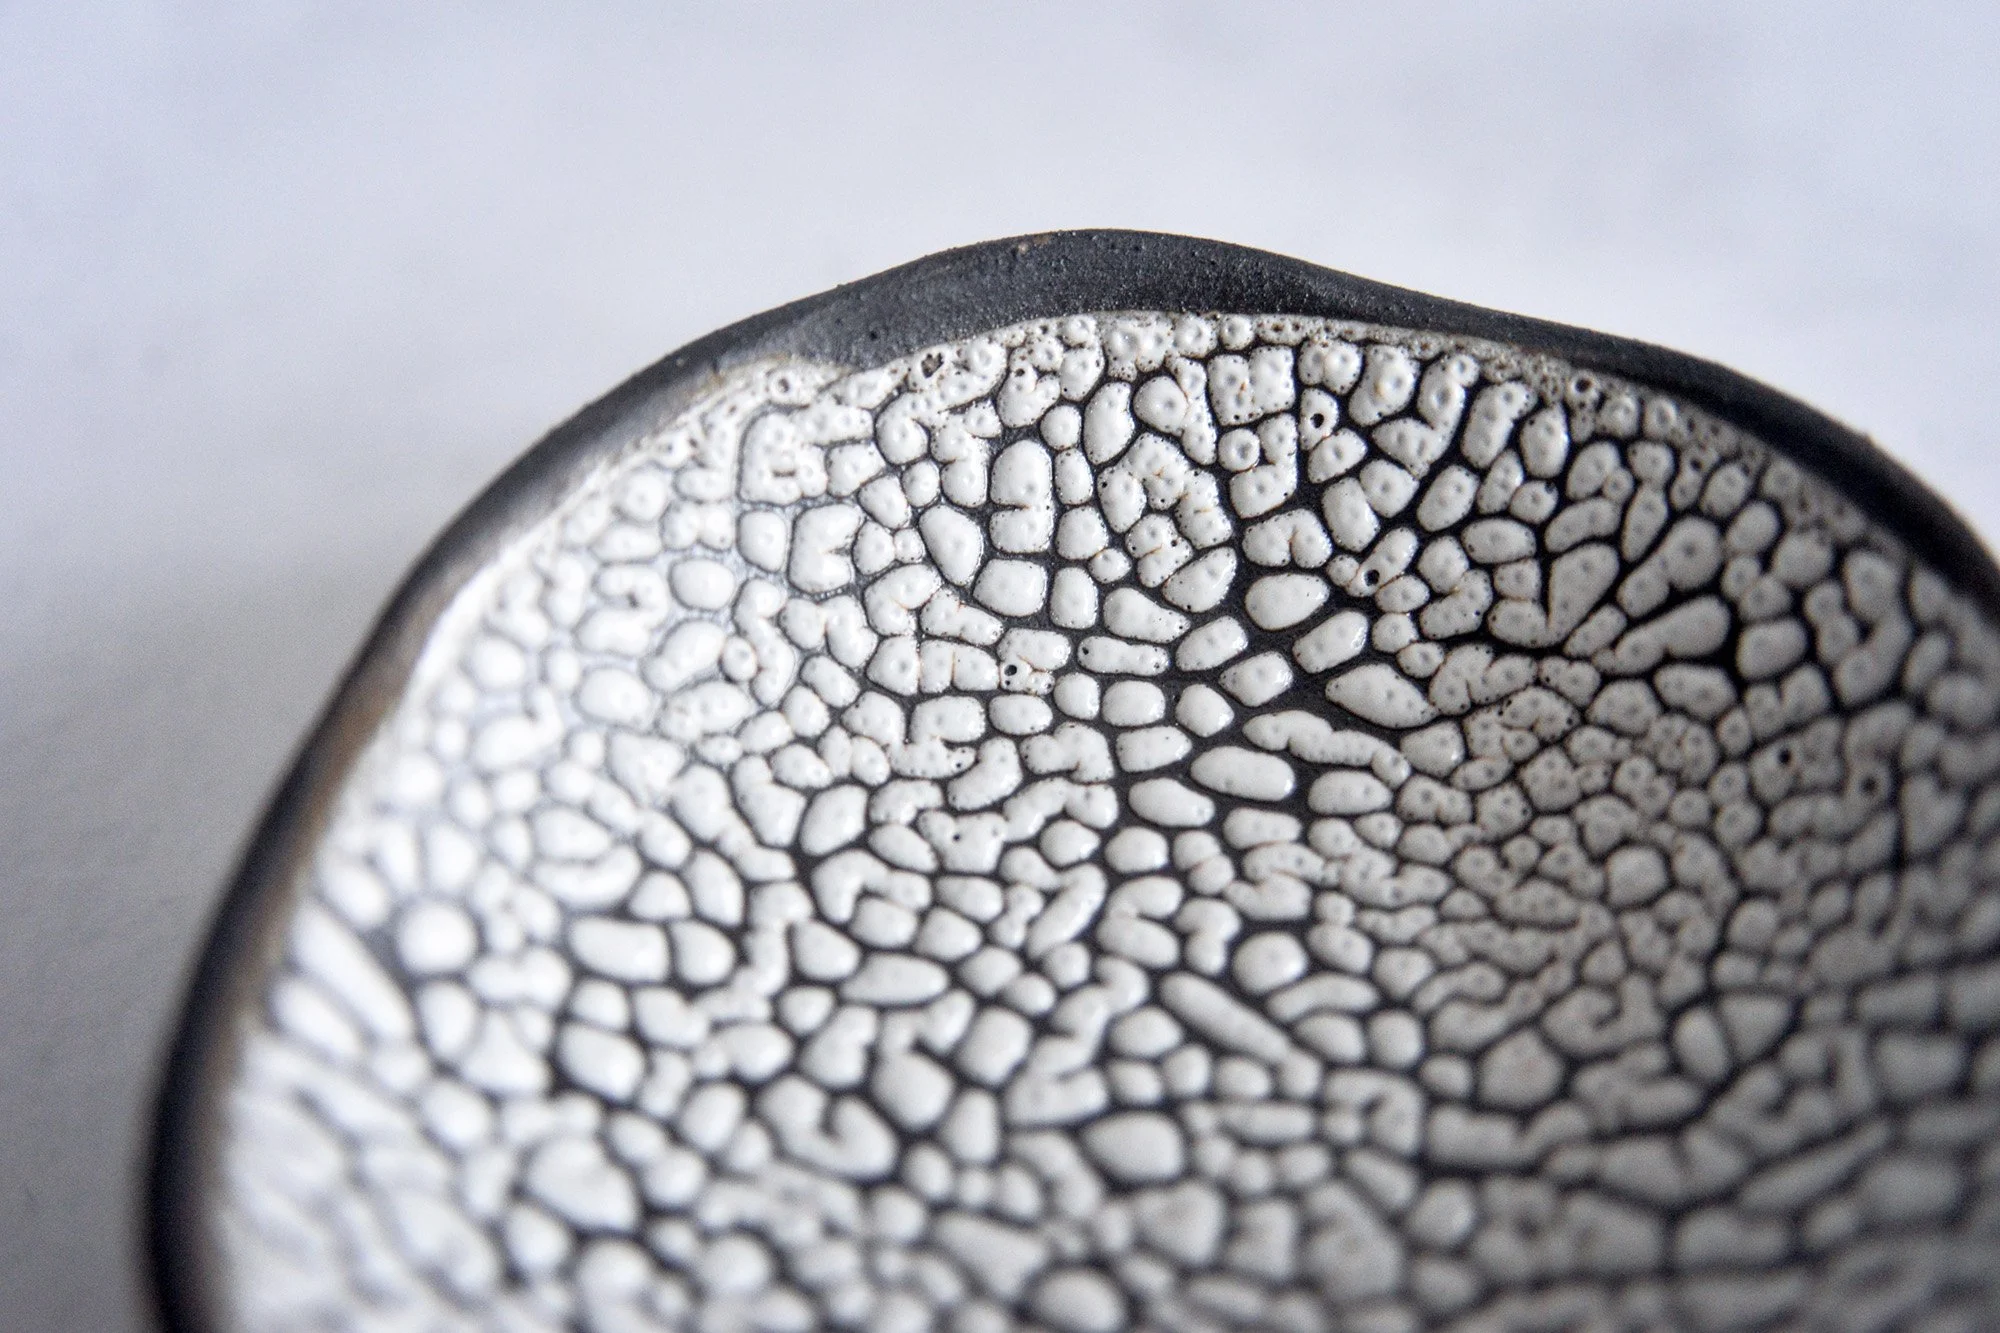
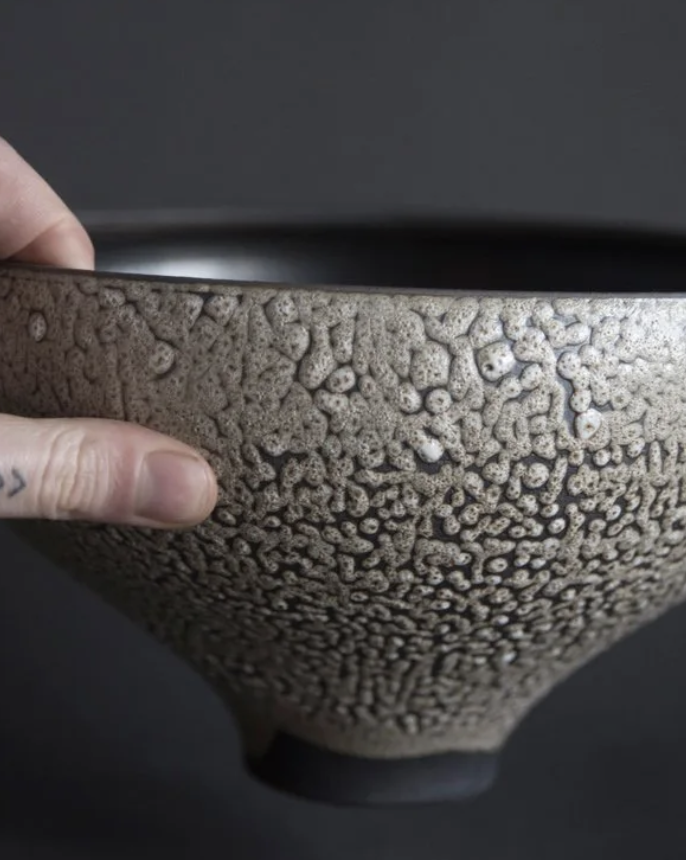
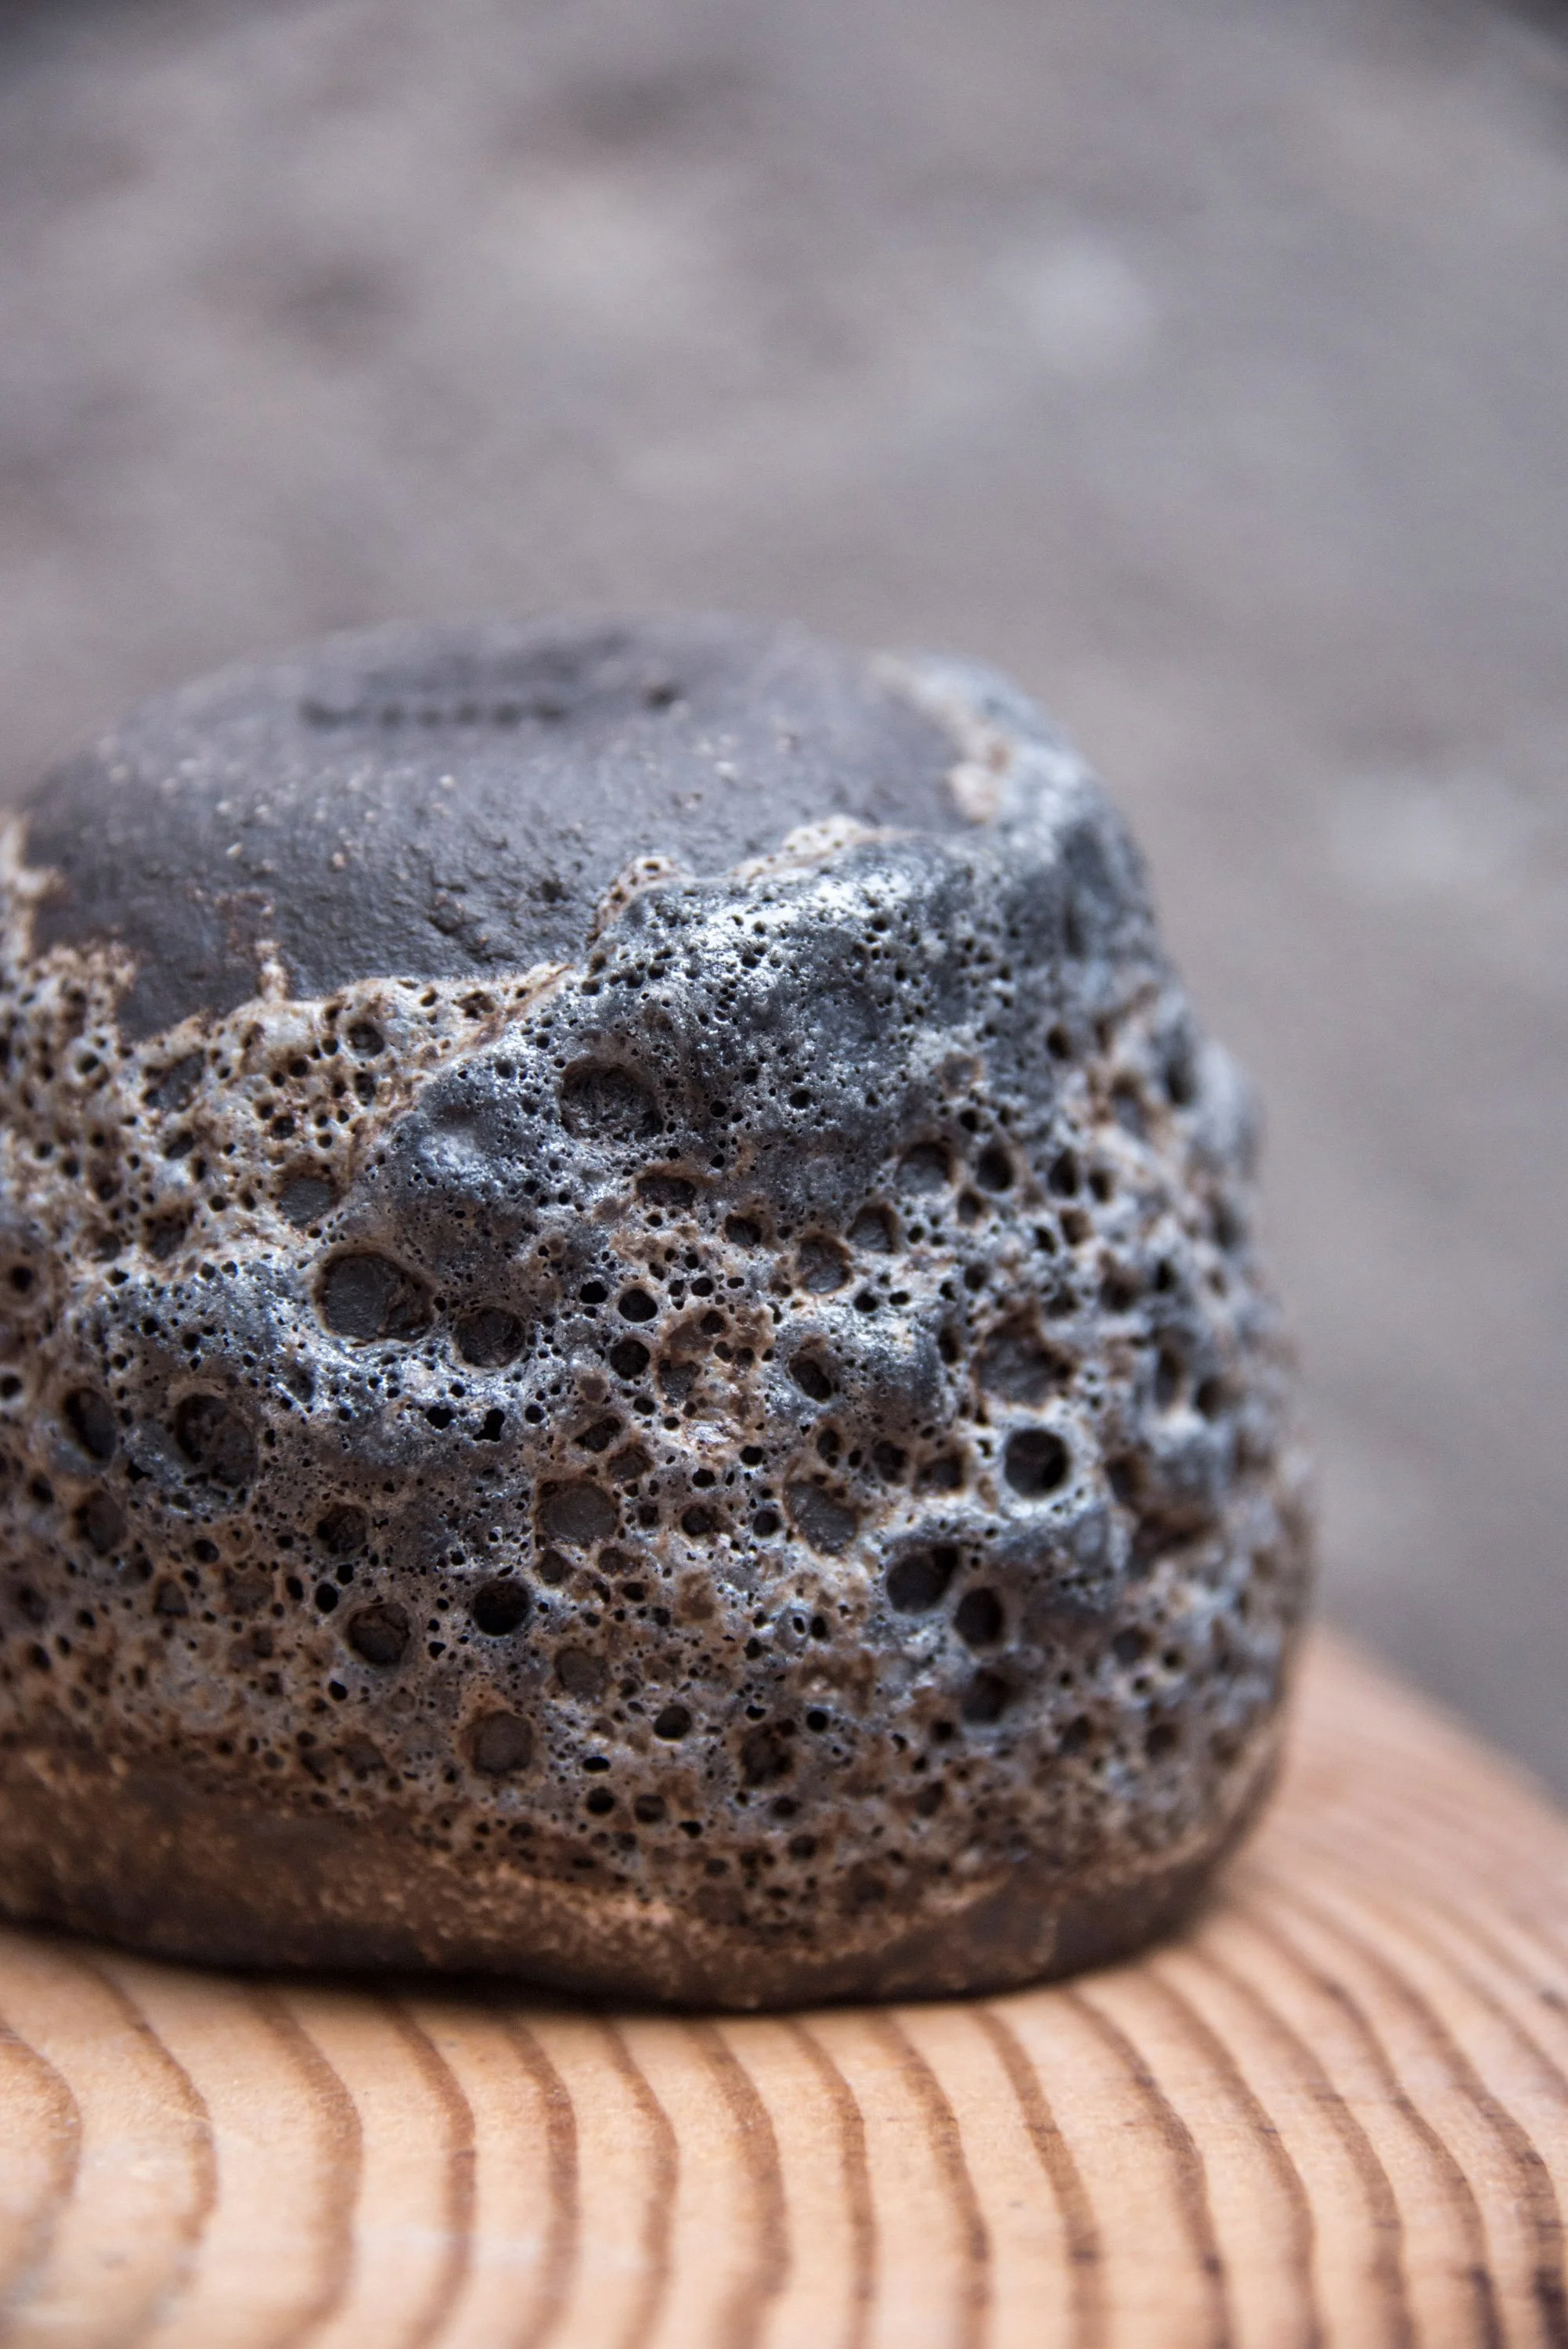
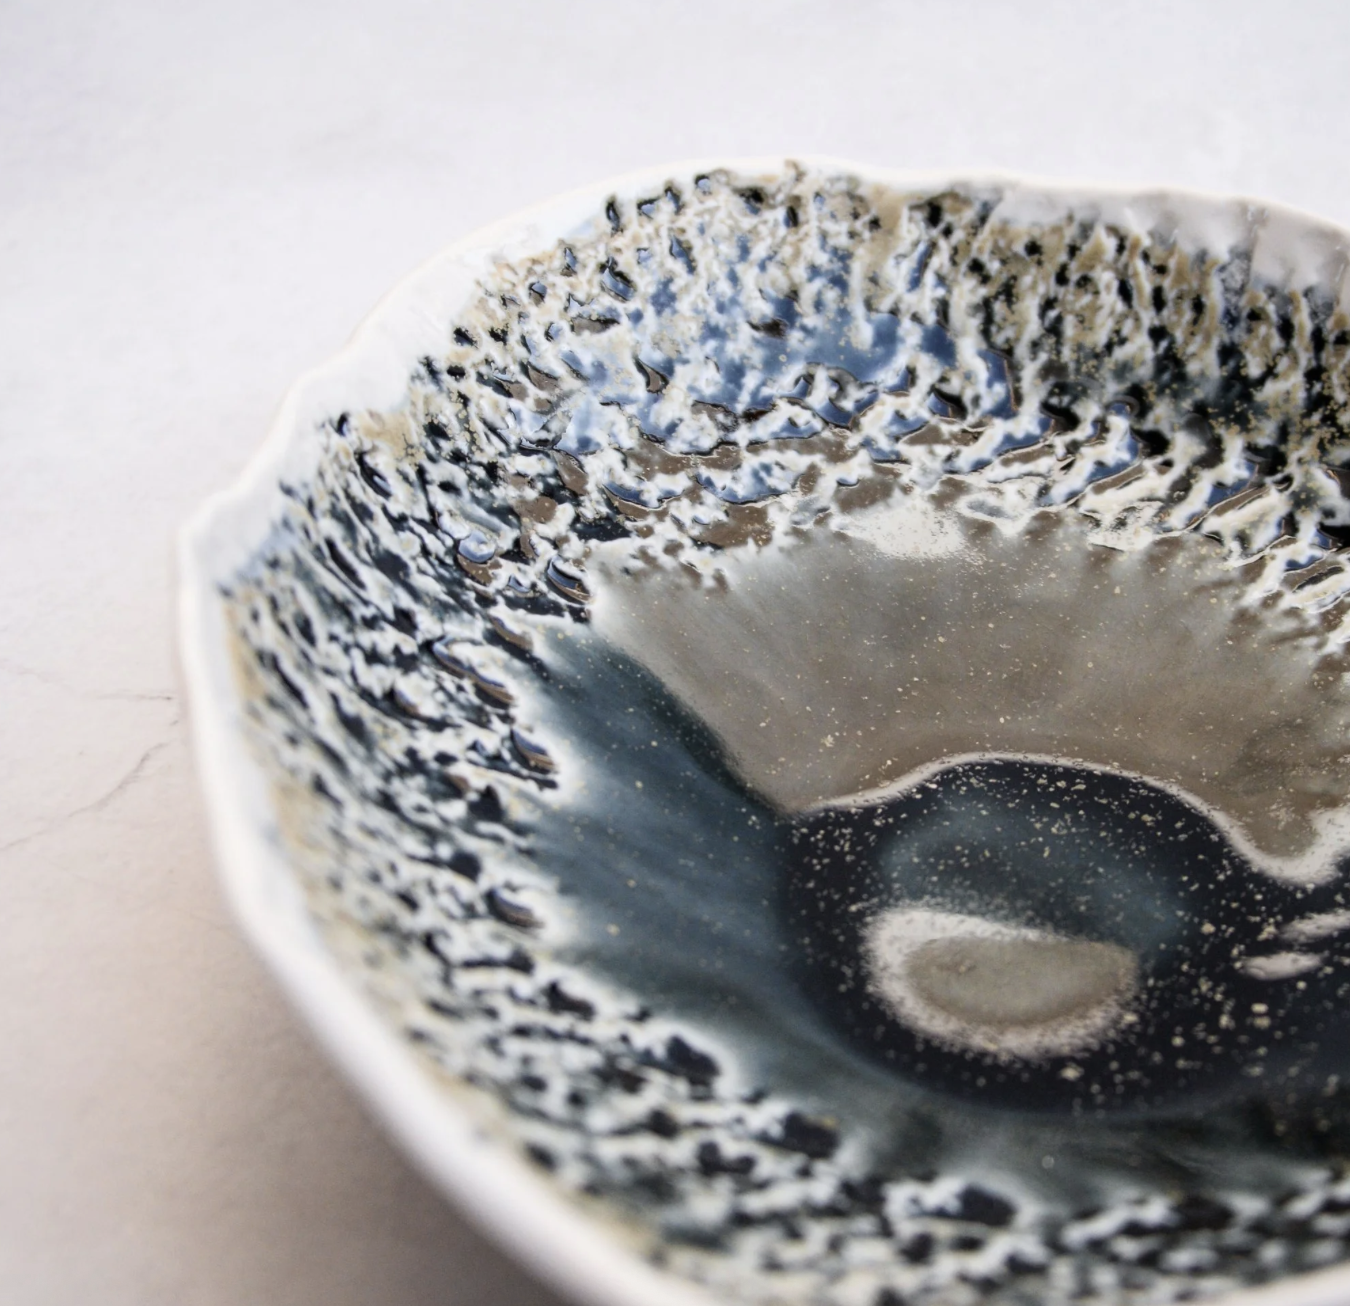
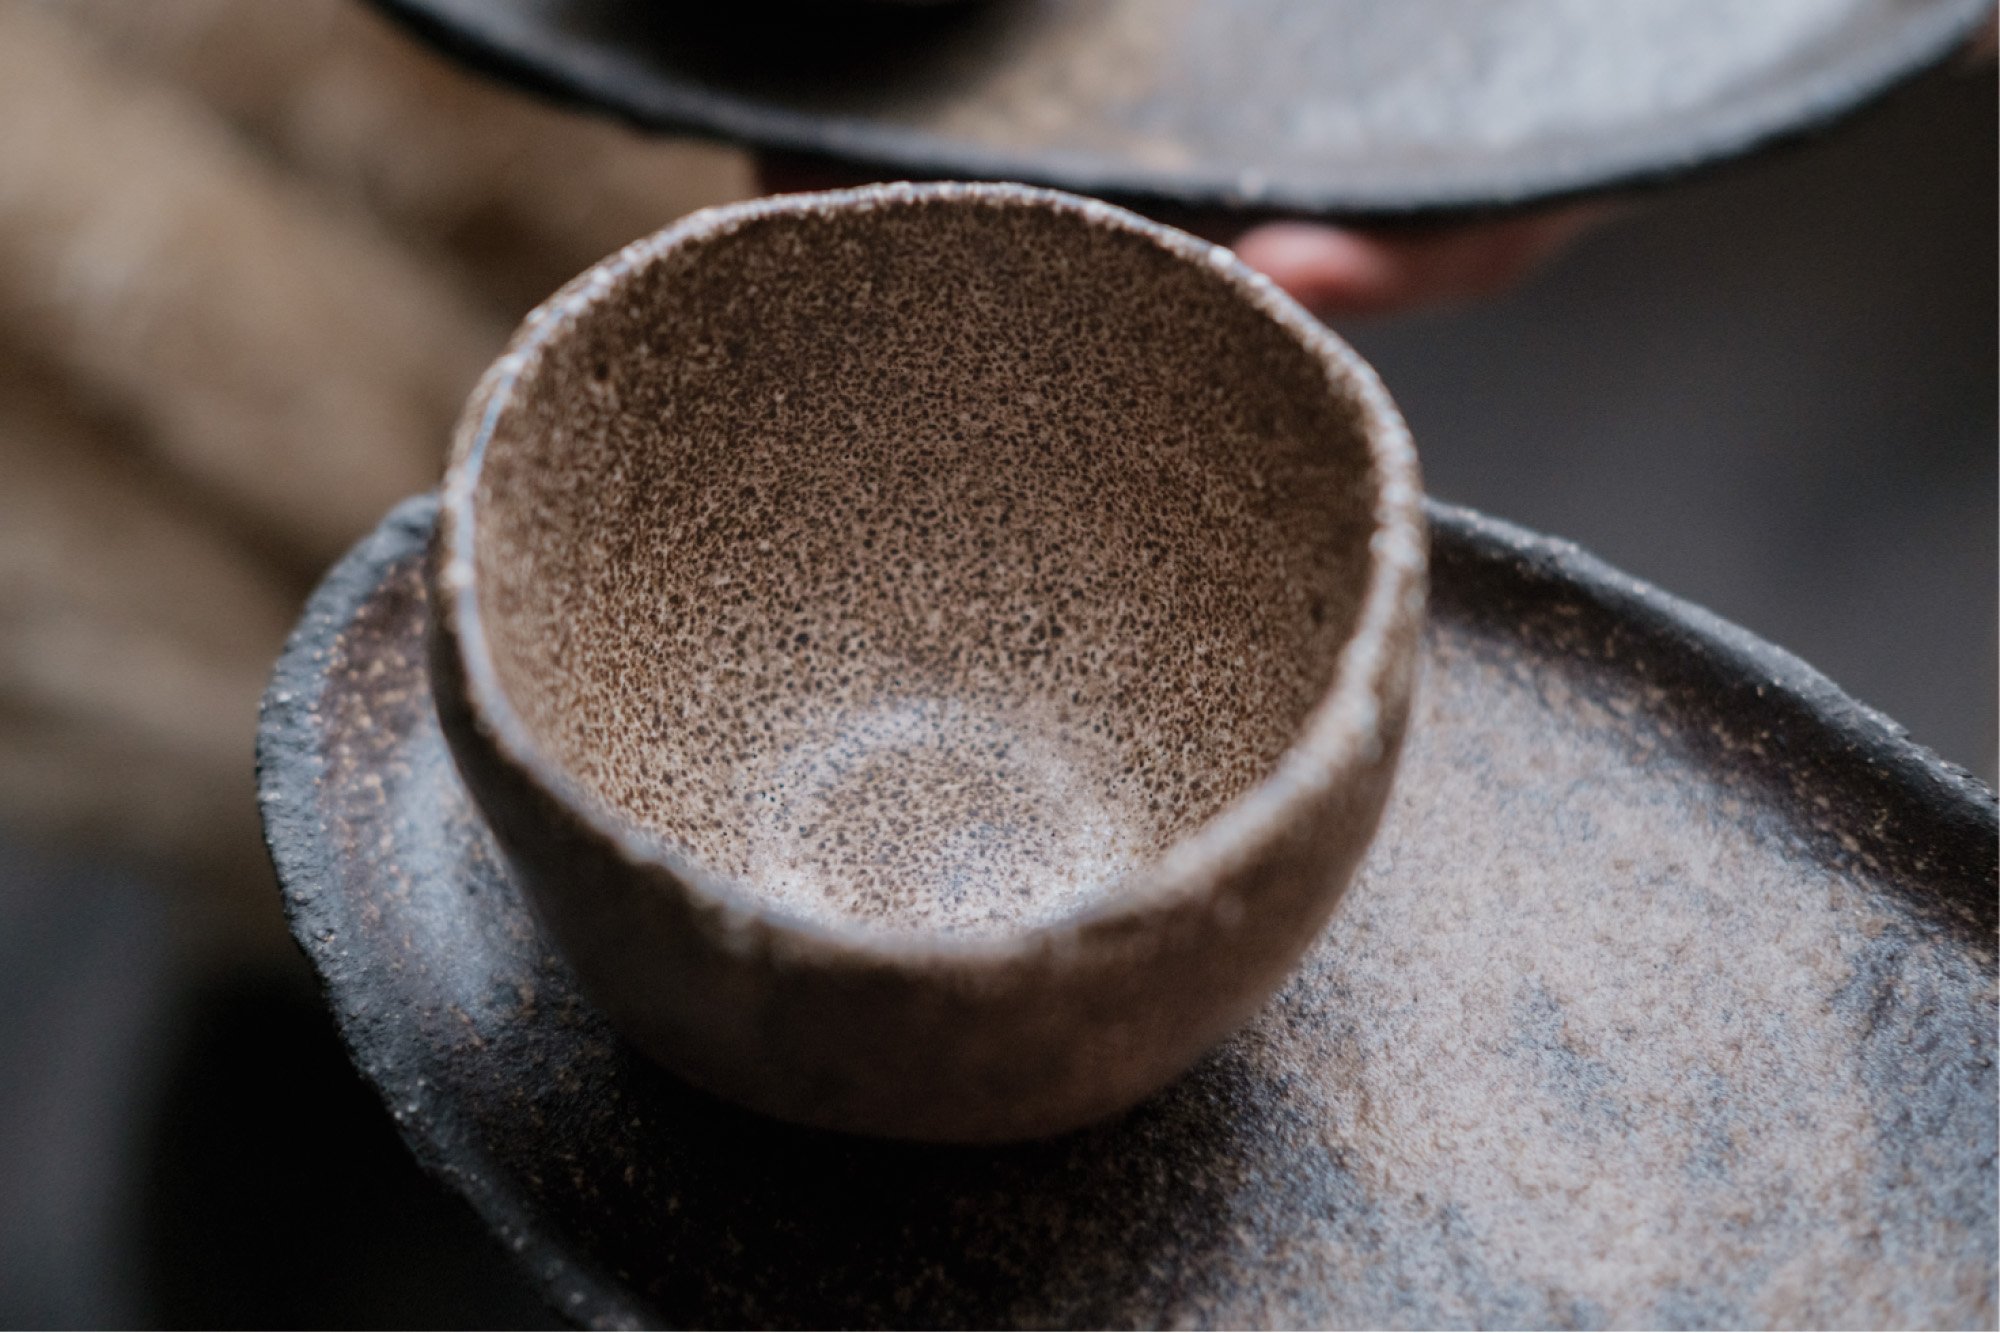
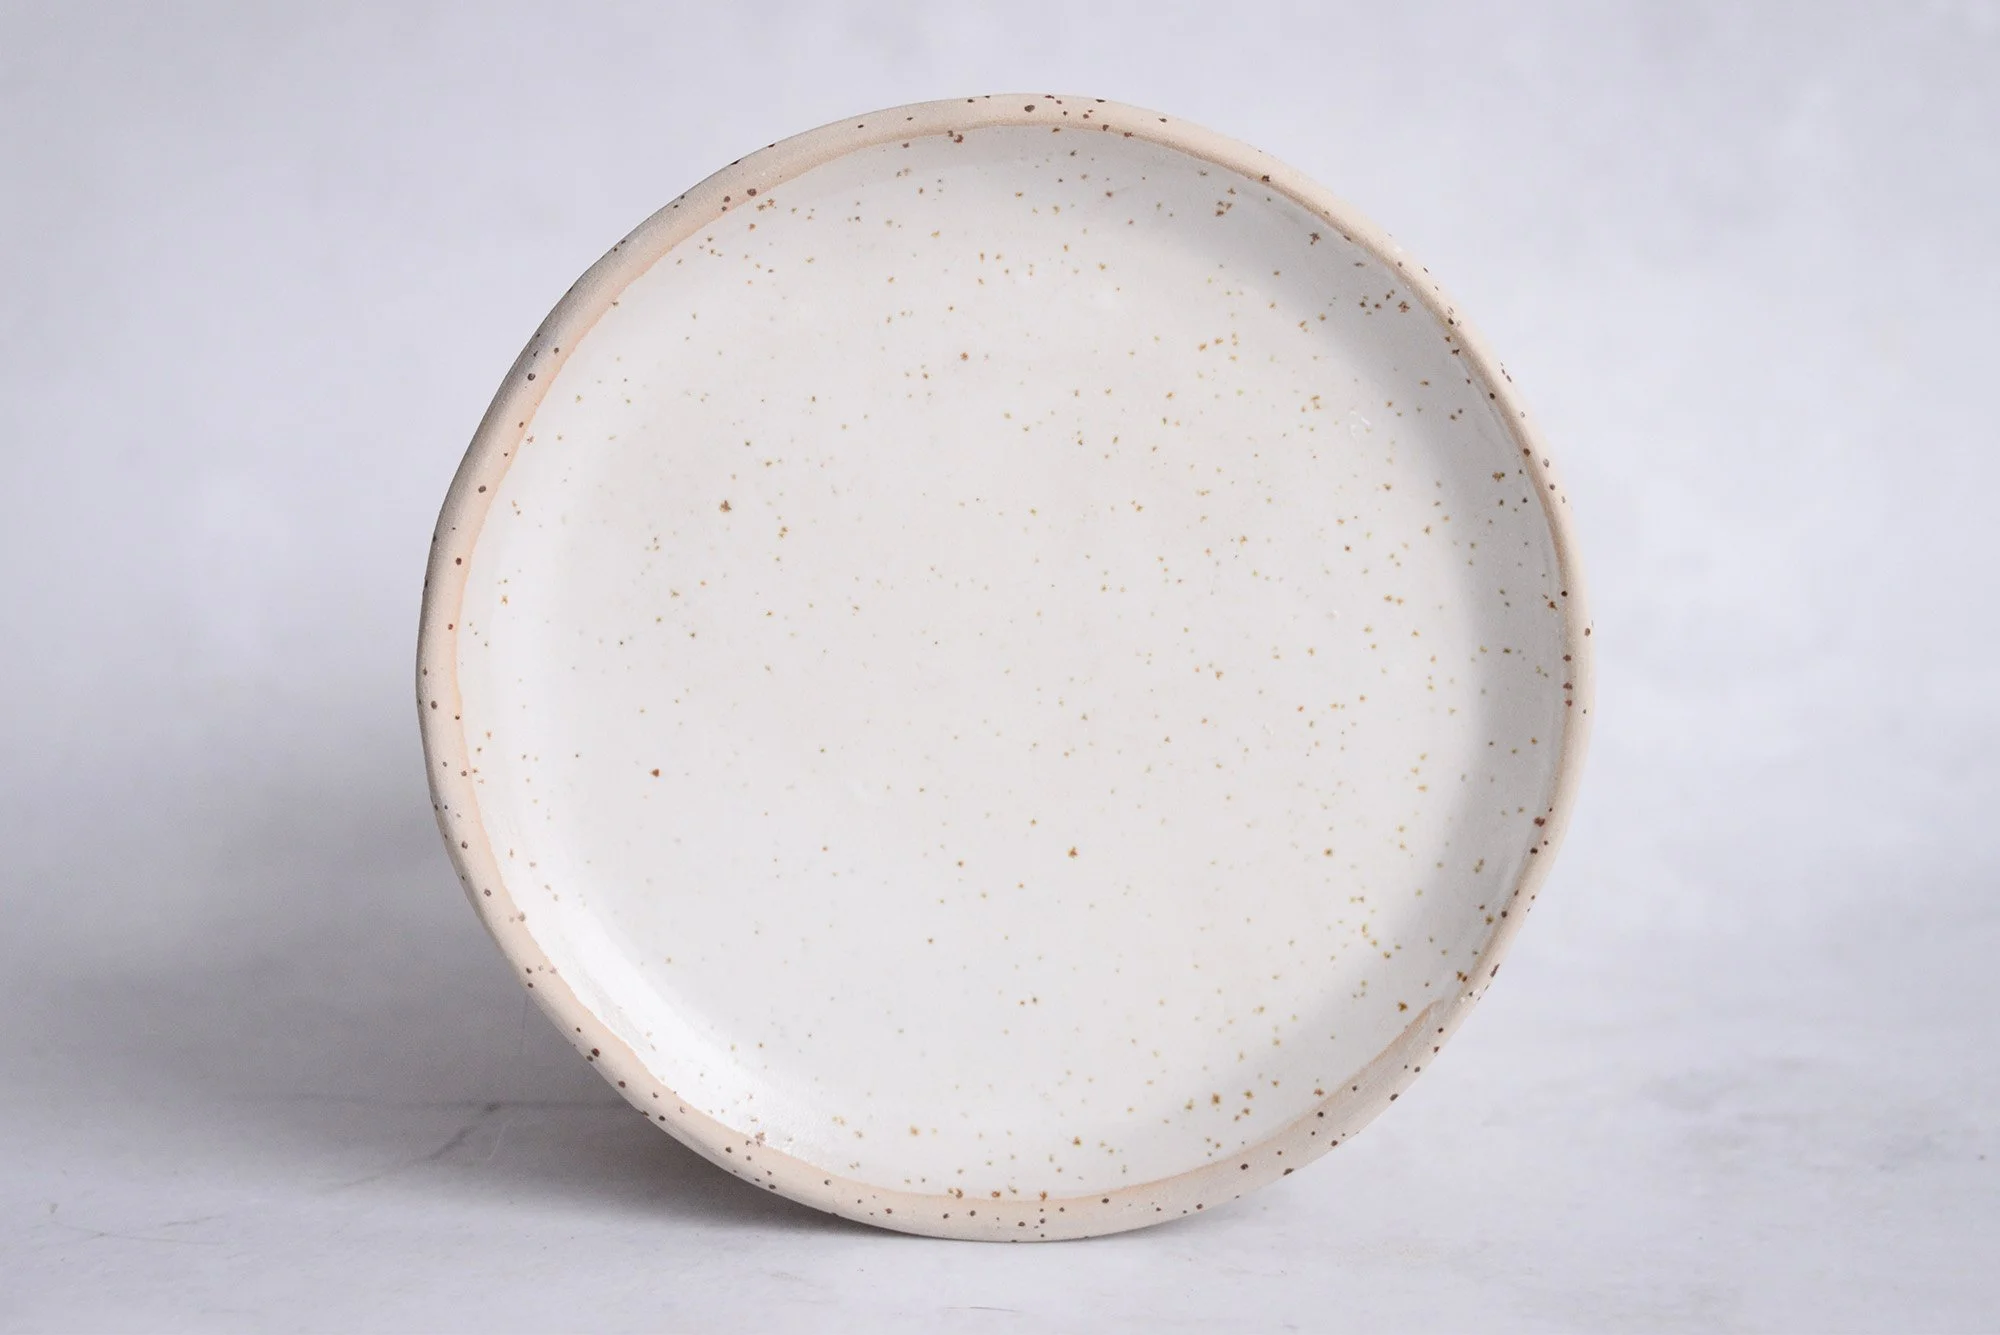
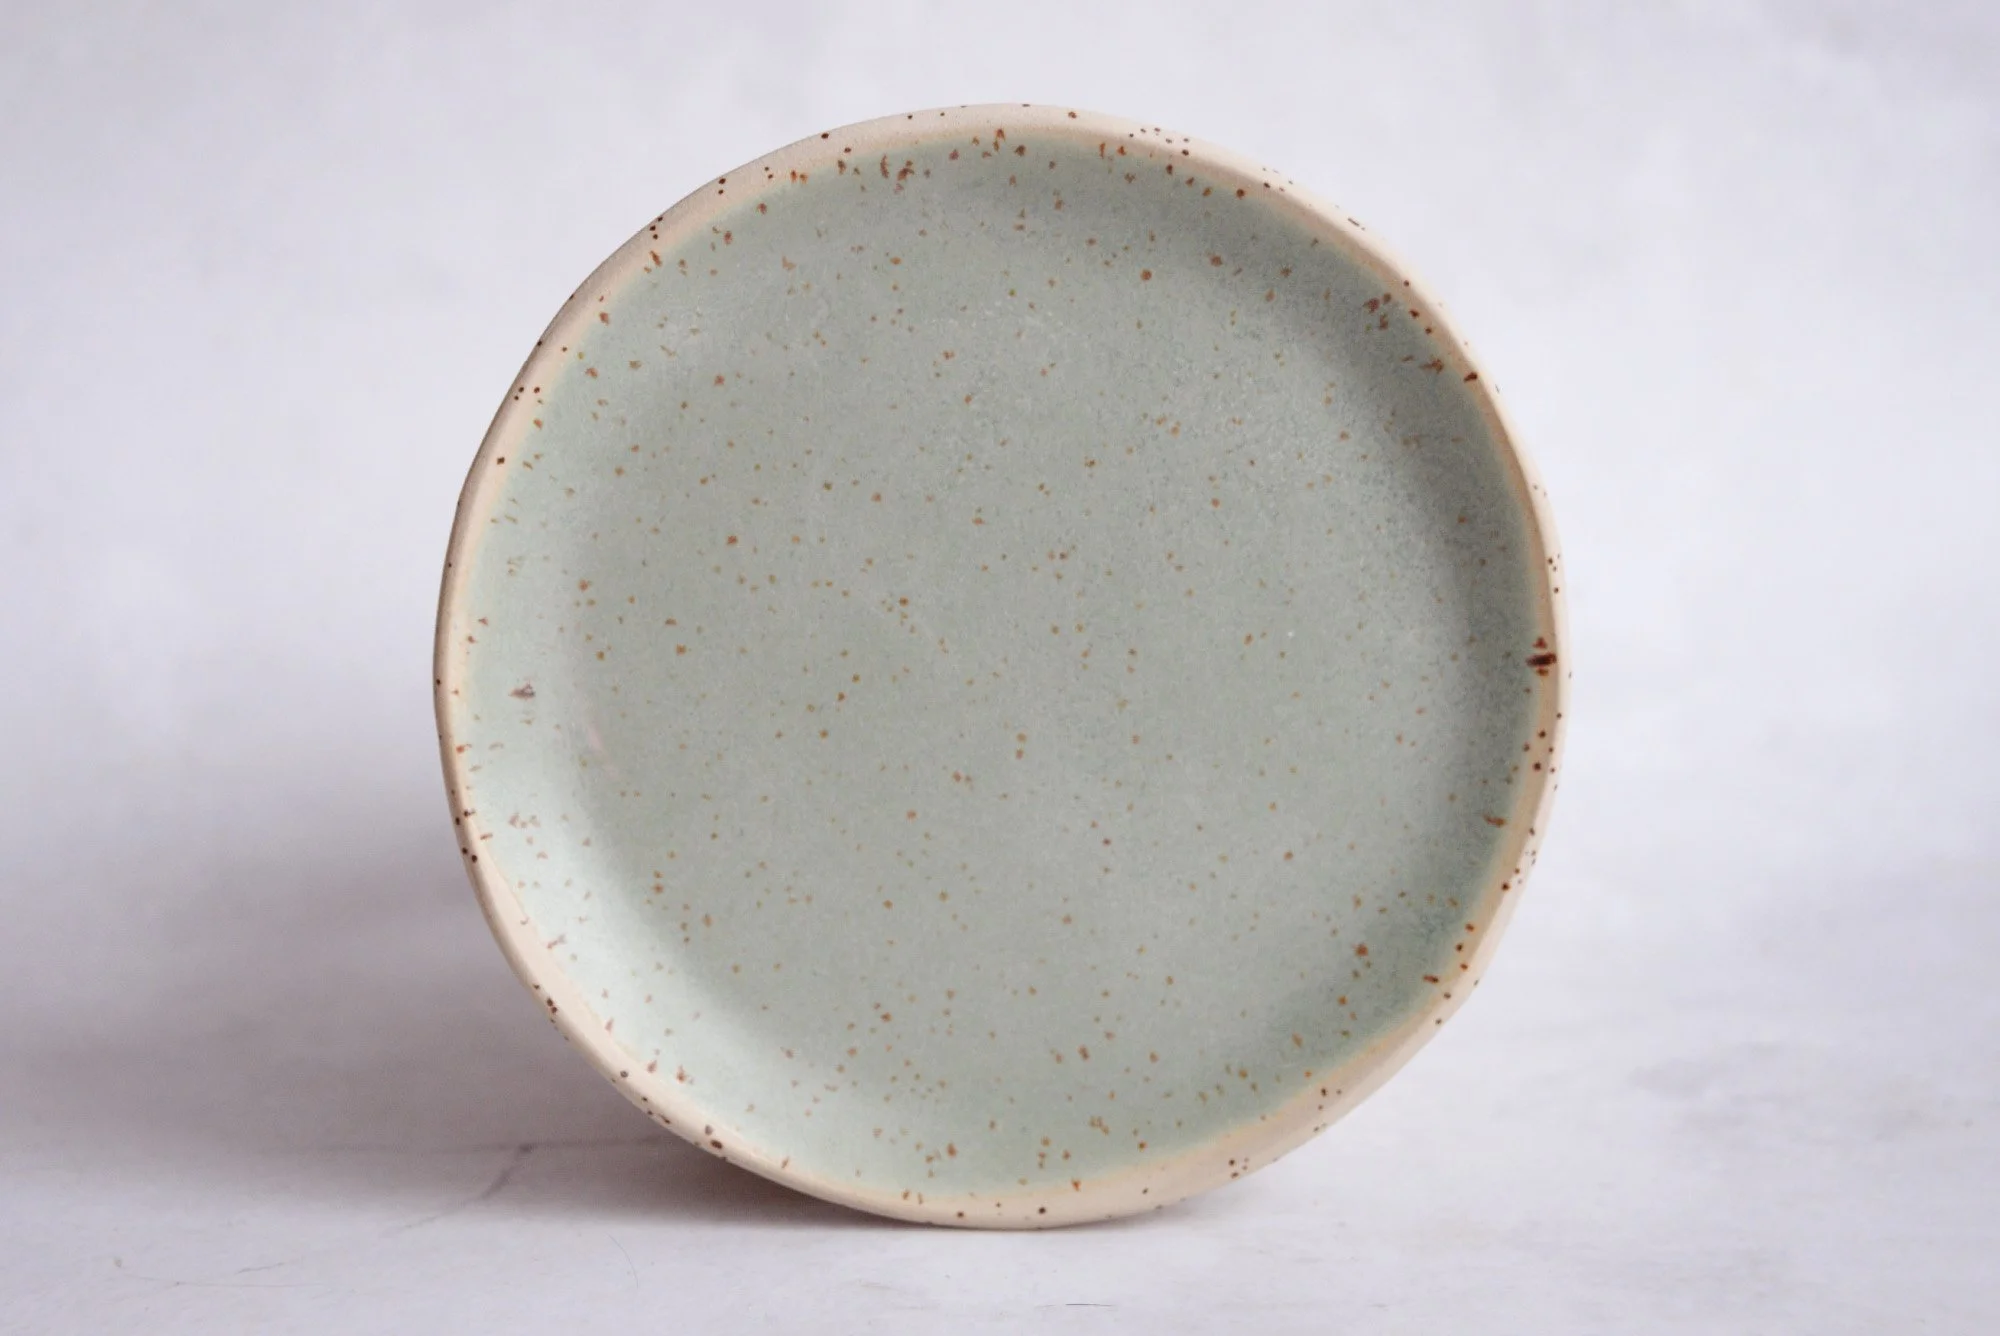
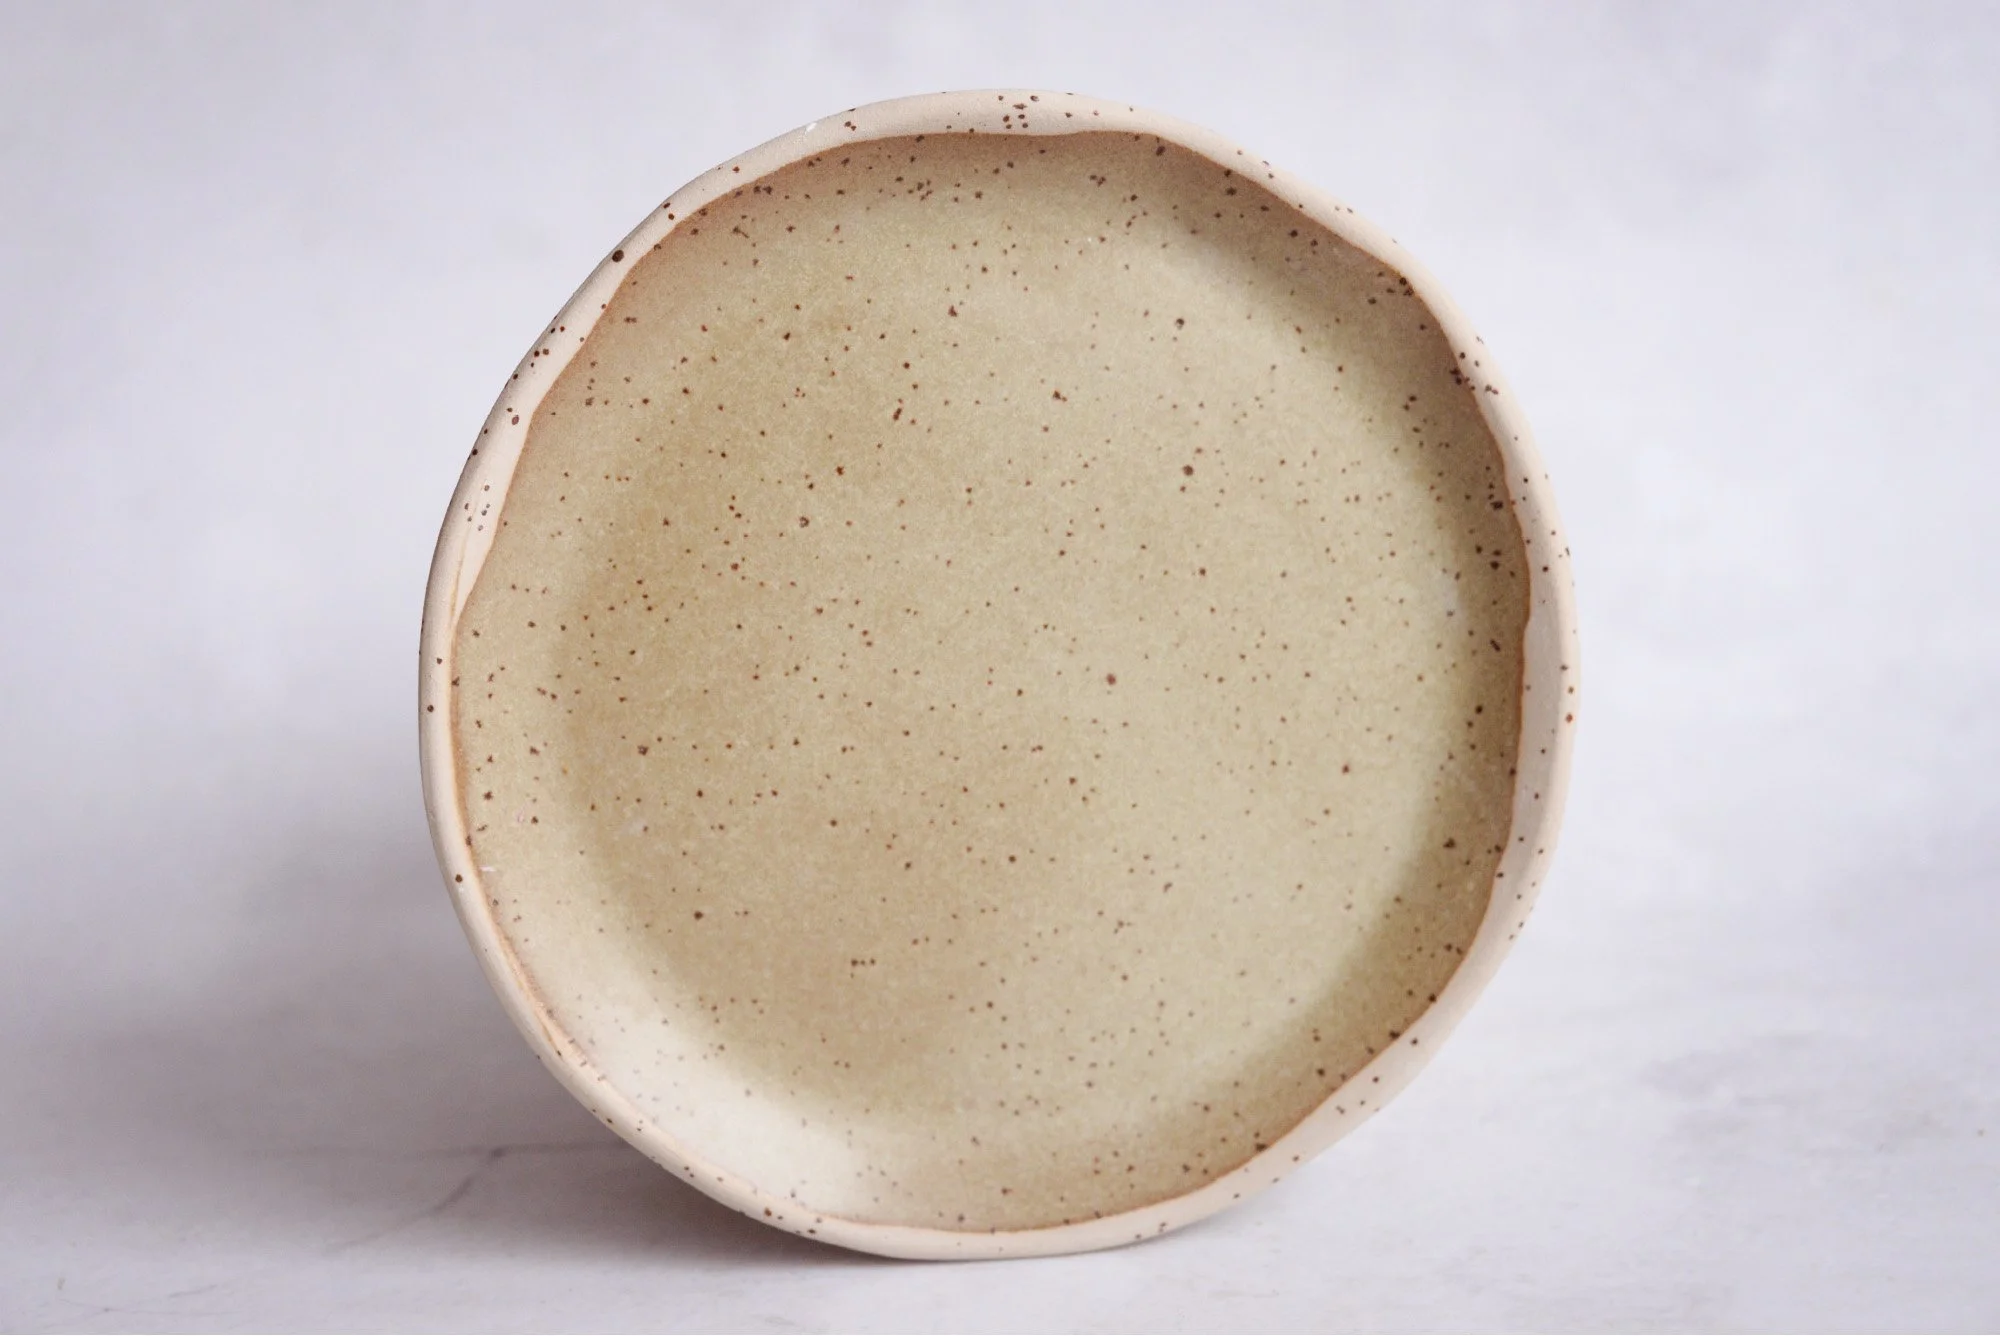
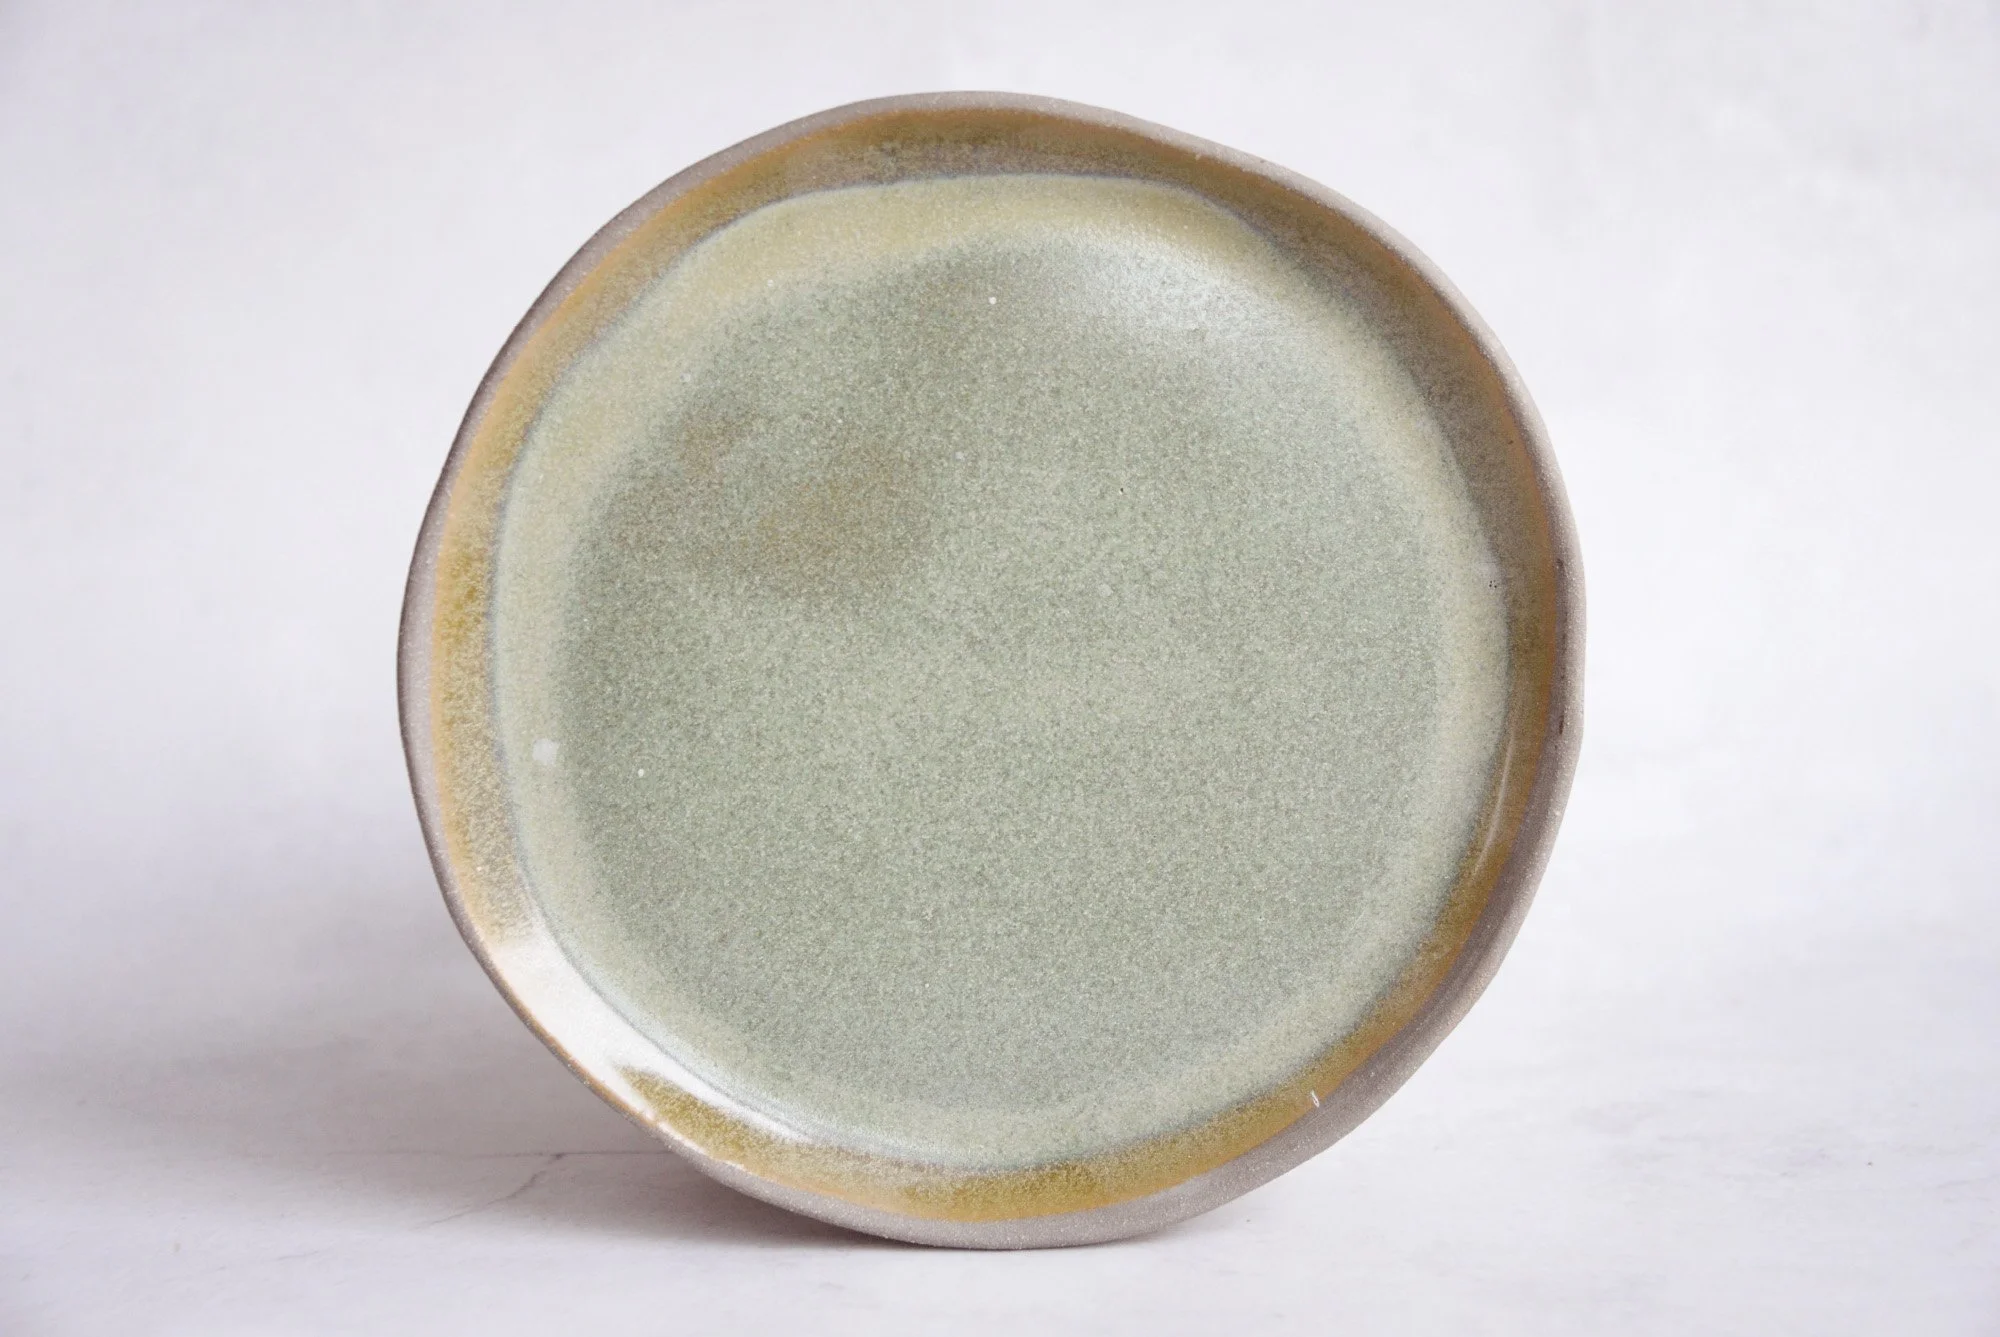
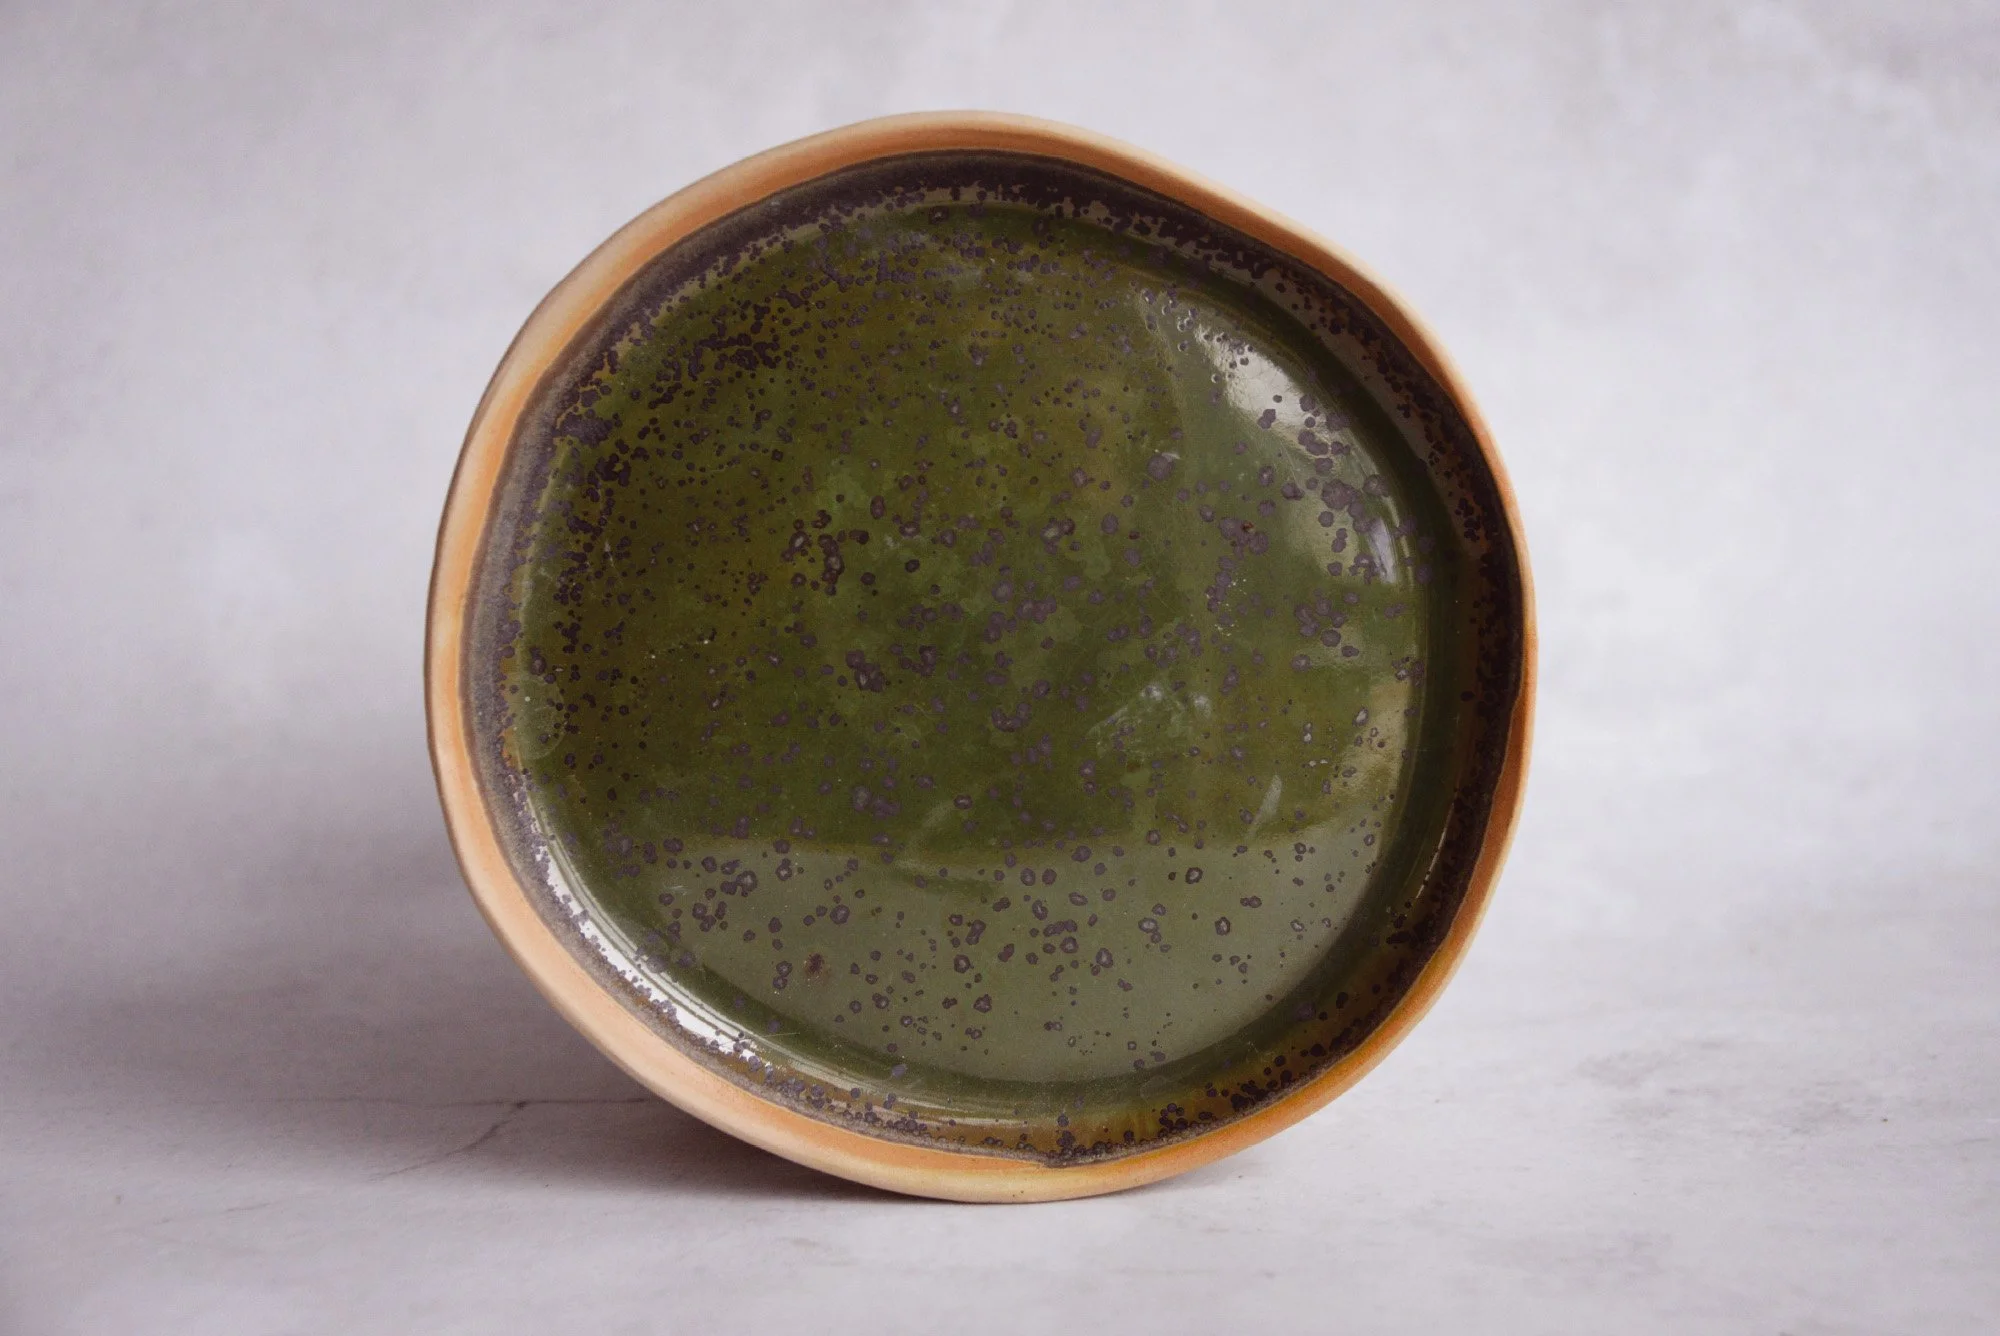
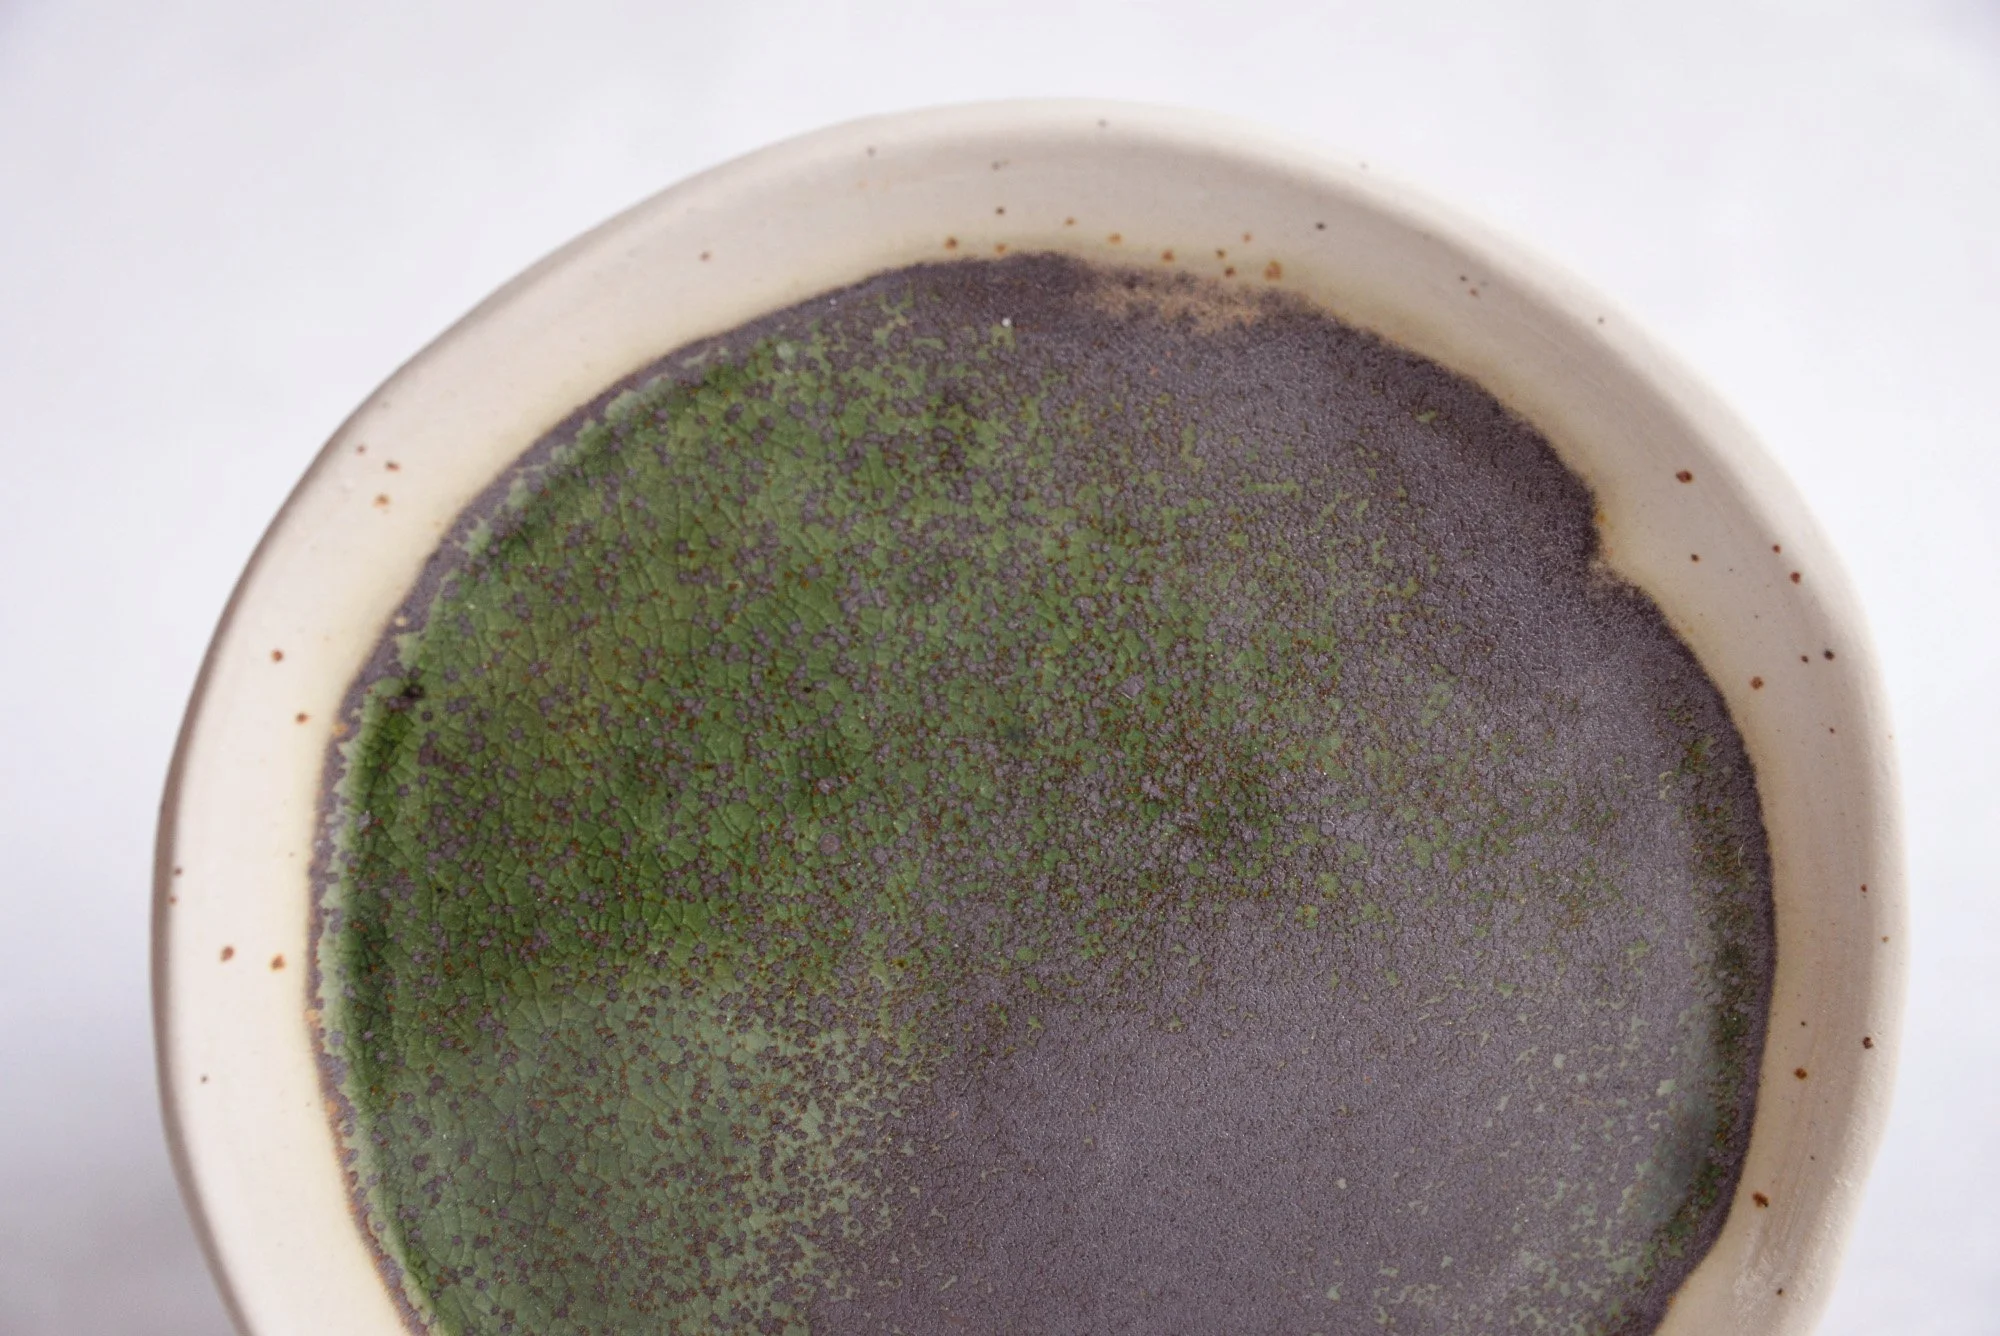
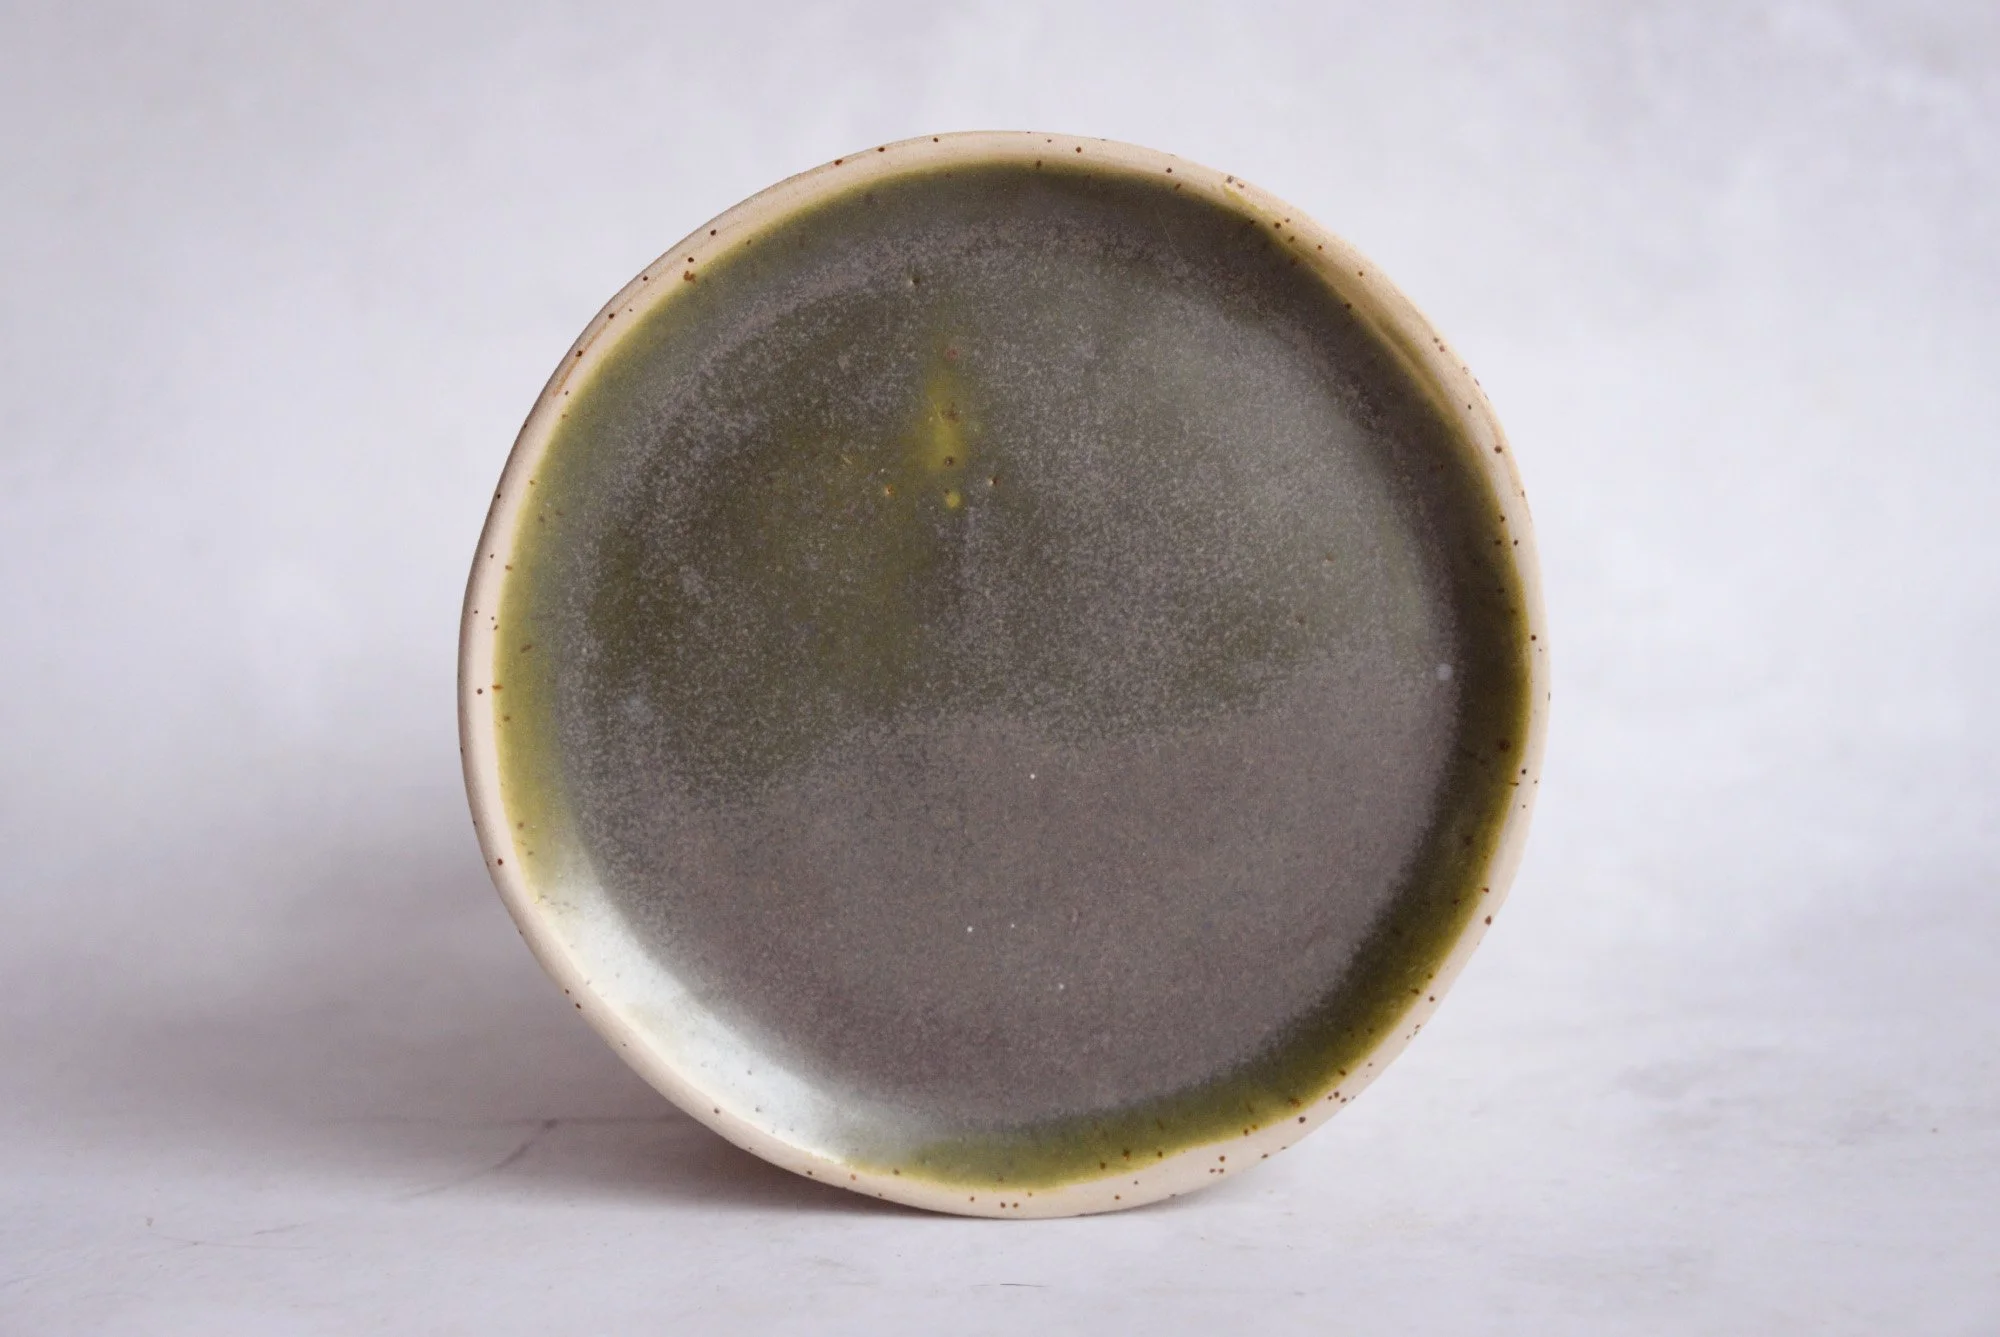
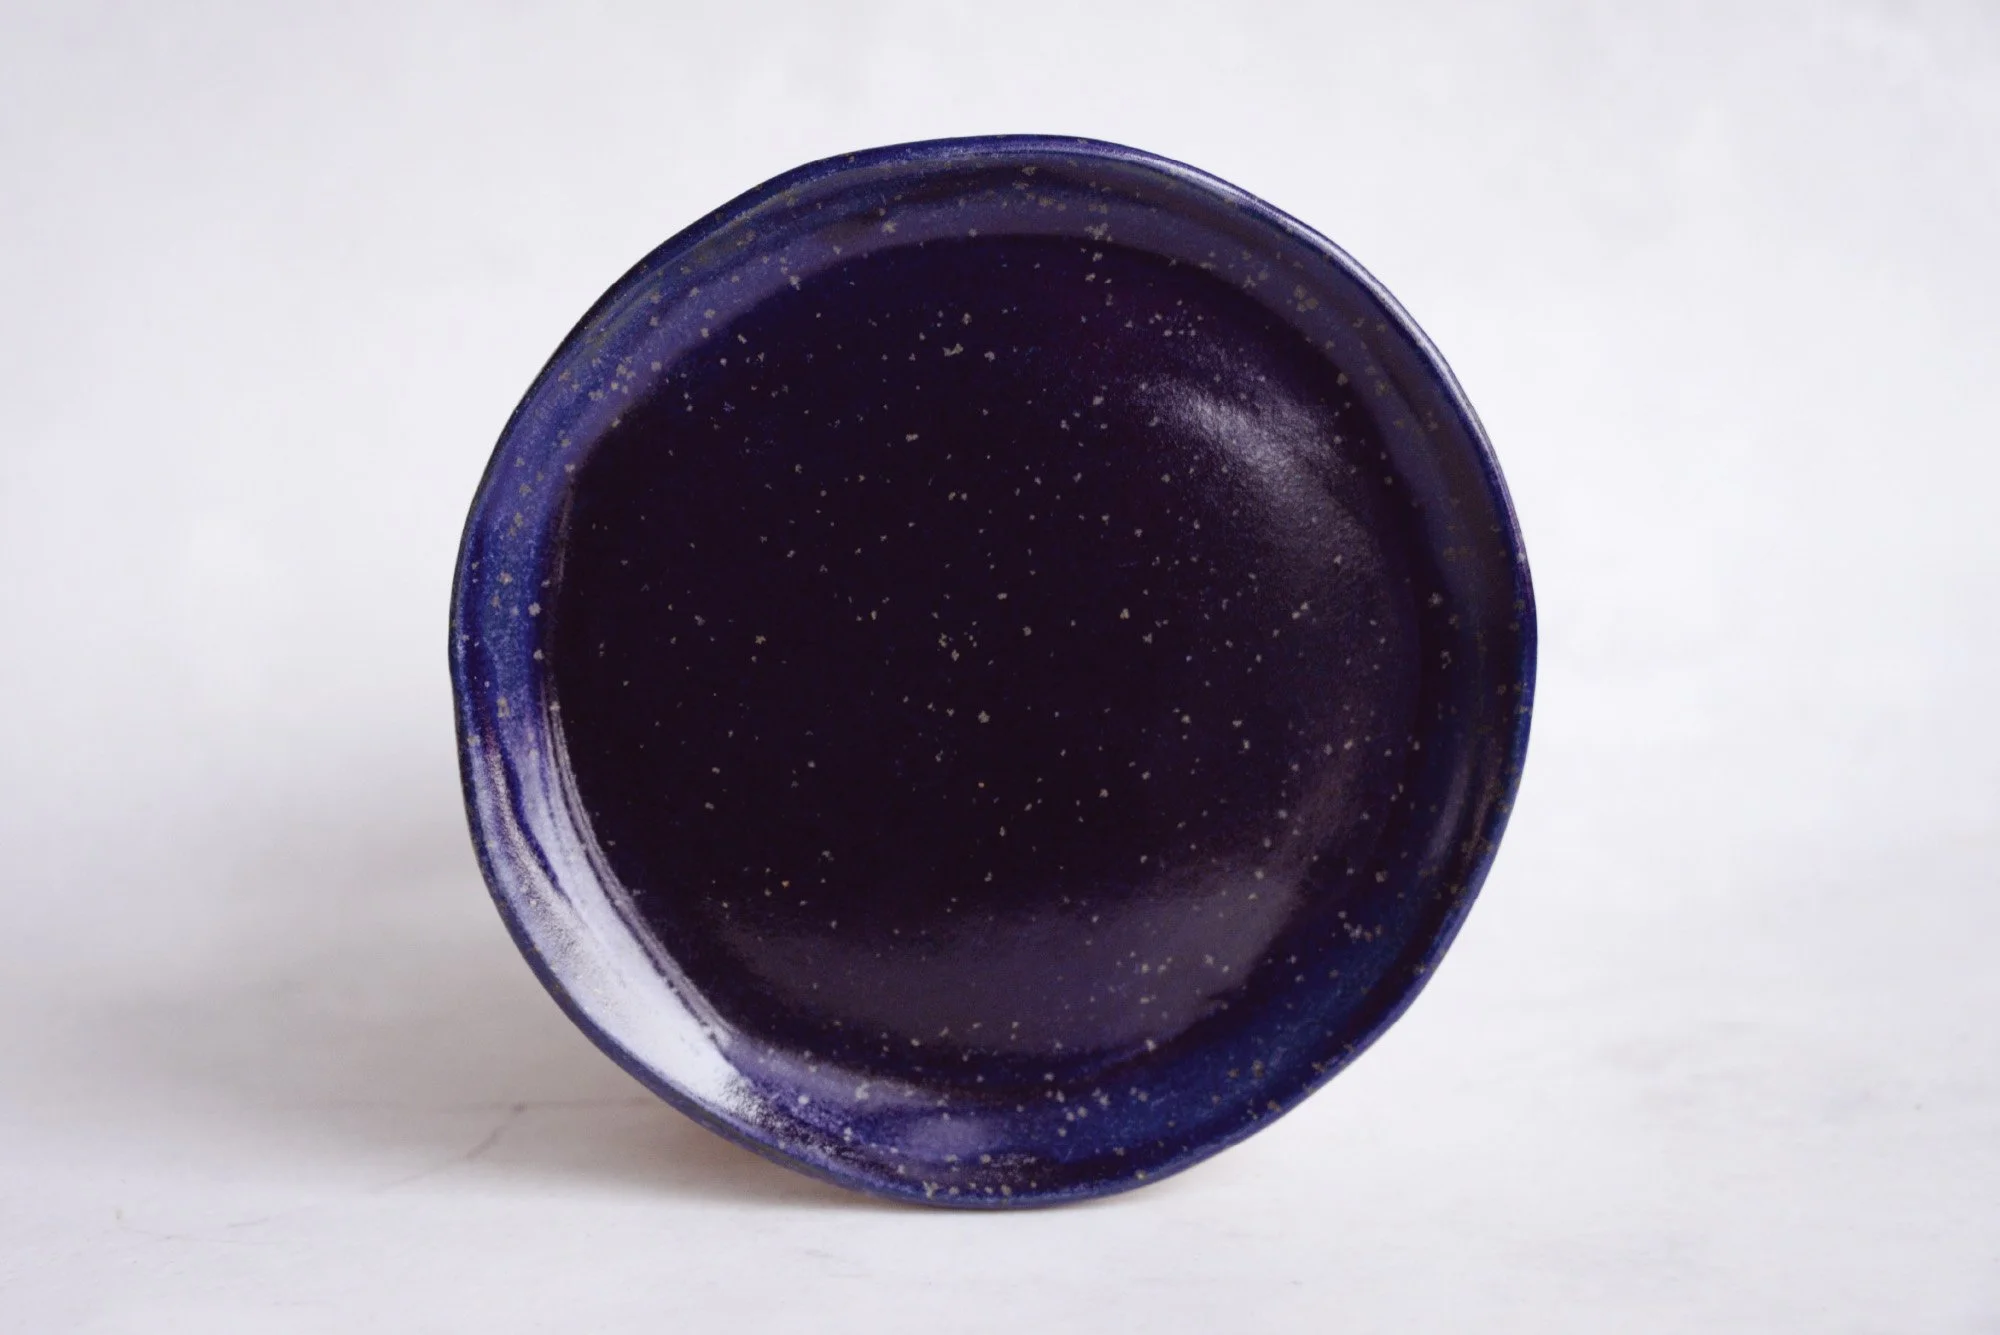
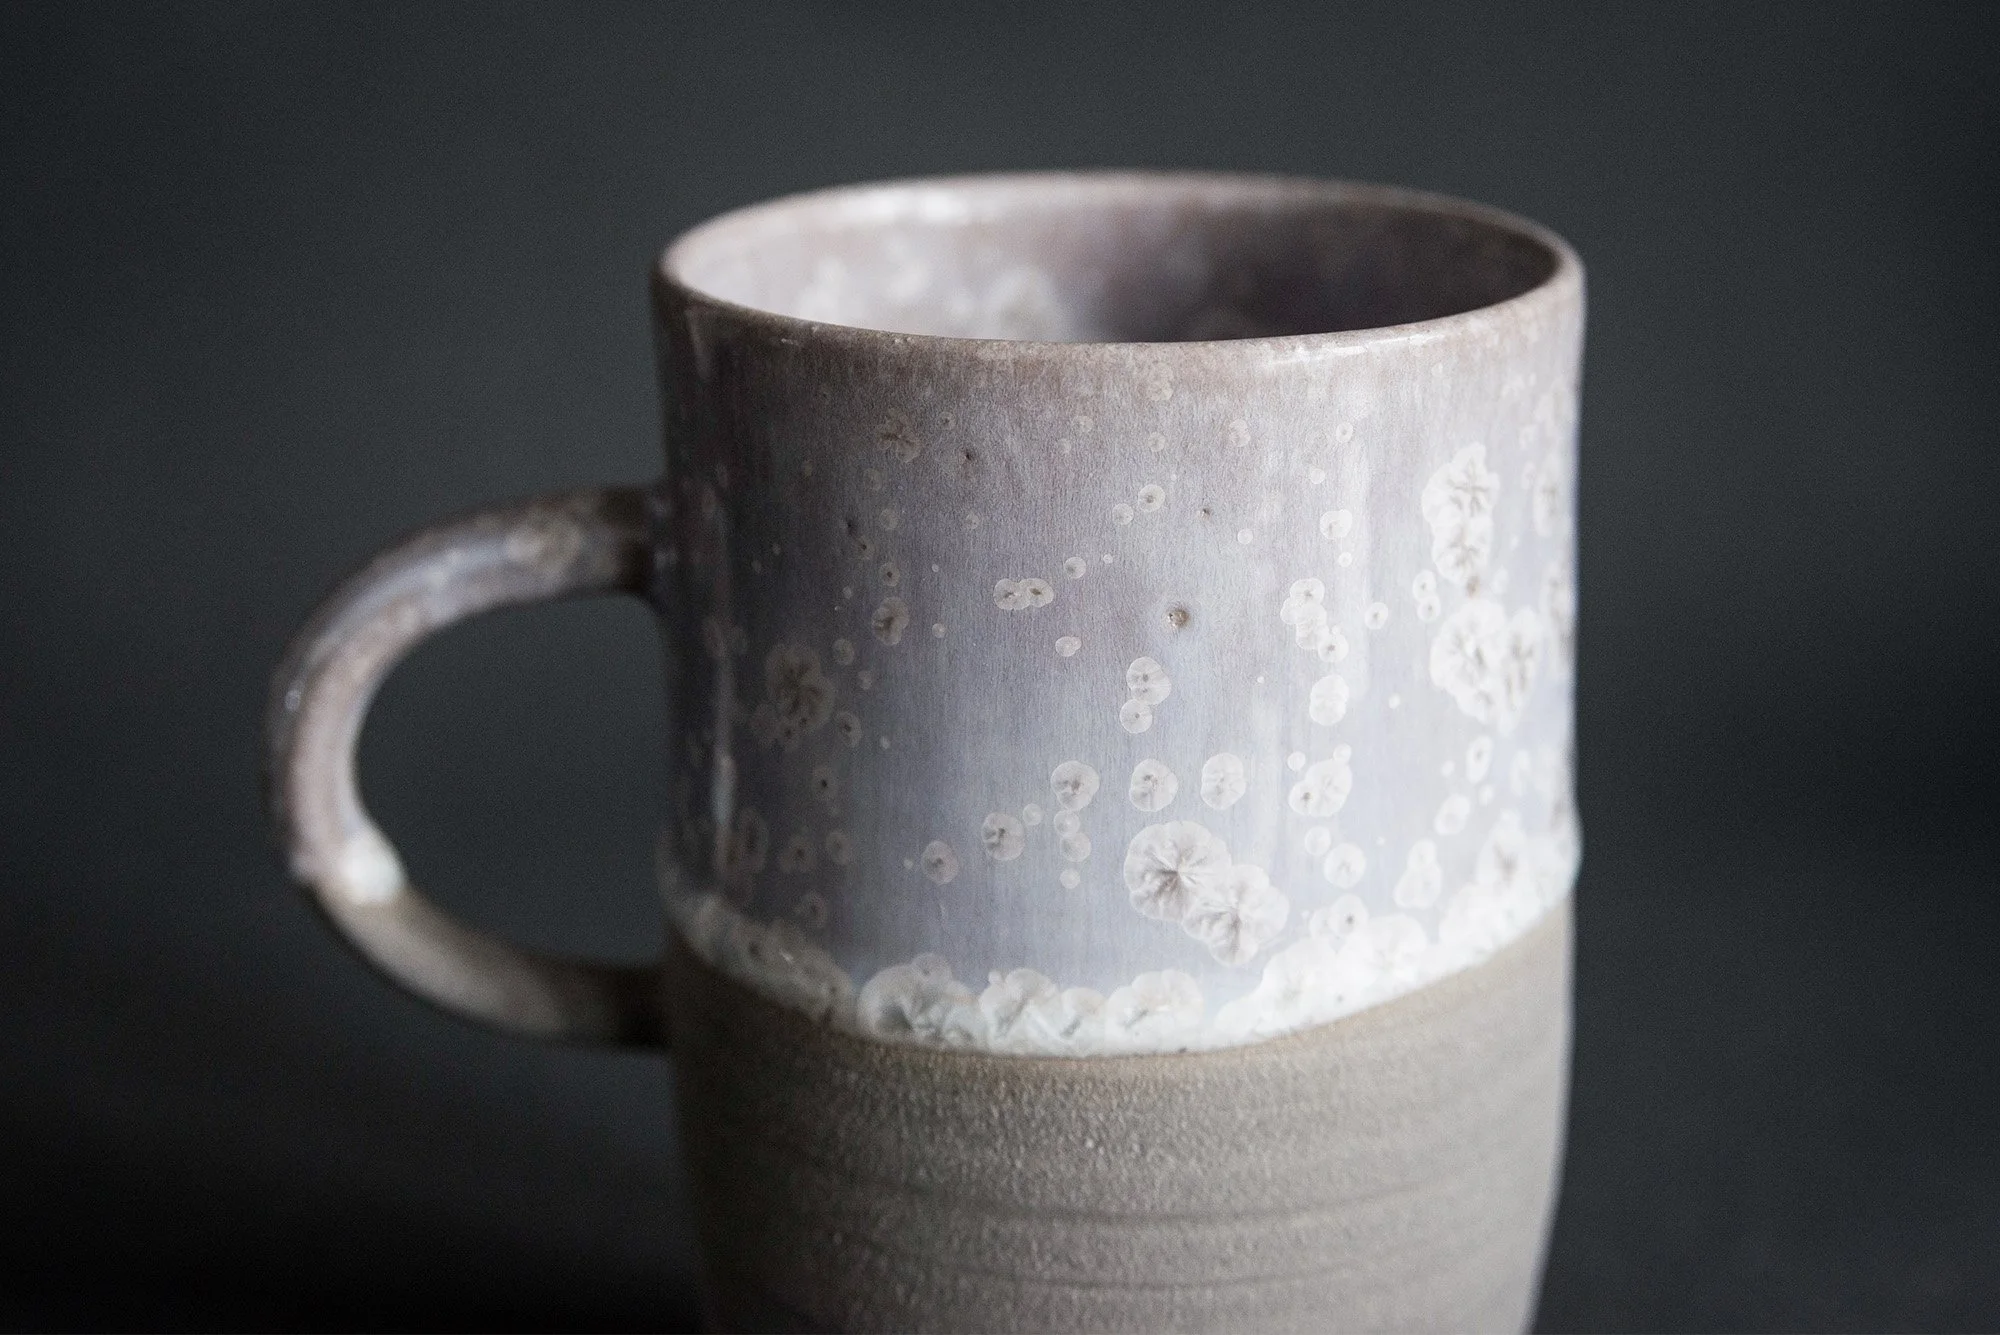
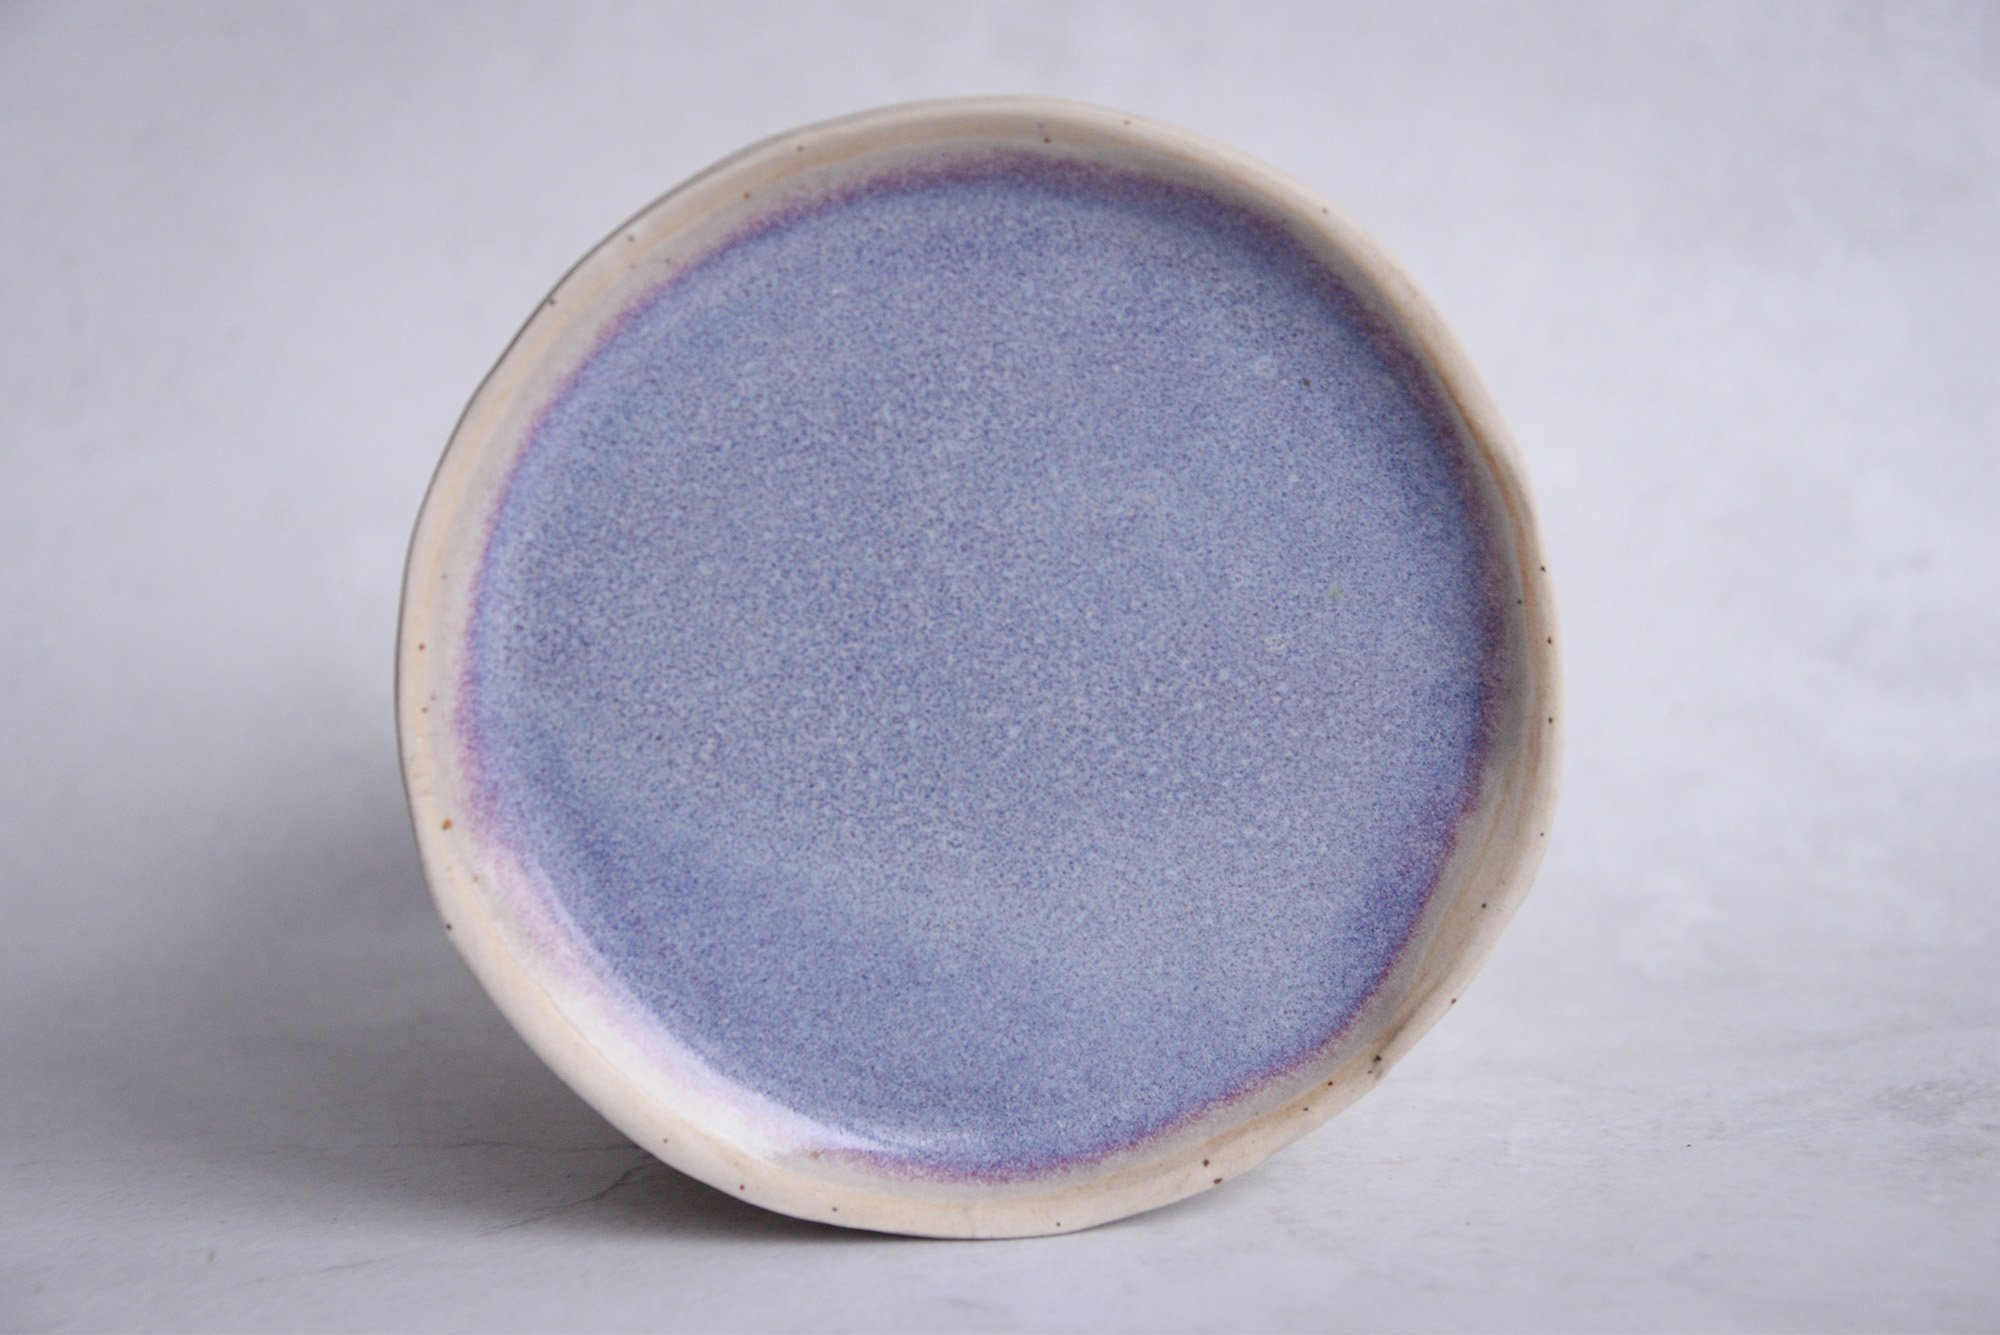
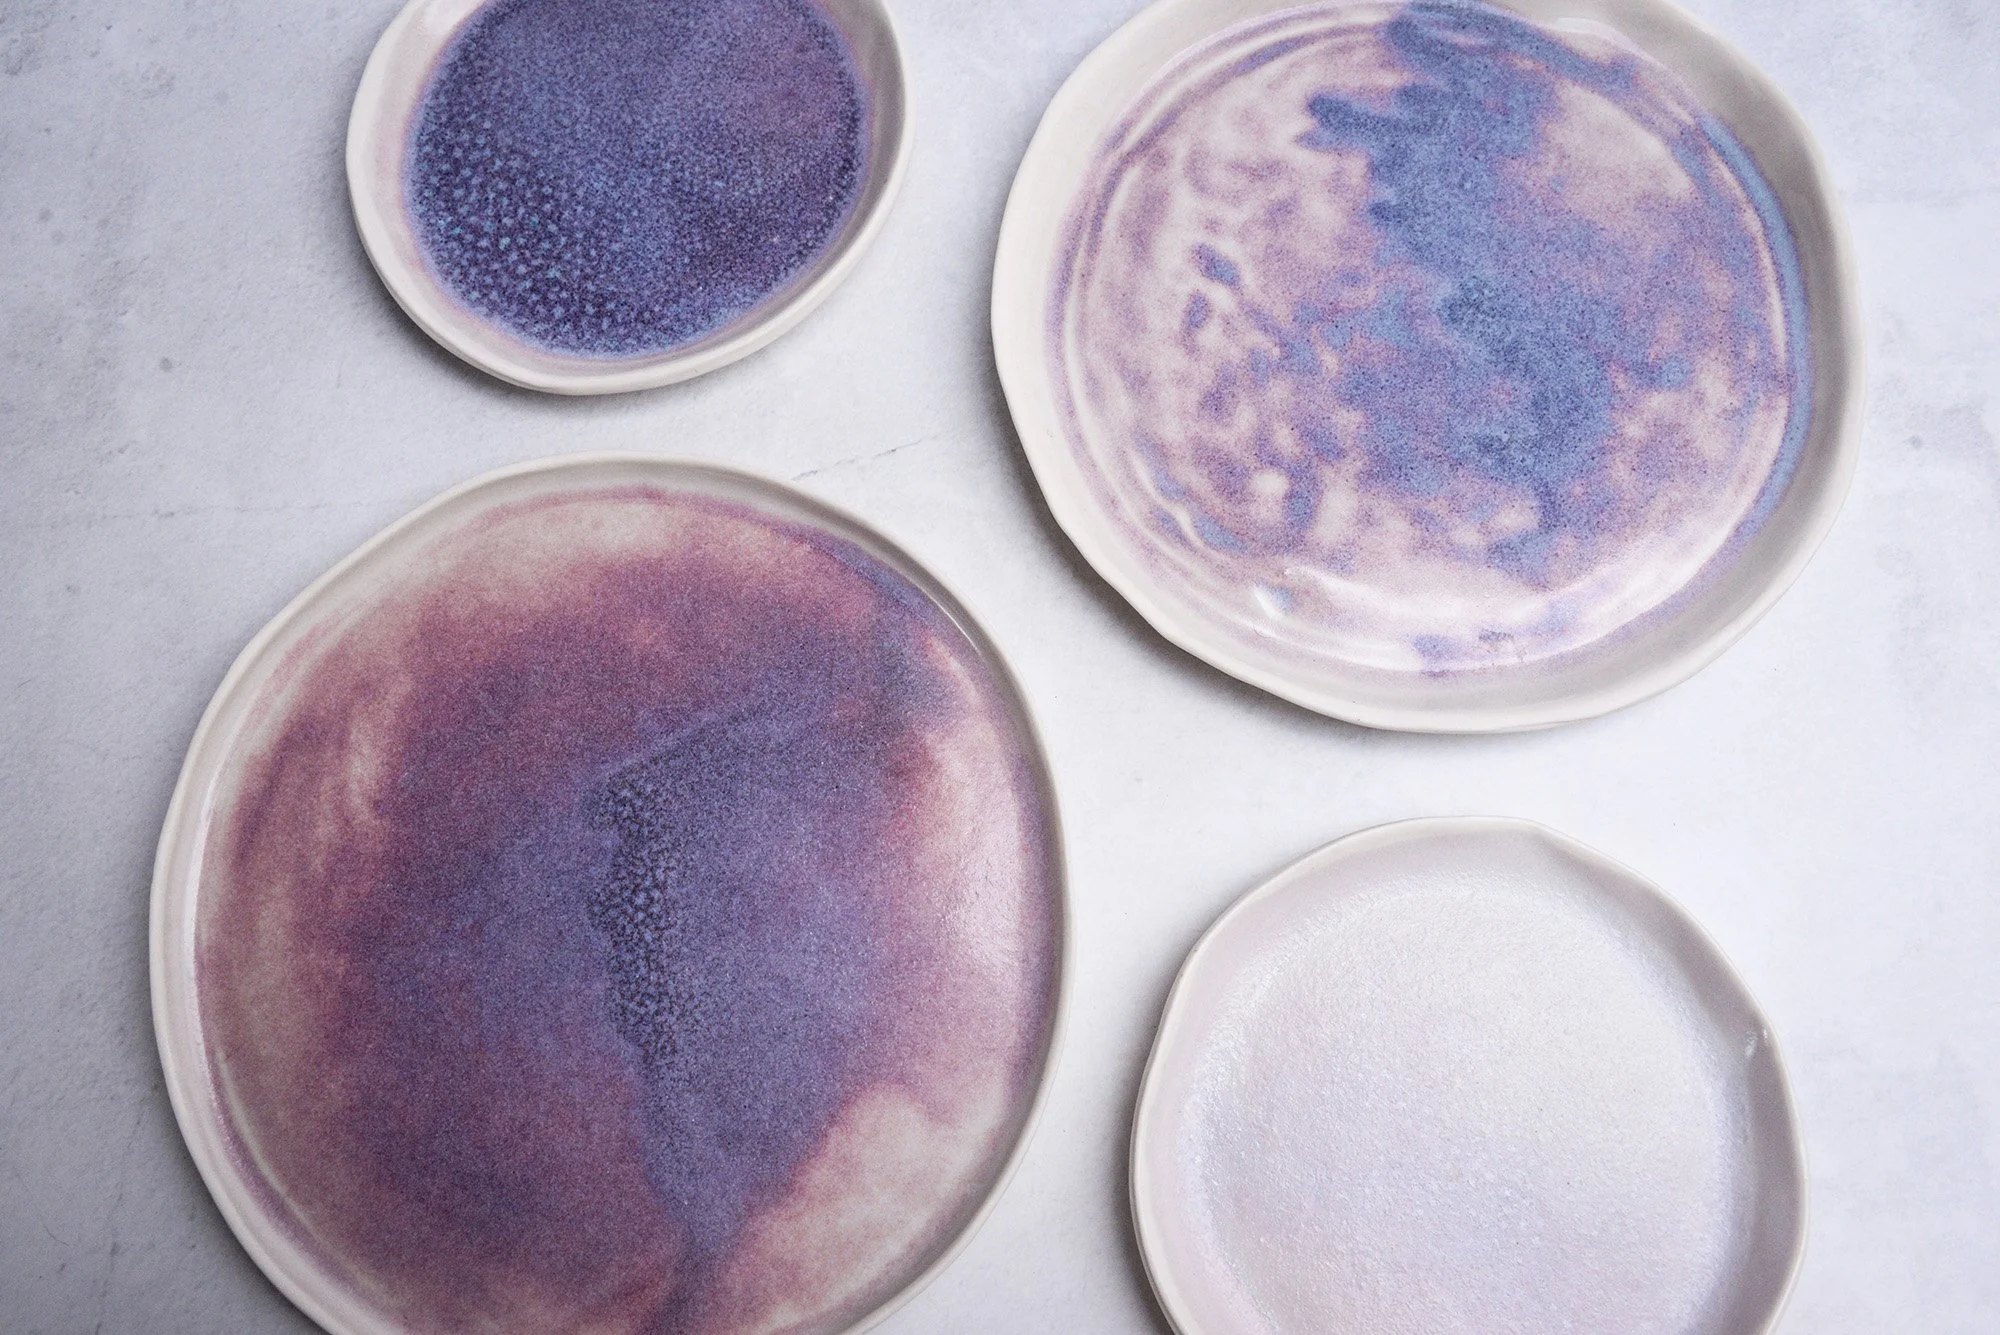
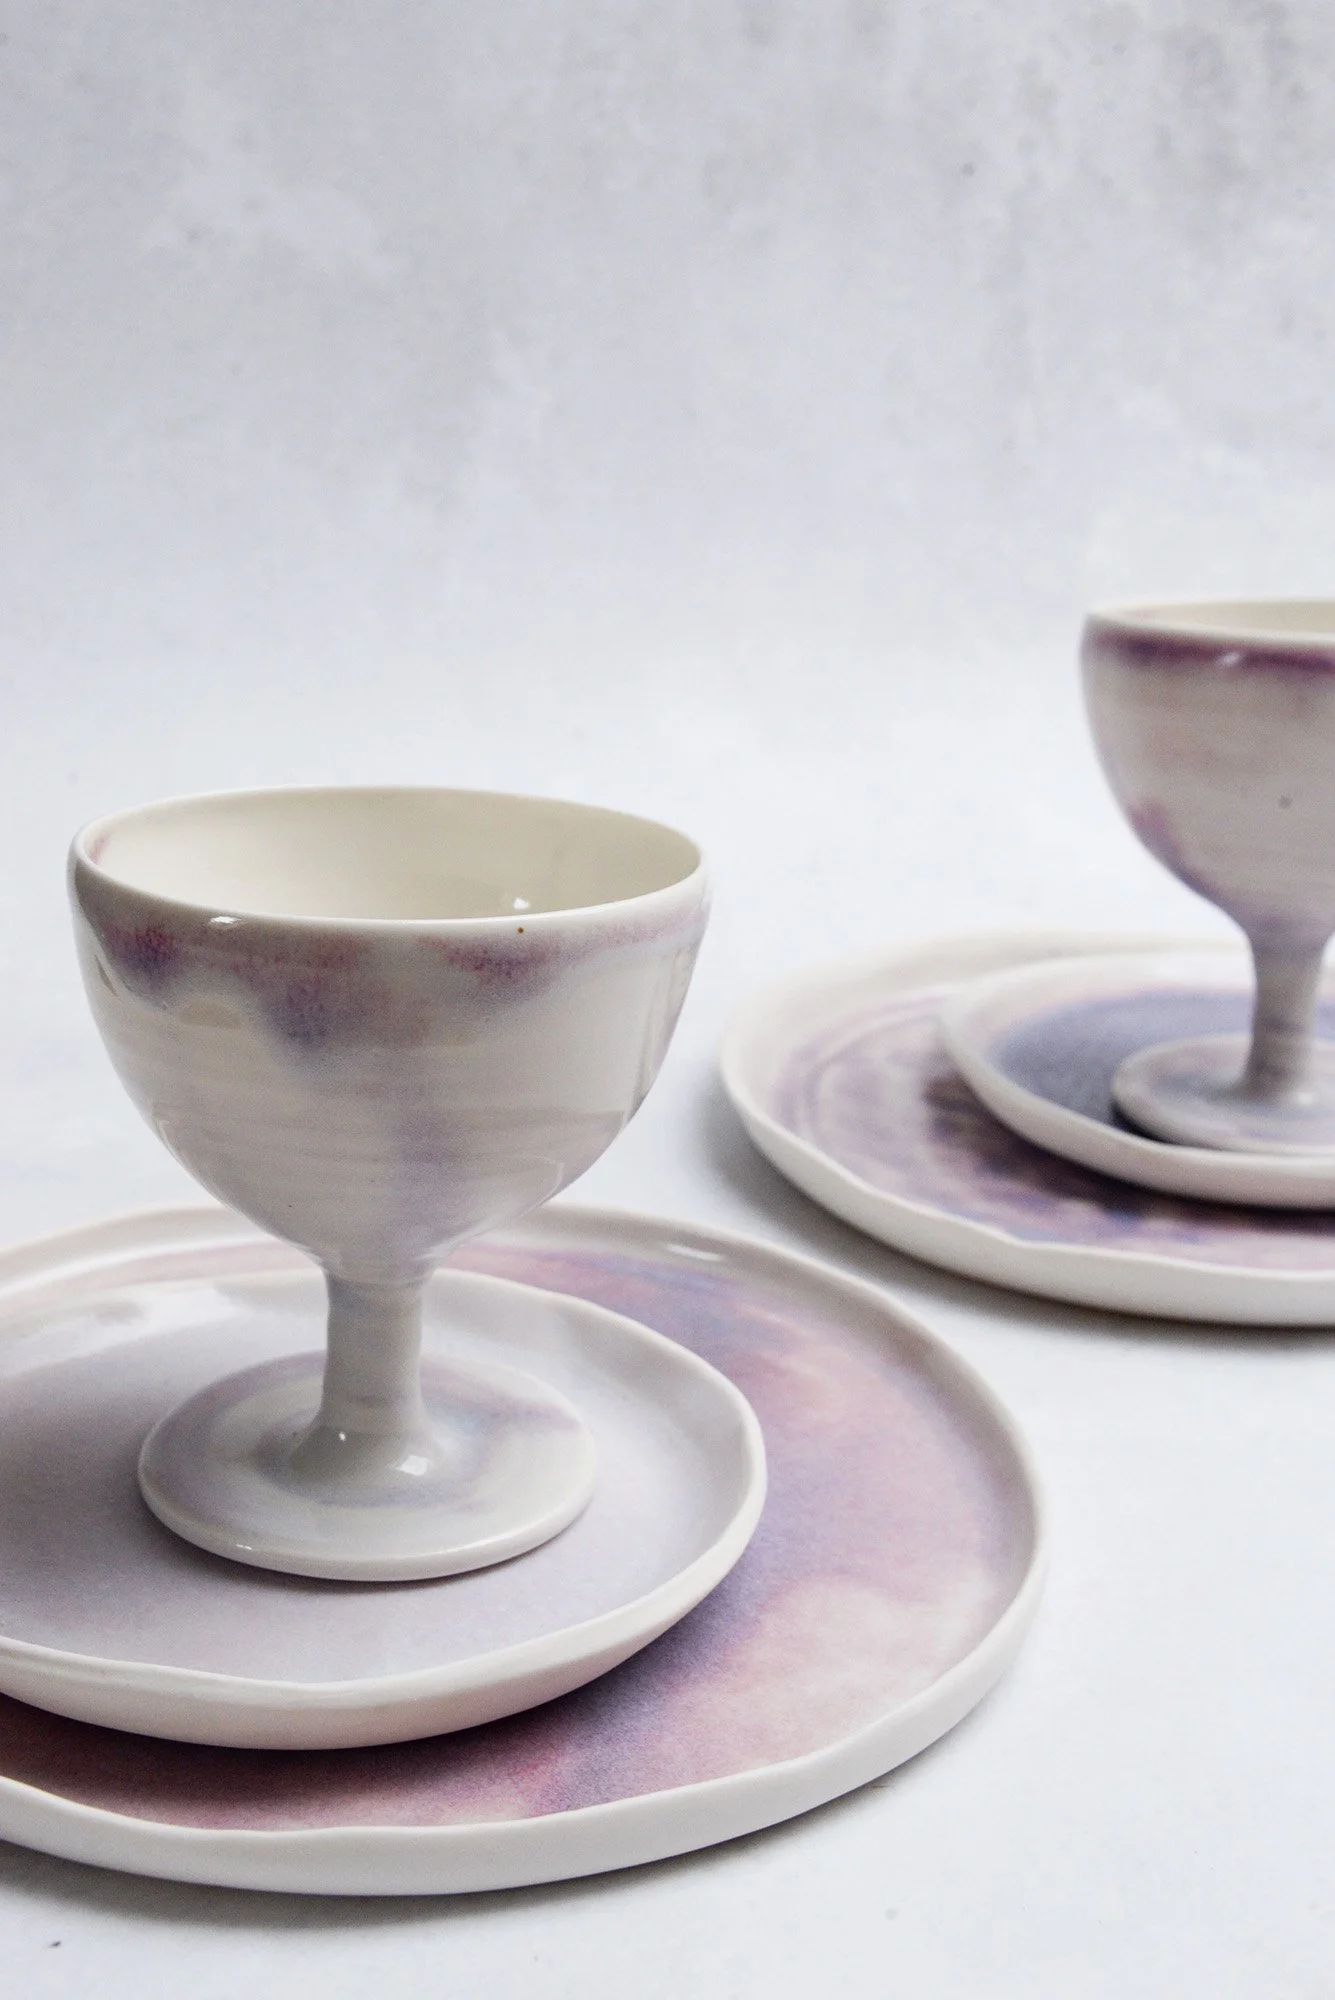
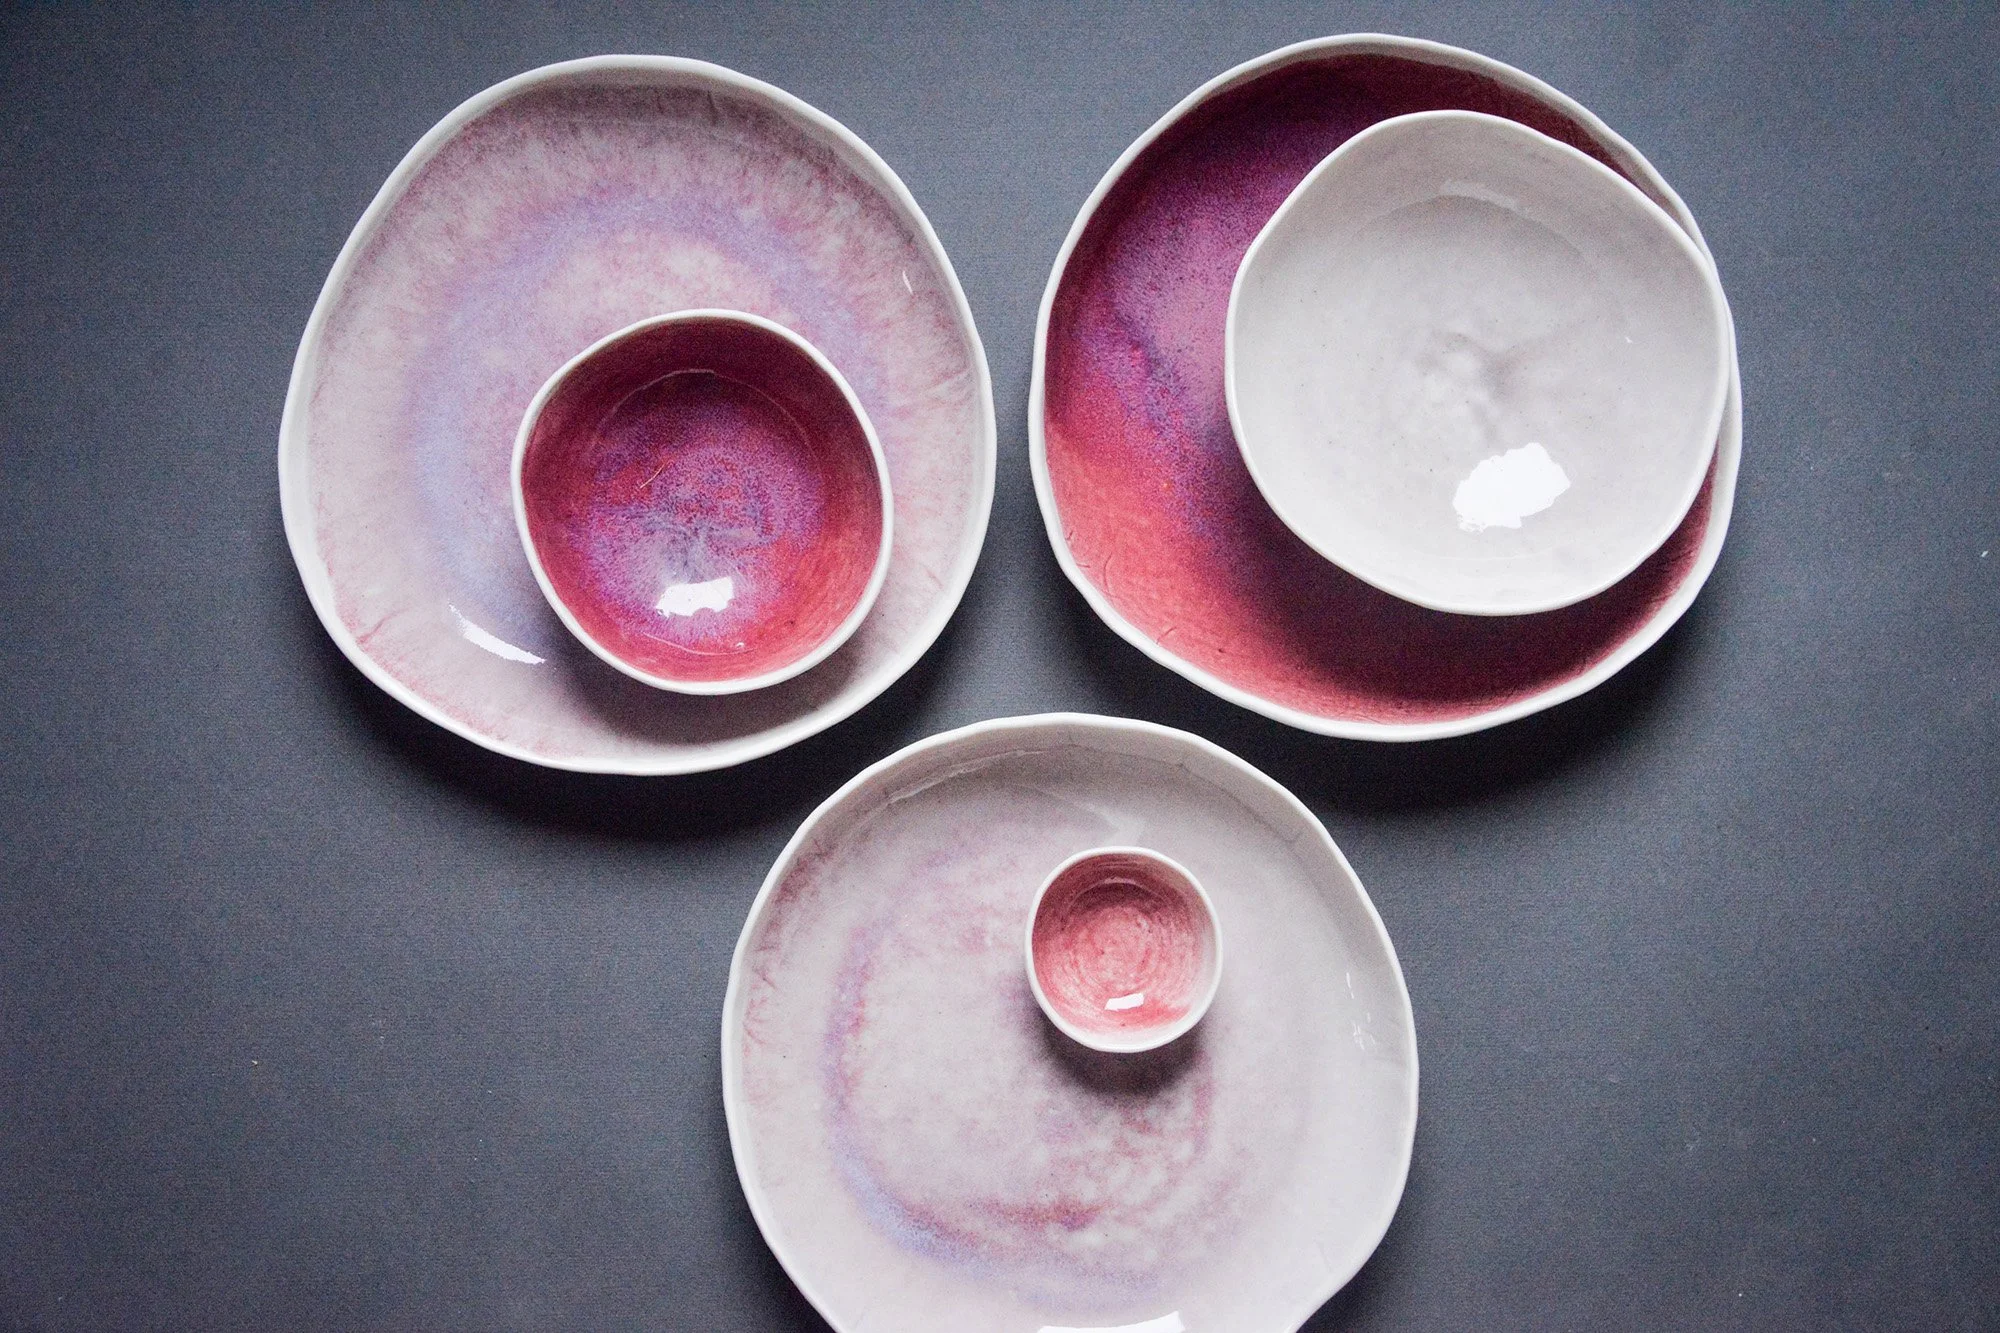
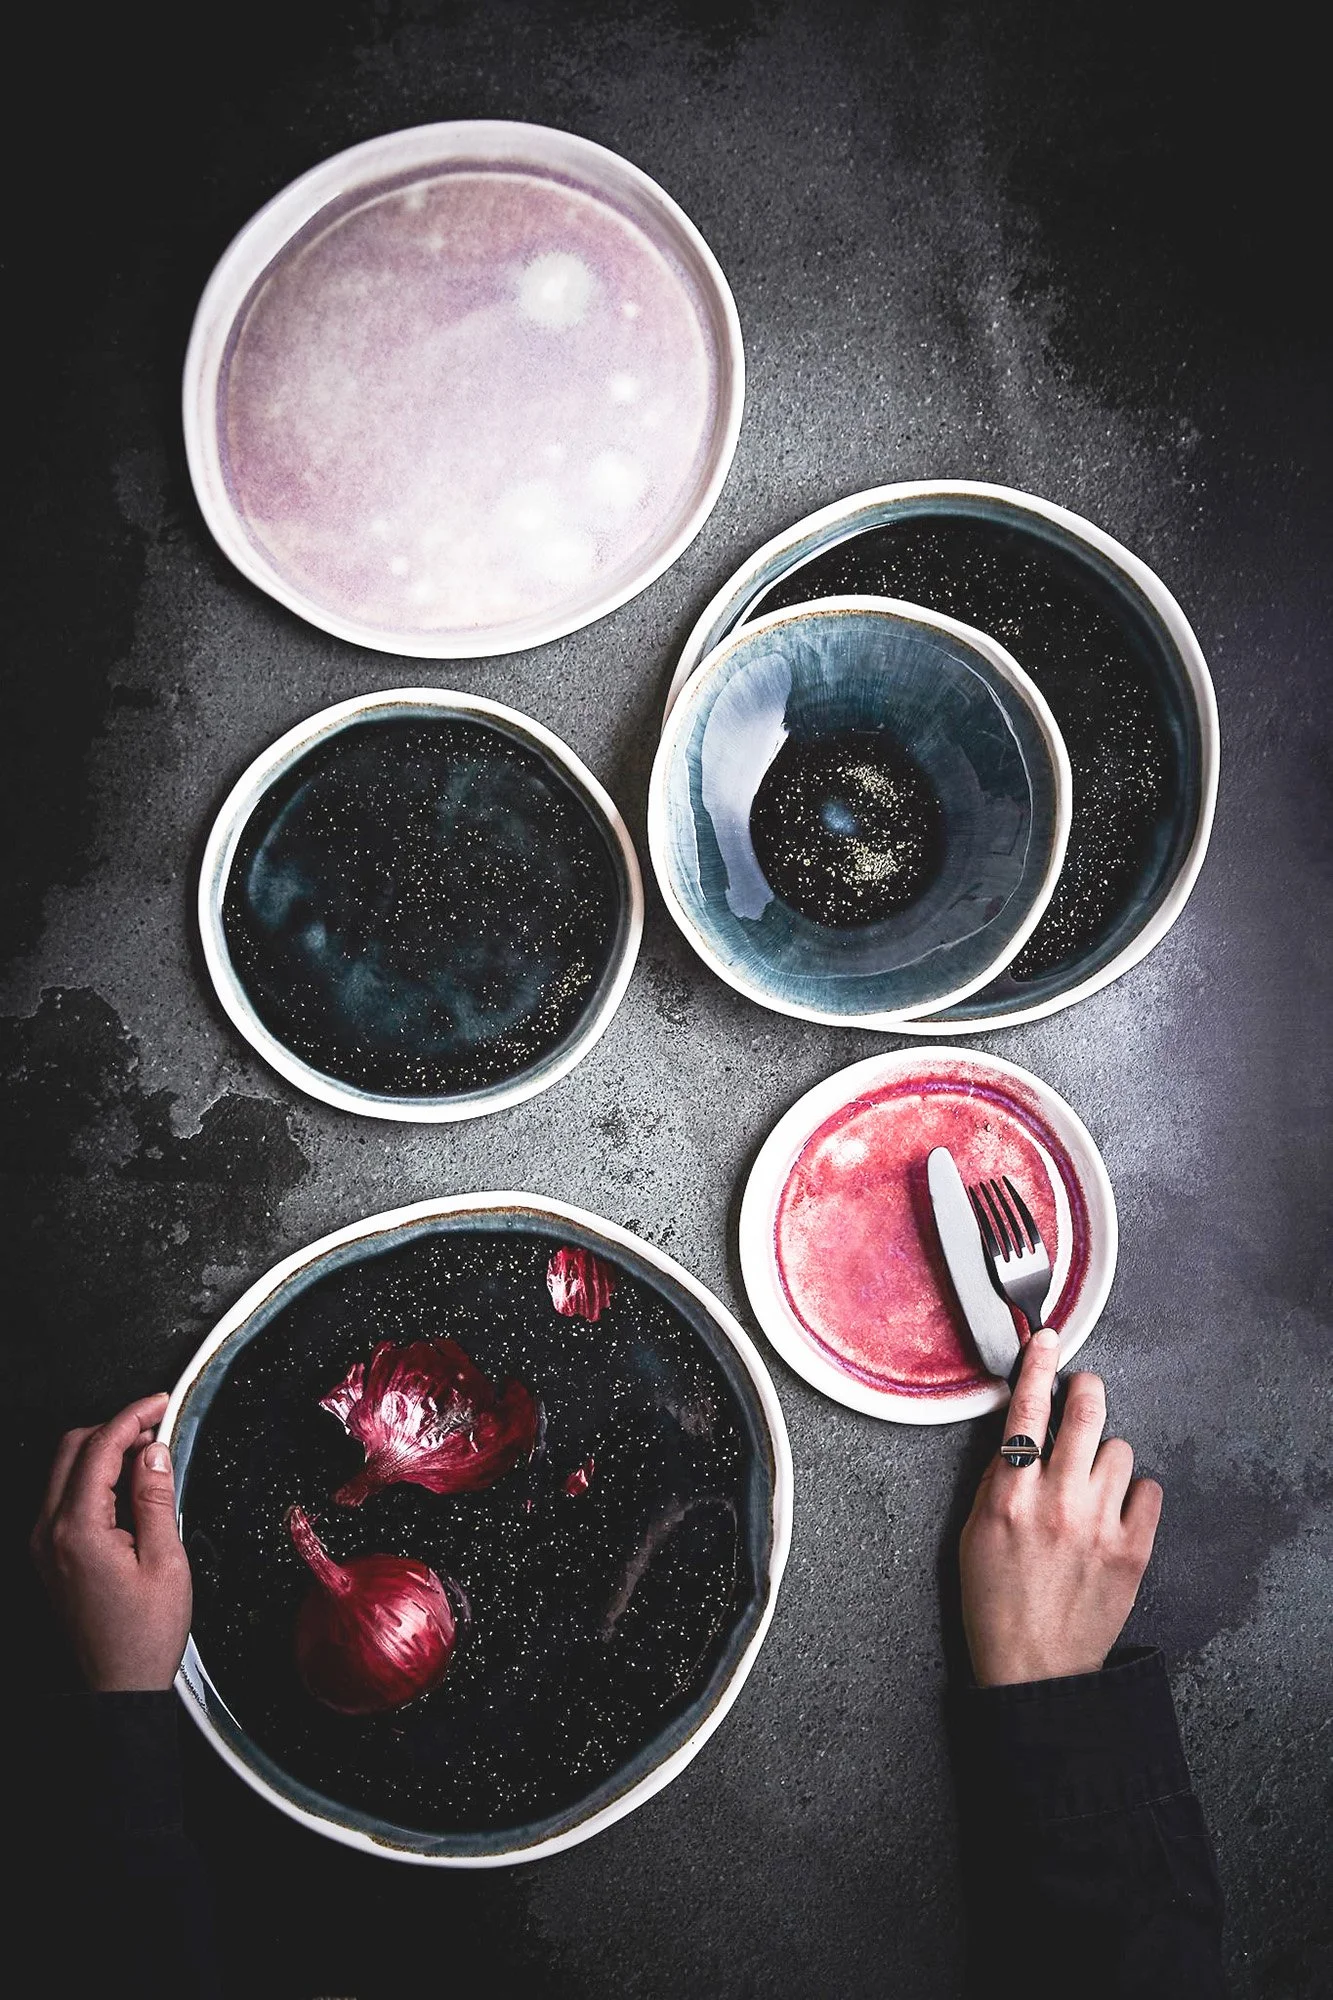
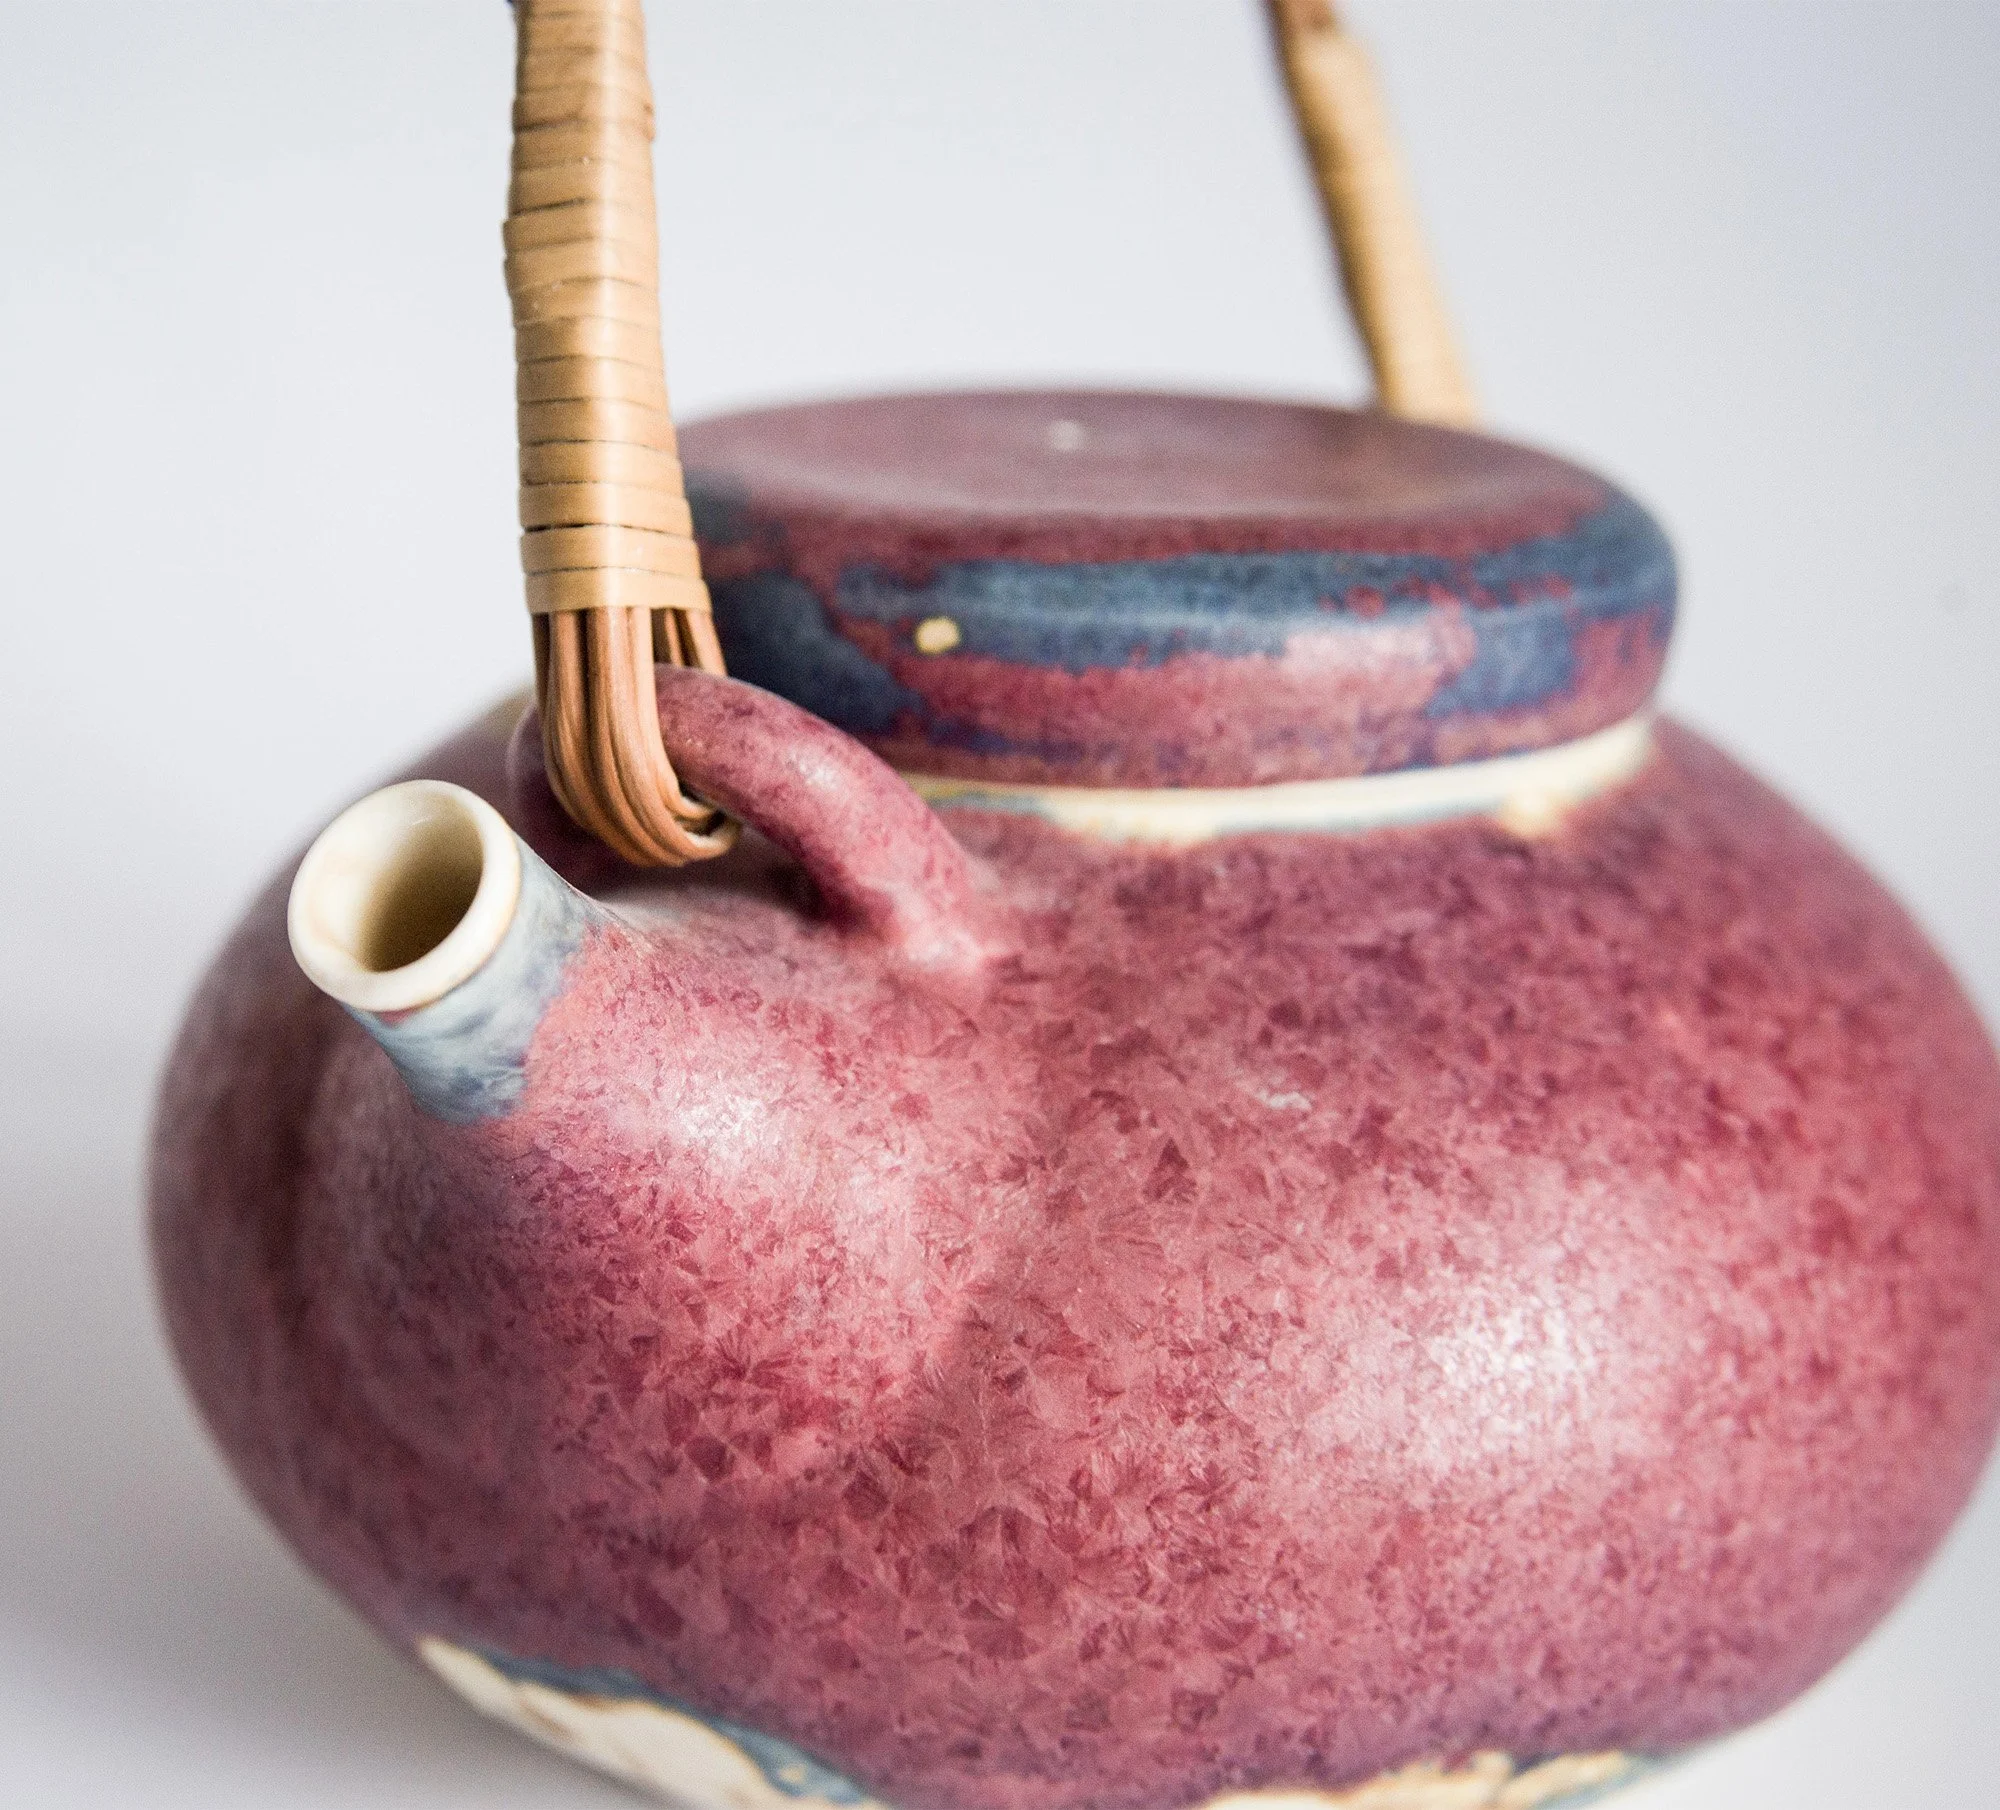
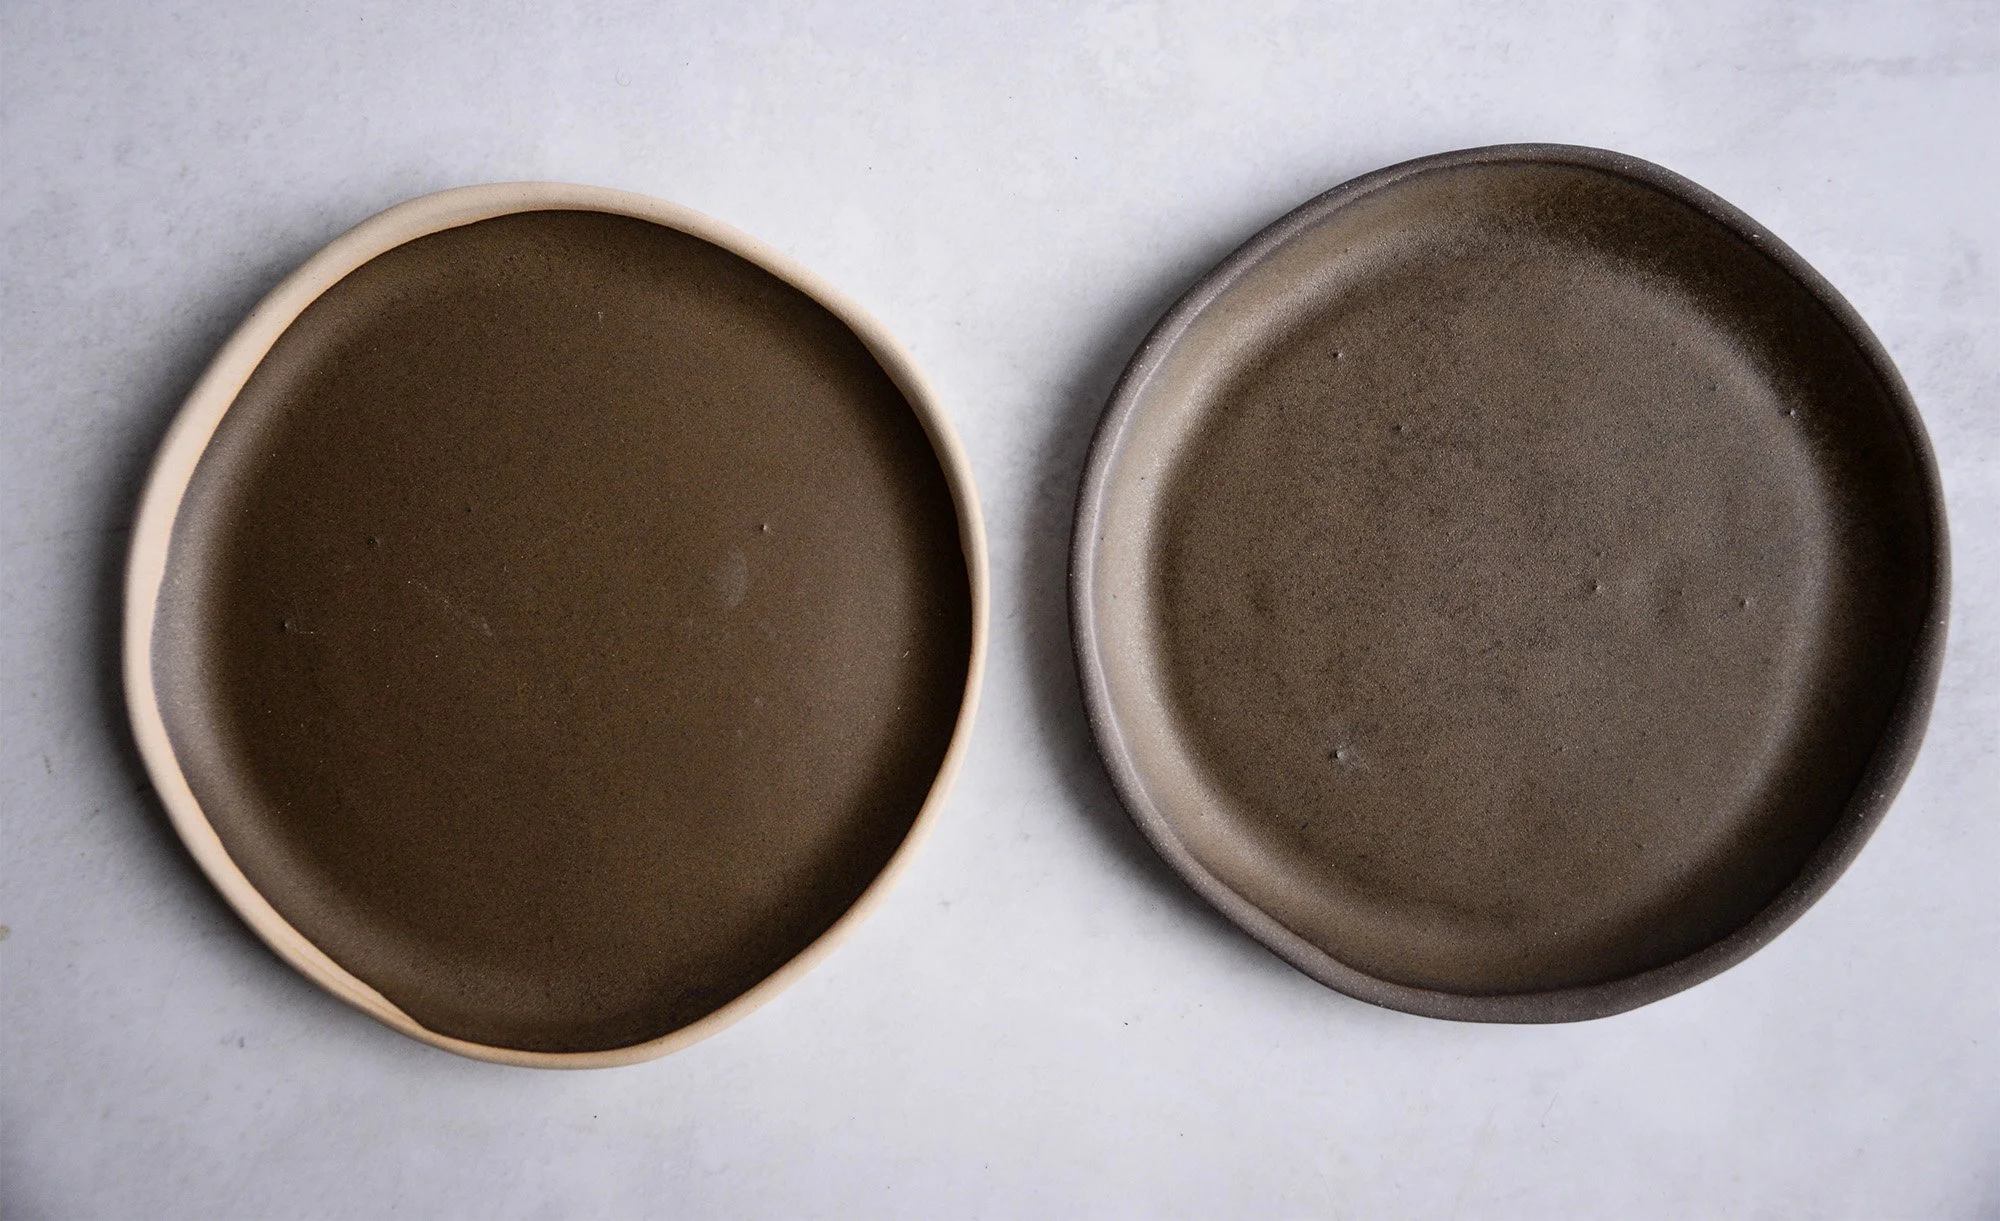
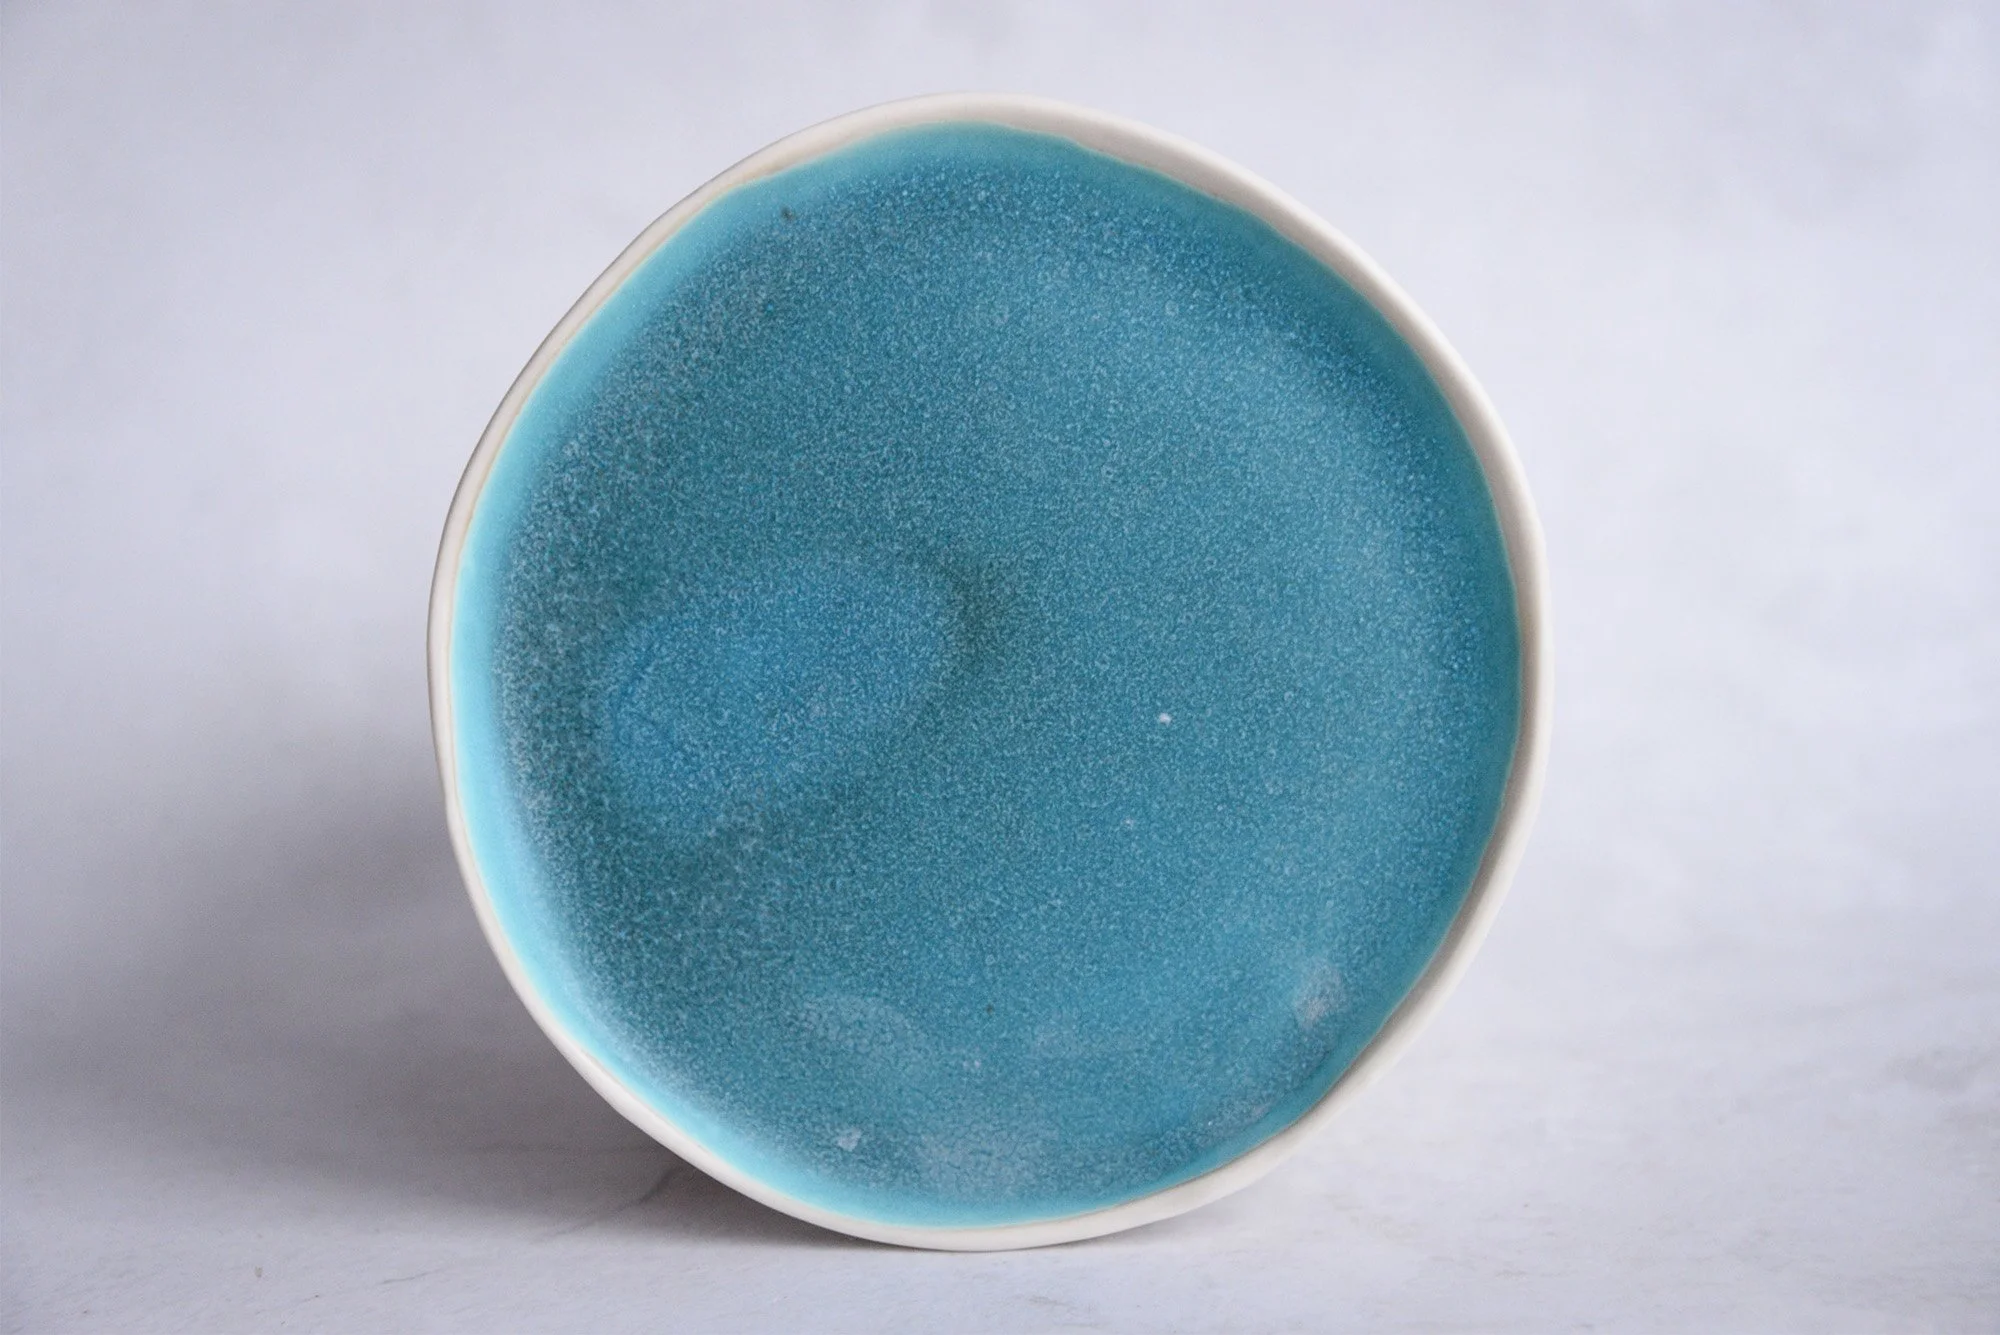
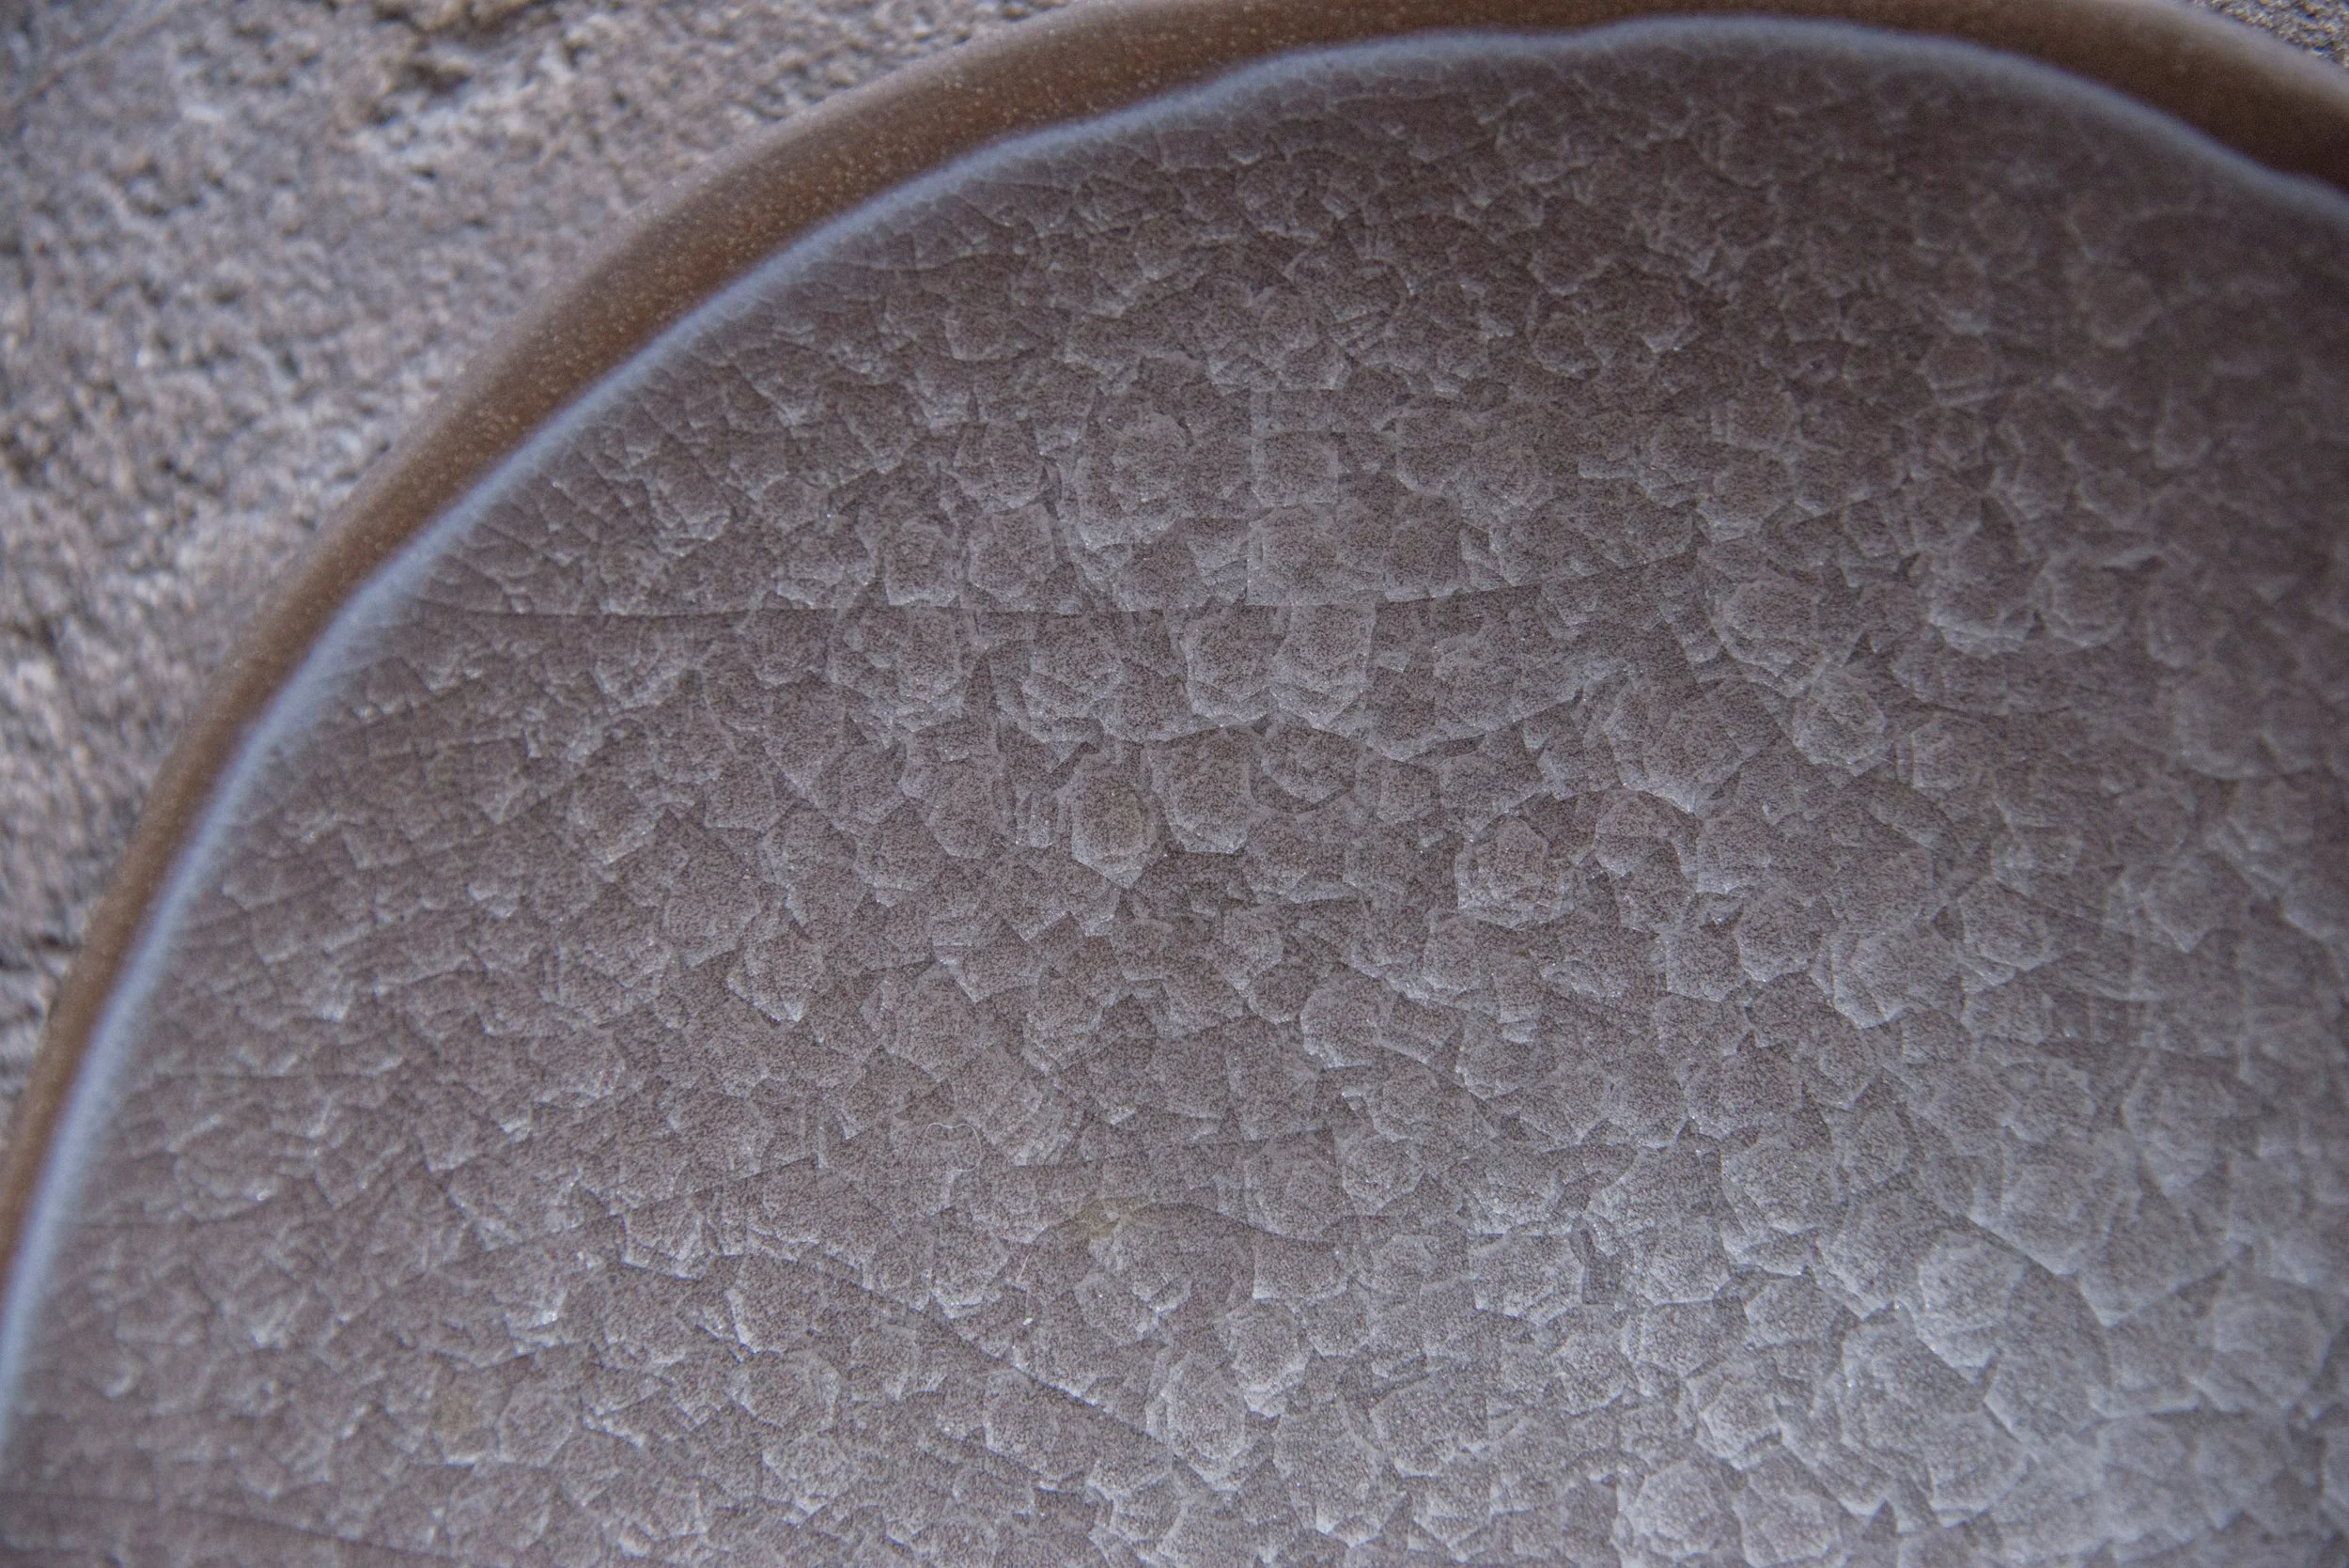
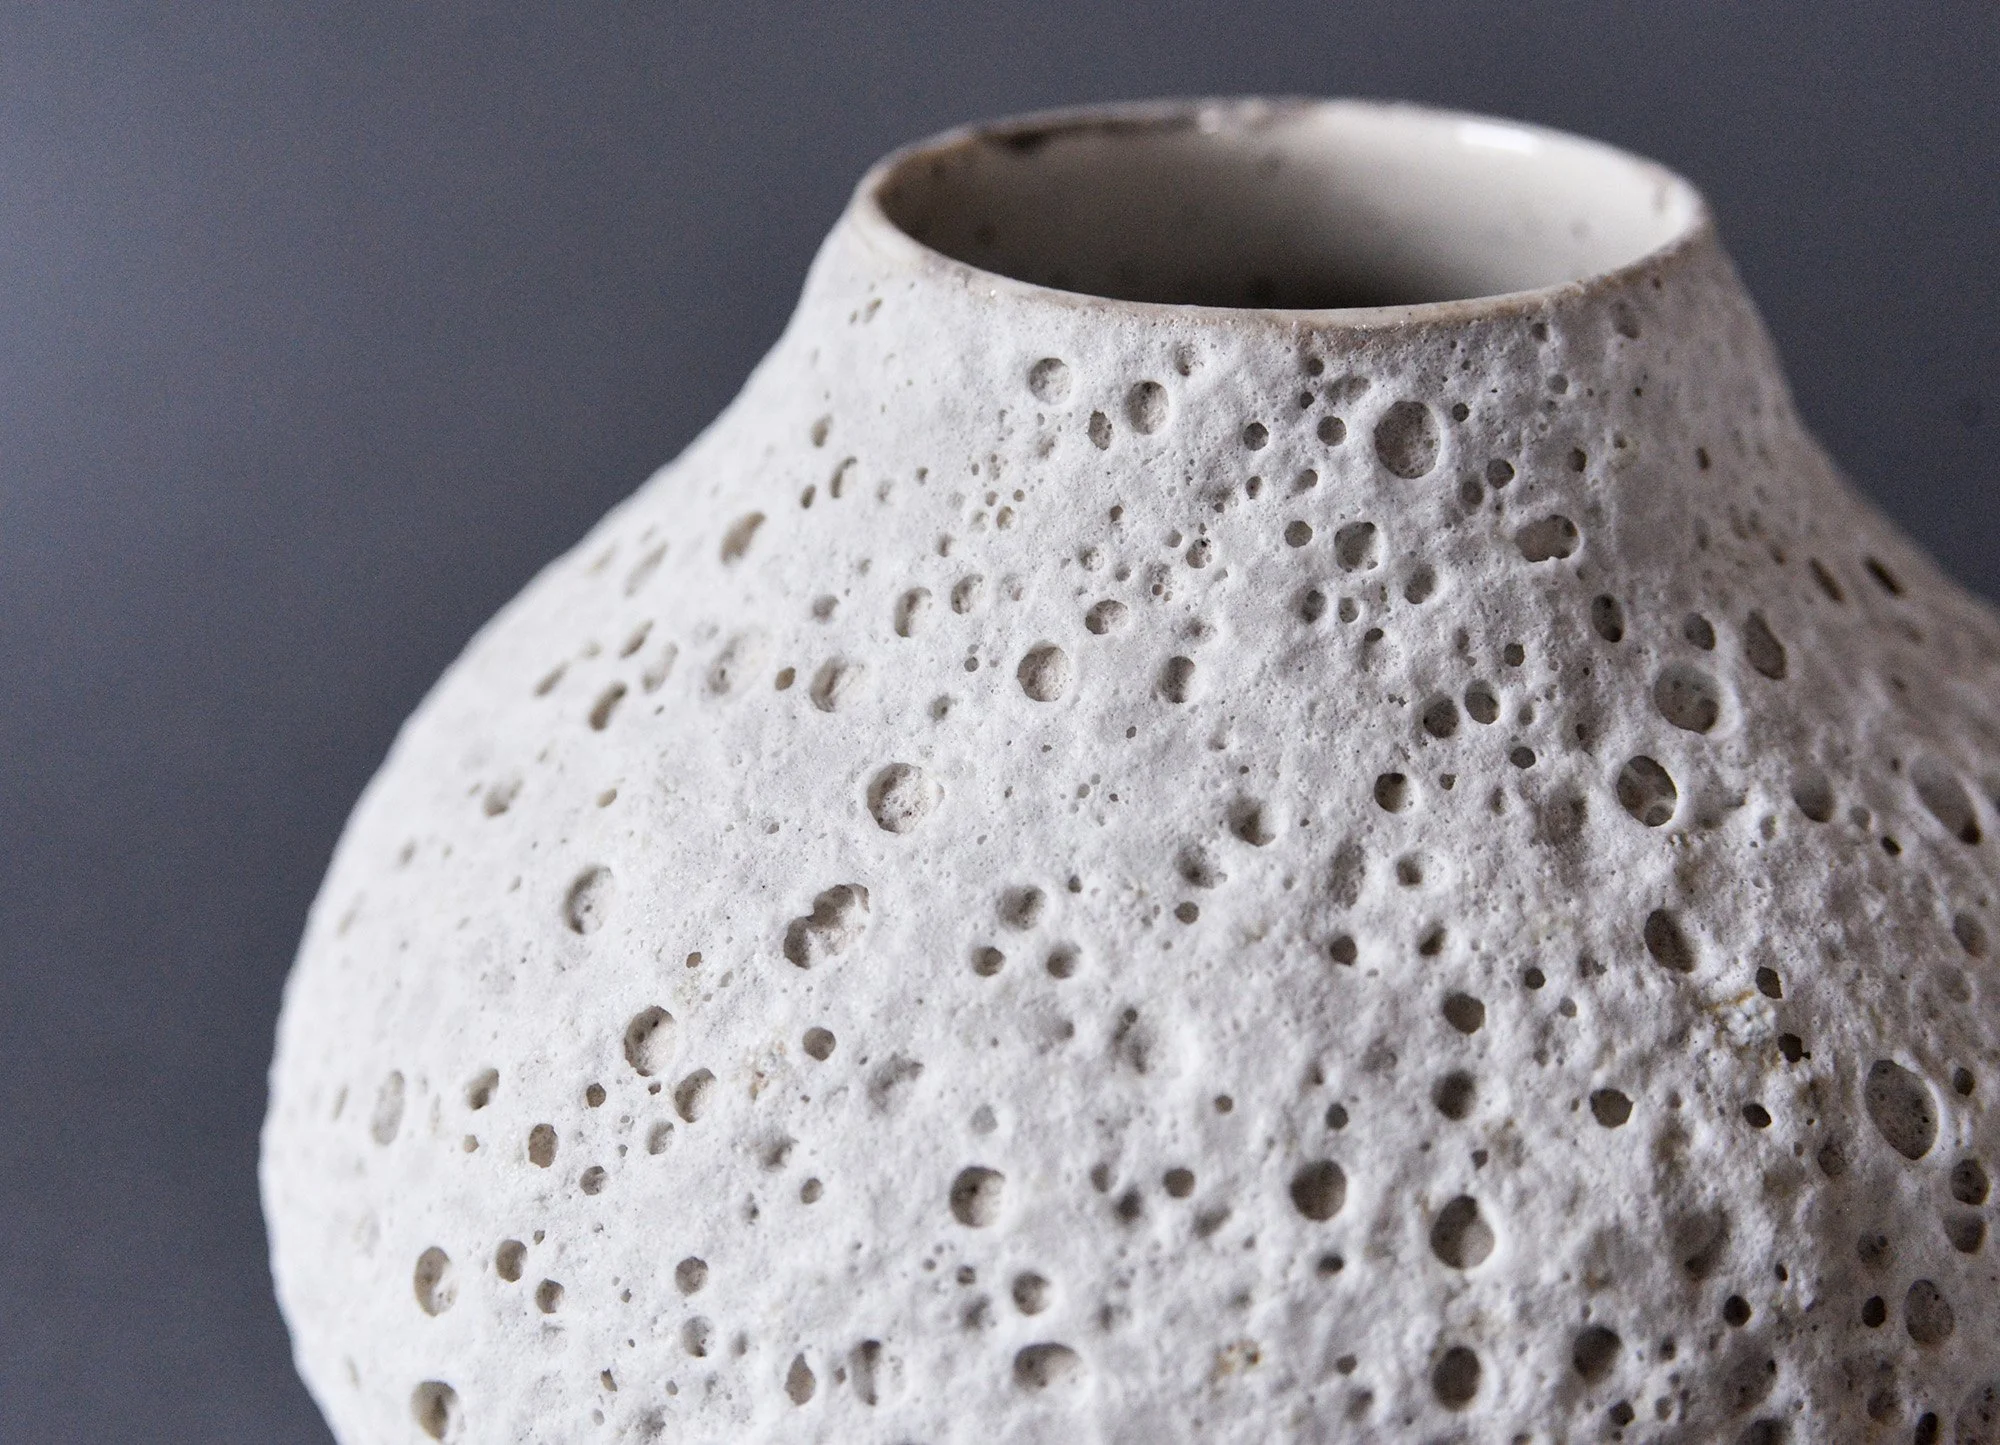
All of our glaze recipes are developed and tested in high-fired oxidation, specifically at cone 7/8 (around 1260 °C), and generally perform within the cone 6–9 range.
The surfaces you see in the photos — the way the glaze pools, breaks, flows, or develops texture — rely on the glaze reaching at least the lower end of this maturity range.
WHAT HAPPENS AT CONE 6?
When fired lower, such as cone 6 (around 1220 °C), the glaze may not fully develop the same effect.
You may observe:
a more matte or drier surface
less movement or pooling
slightly different color development
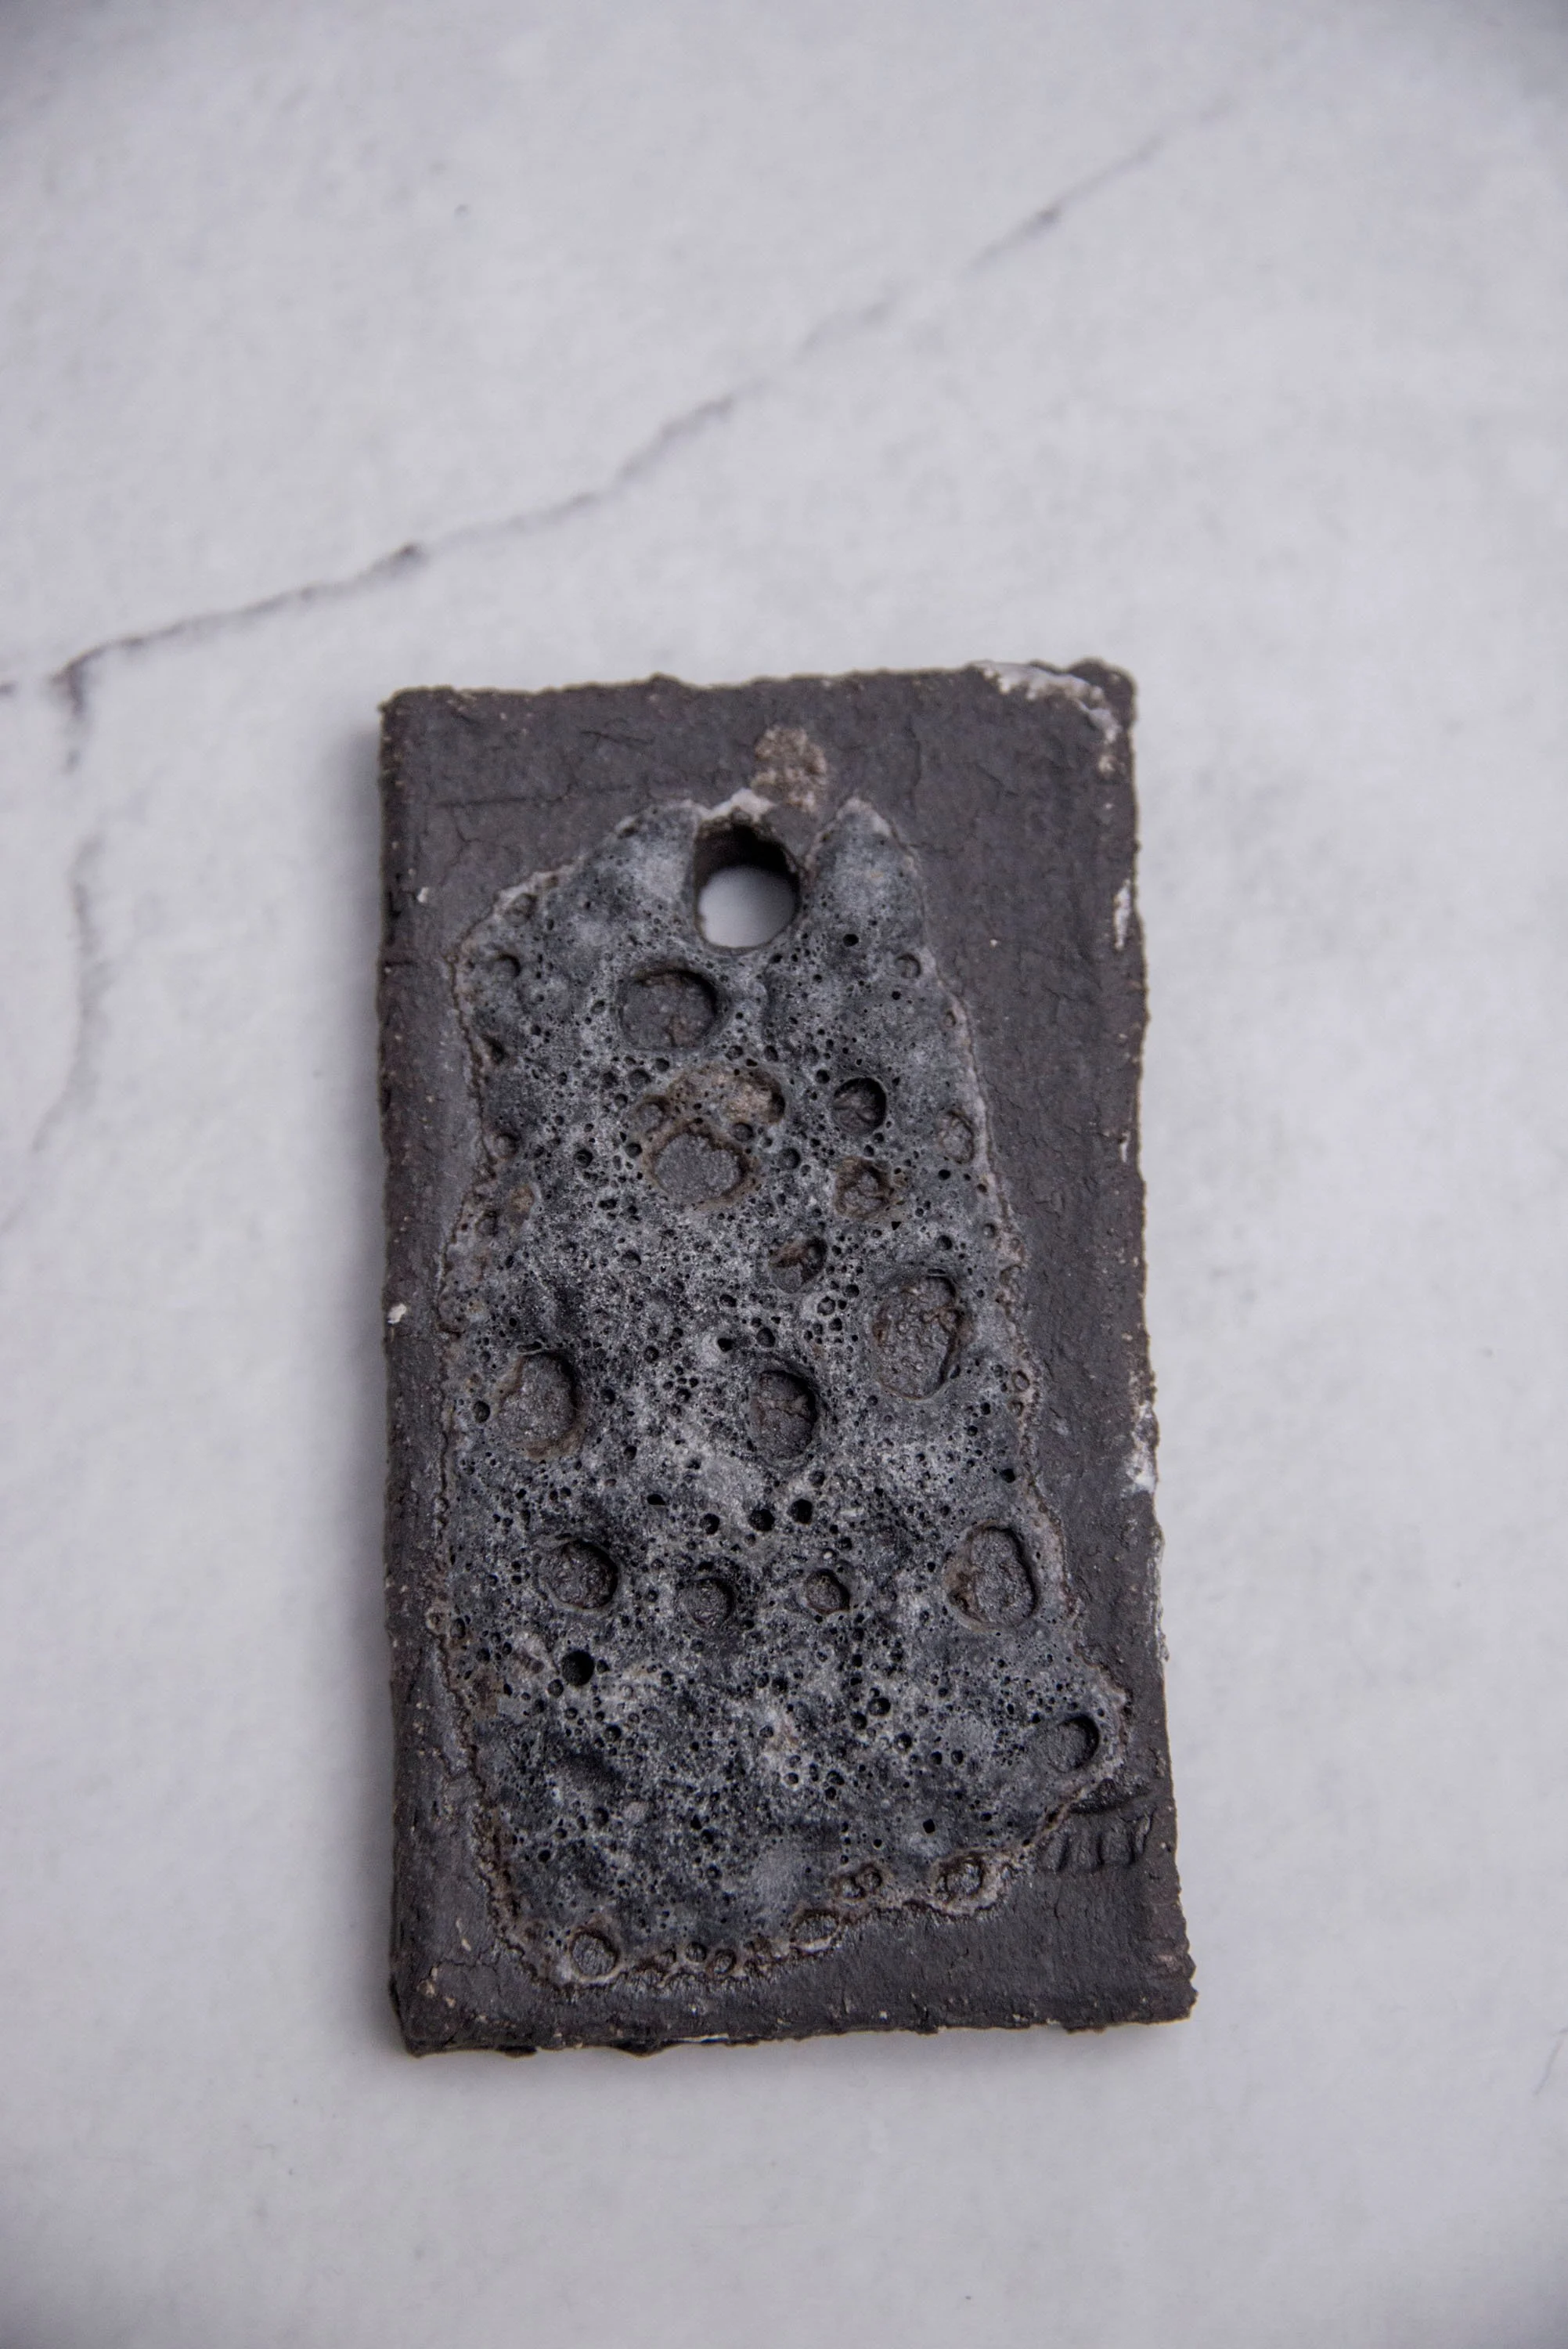
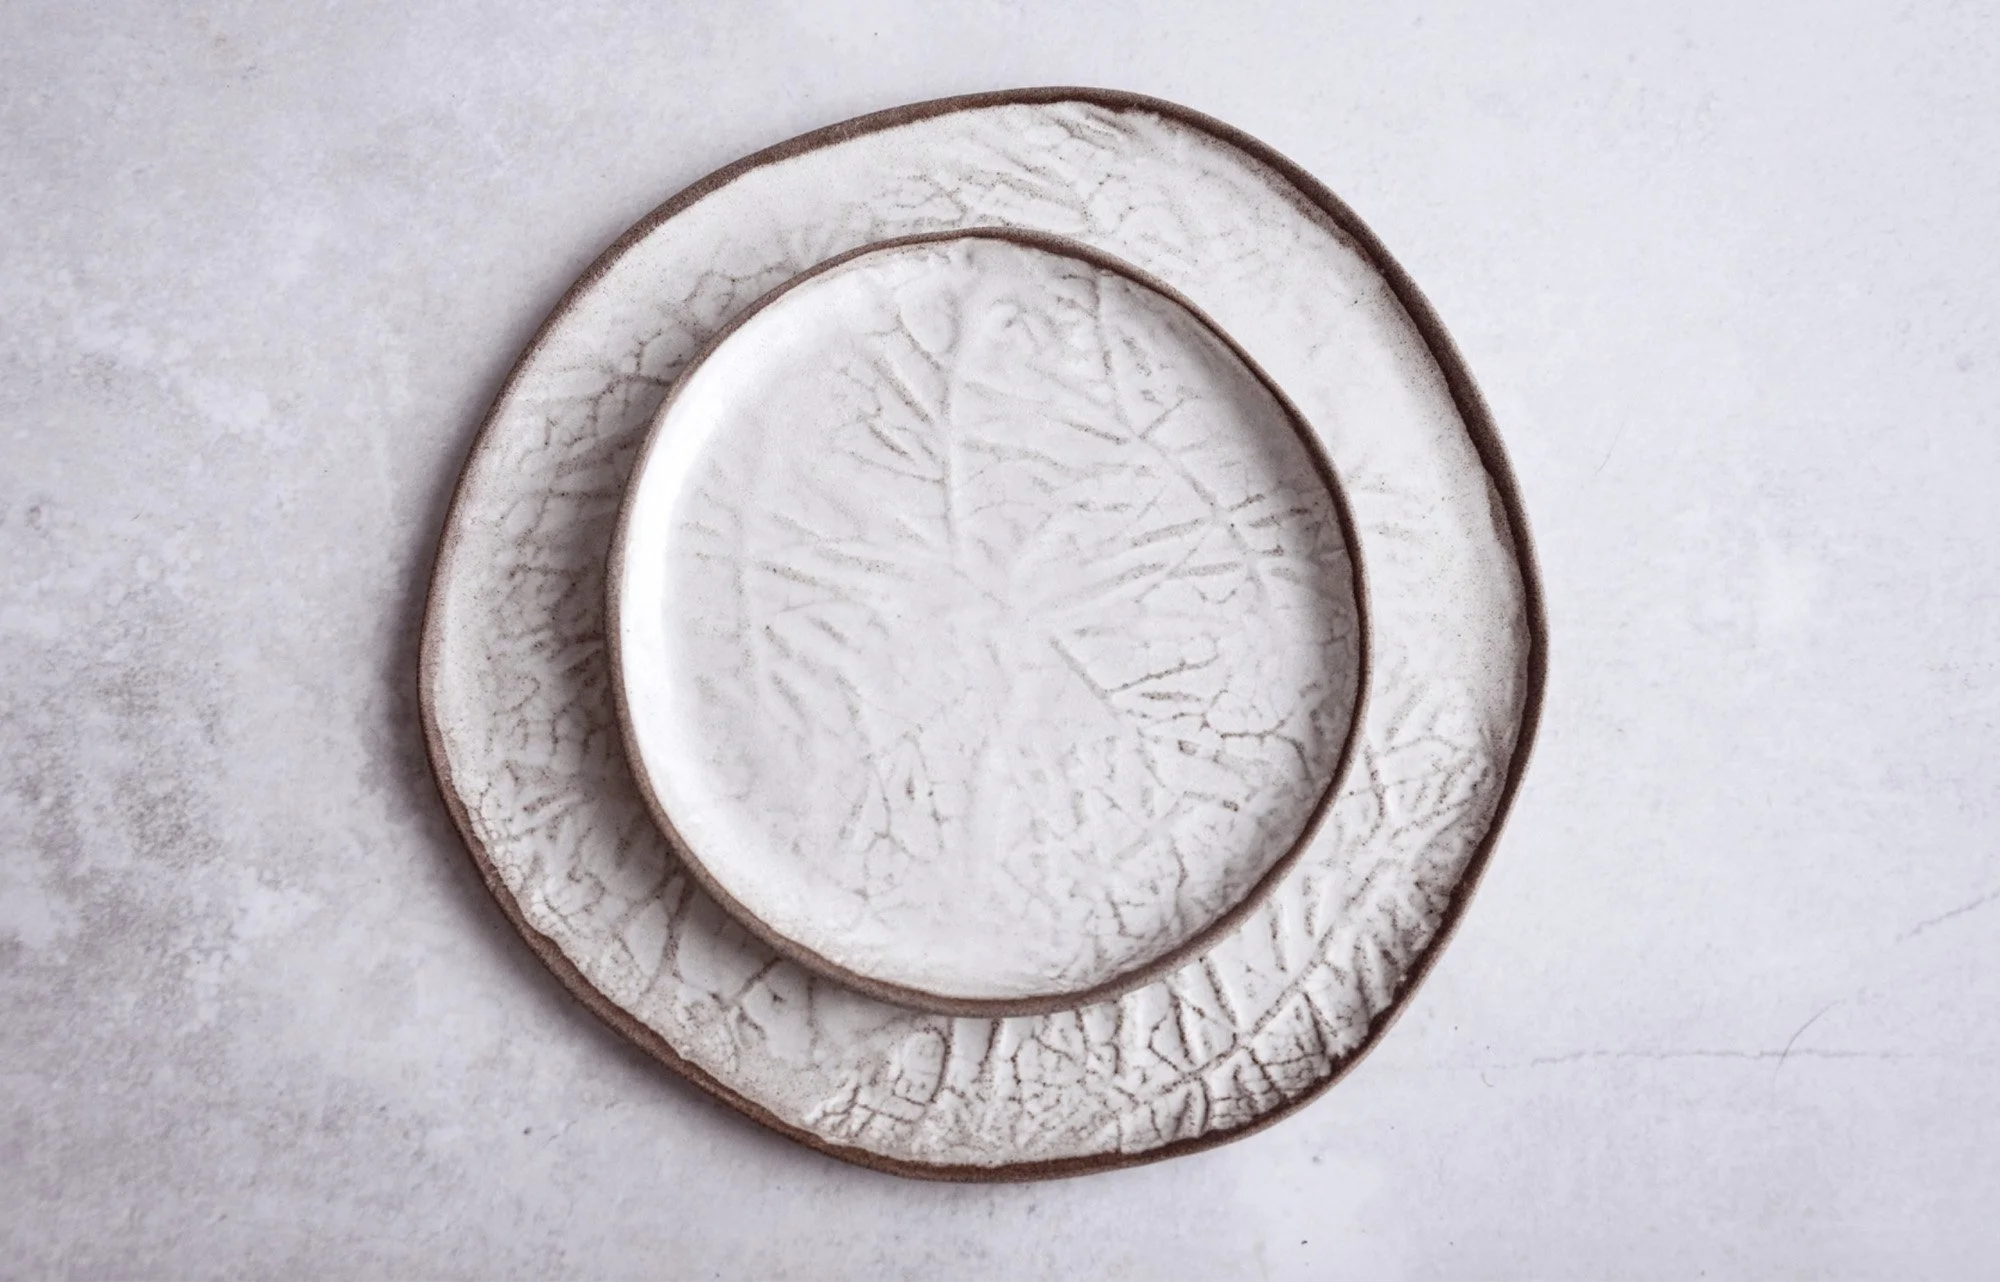
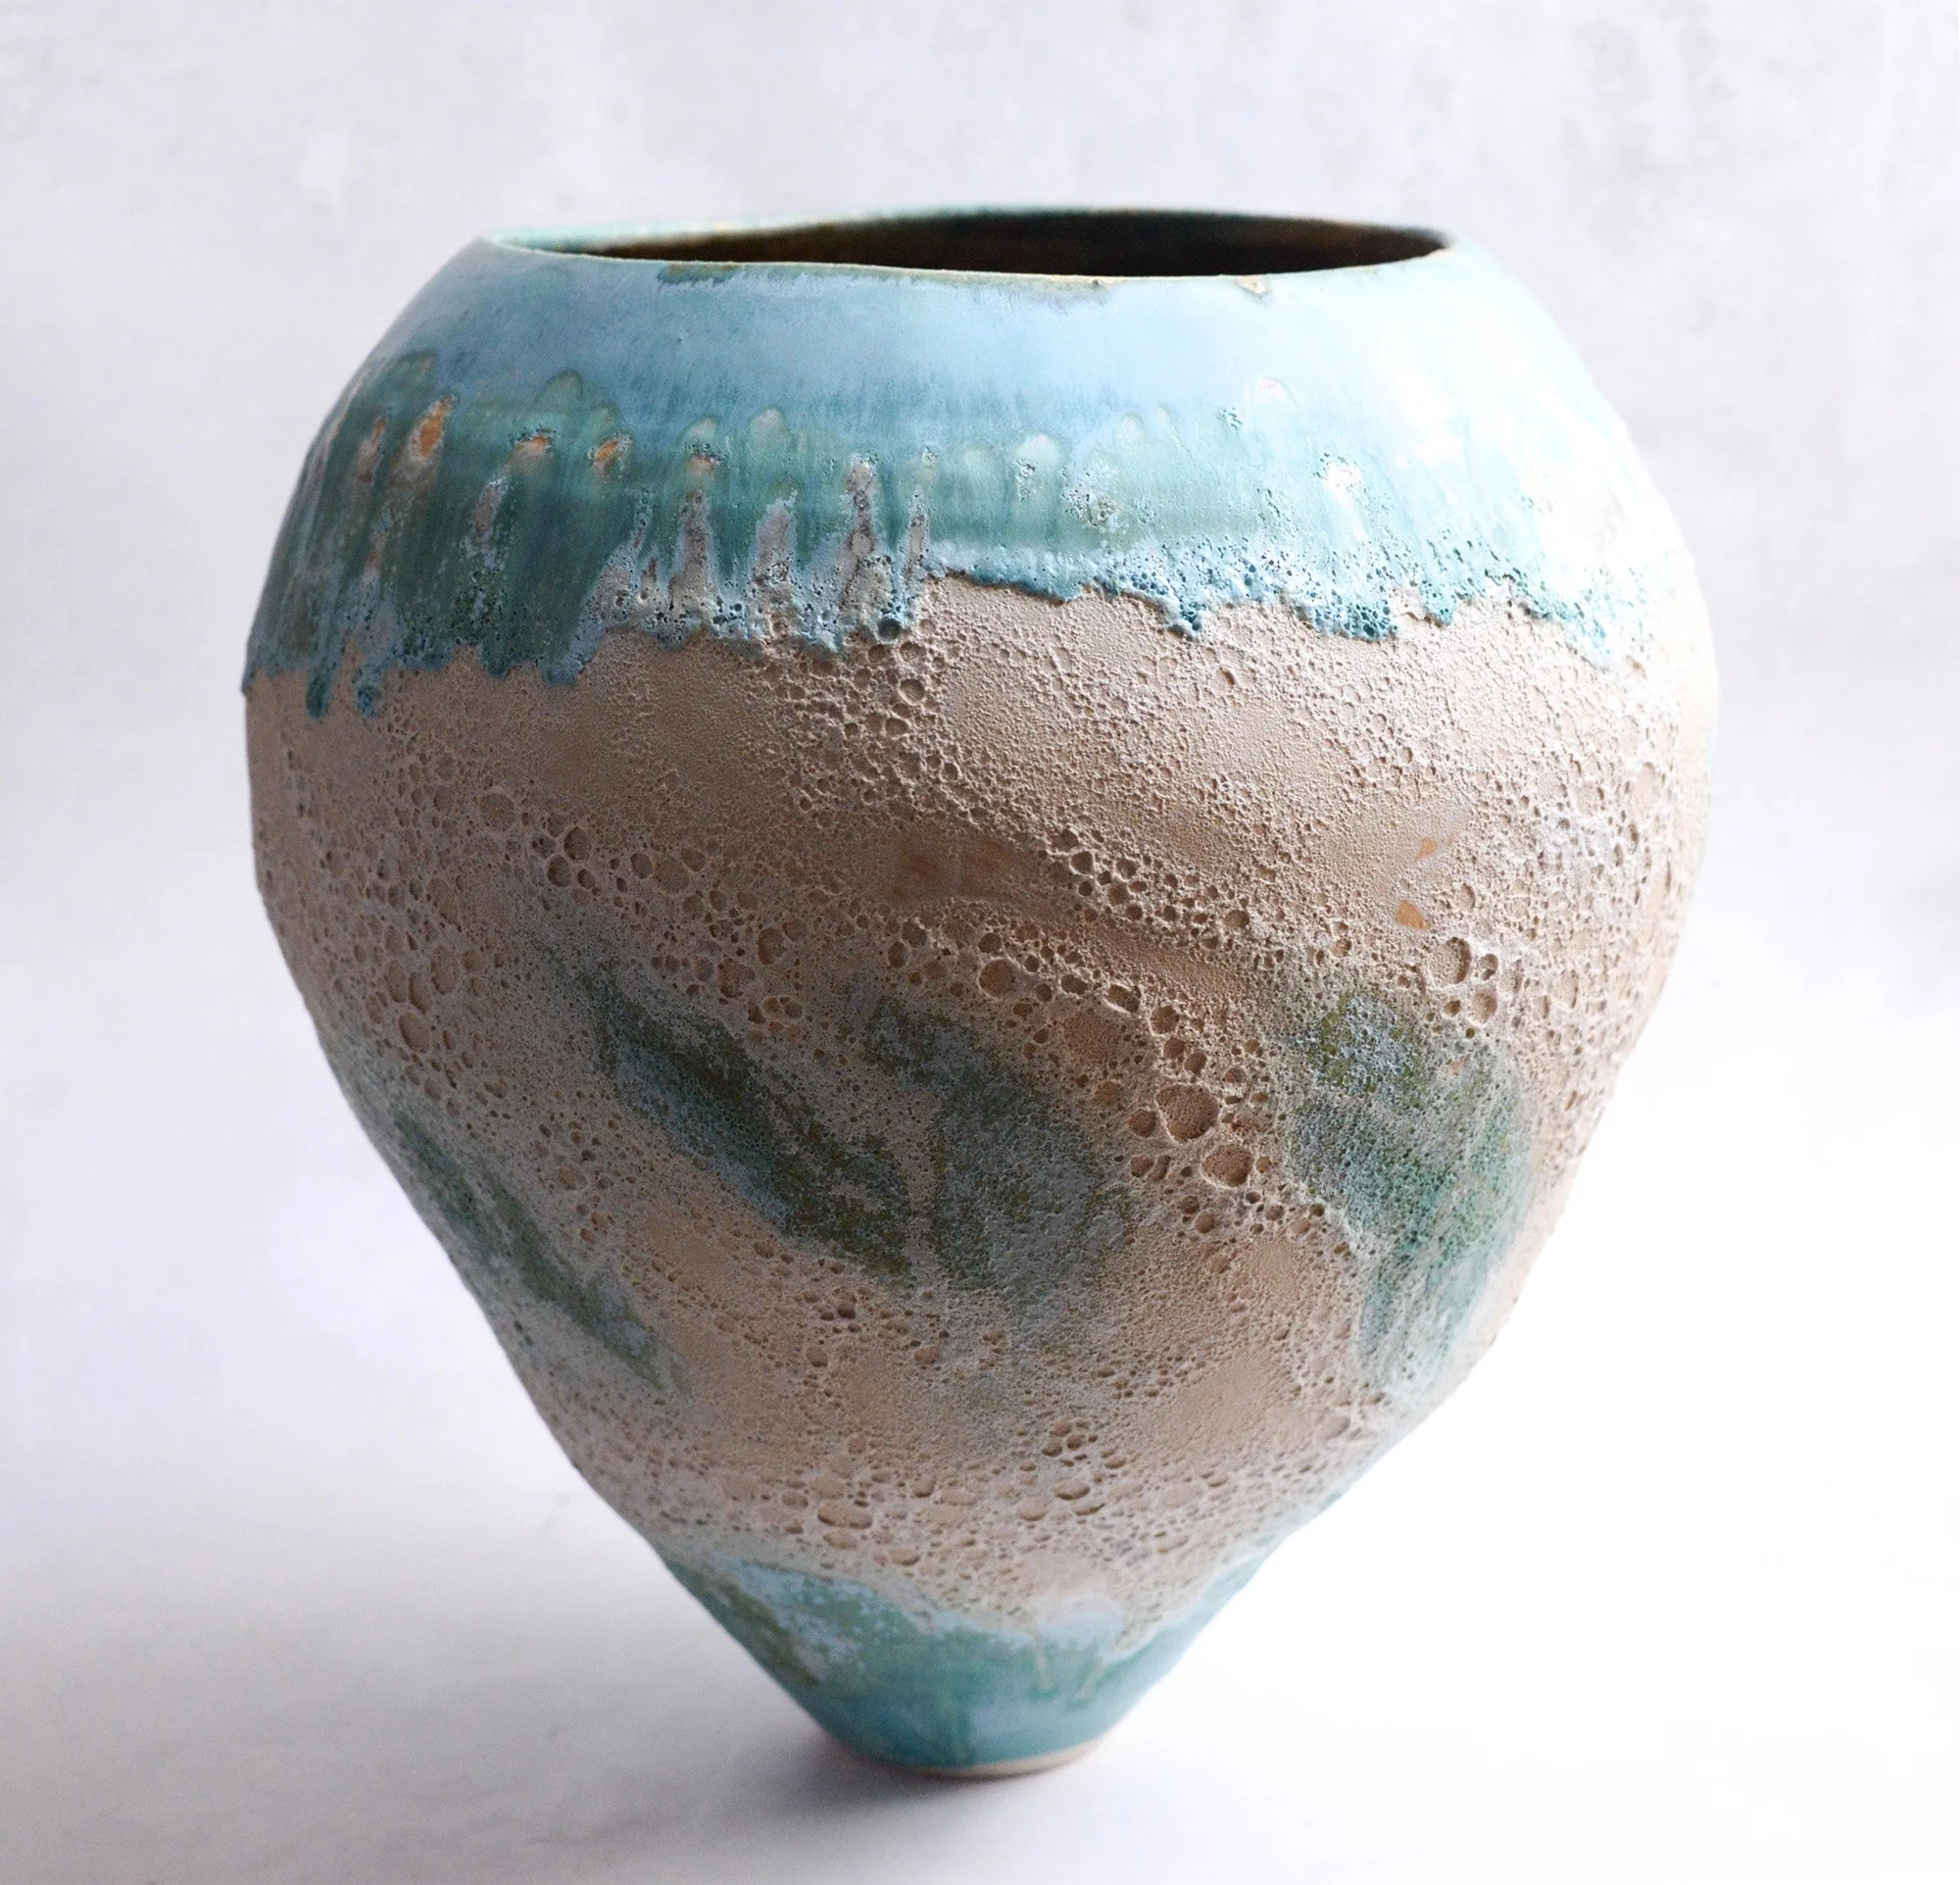
With special-effect glazes — especially lava and crawl glazes — this becomes even more noticeable.
These surfaces rely heavily on heatwork to develop their characteristic texture, so at lower temperatures they may appear more subdued or not fully activated.IS IT STILL POSSIBLE?
Yes — many potters do experiment with these glazes at cone 6 and sometimes achieve interesting results.
However, because we have not tested them at this temperature, we cannot guarantee:
the final surface
the exact color
or the effects shown in our examples
HOW TO GET CLOSER RESULTS AT LOWER TEMPERATURES
If your kiln reaches around 1240 °C, you are already quite close to the intended glaze behavior.
You can also increase heatwork by:
slowing down the firing
adding a soak/hold at peak temperature
This can help the glaze mature more fully, even if the peak temperature is slightly lower.
-
When a cone 6-8 glaze is fired hotter (cone 9–10), it simply melts more than intended — and that changes everything:
More fluid / can run → edges soften, risk of dripping
Glossier surface → matte/satin can turn glossy
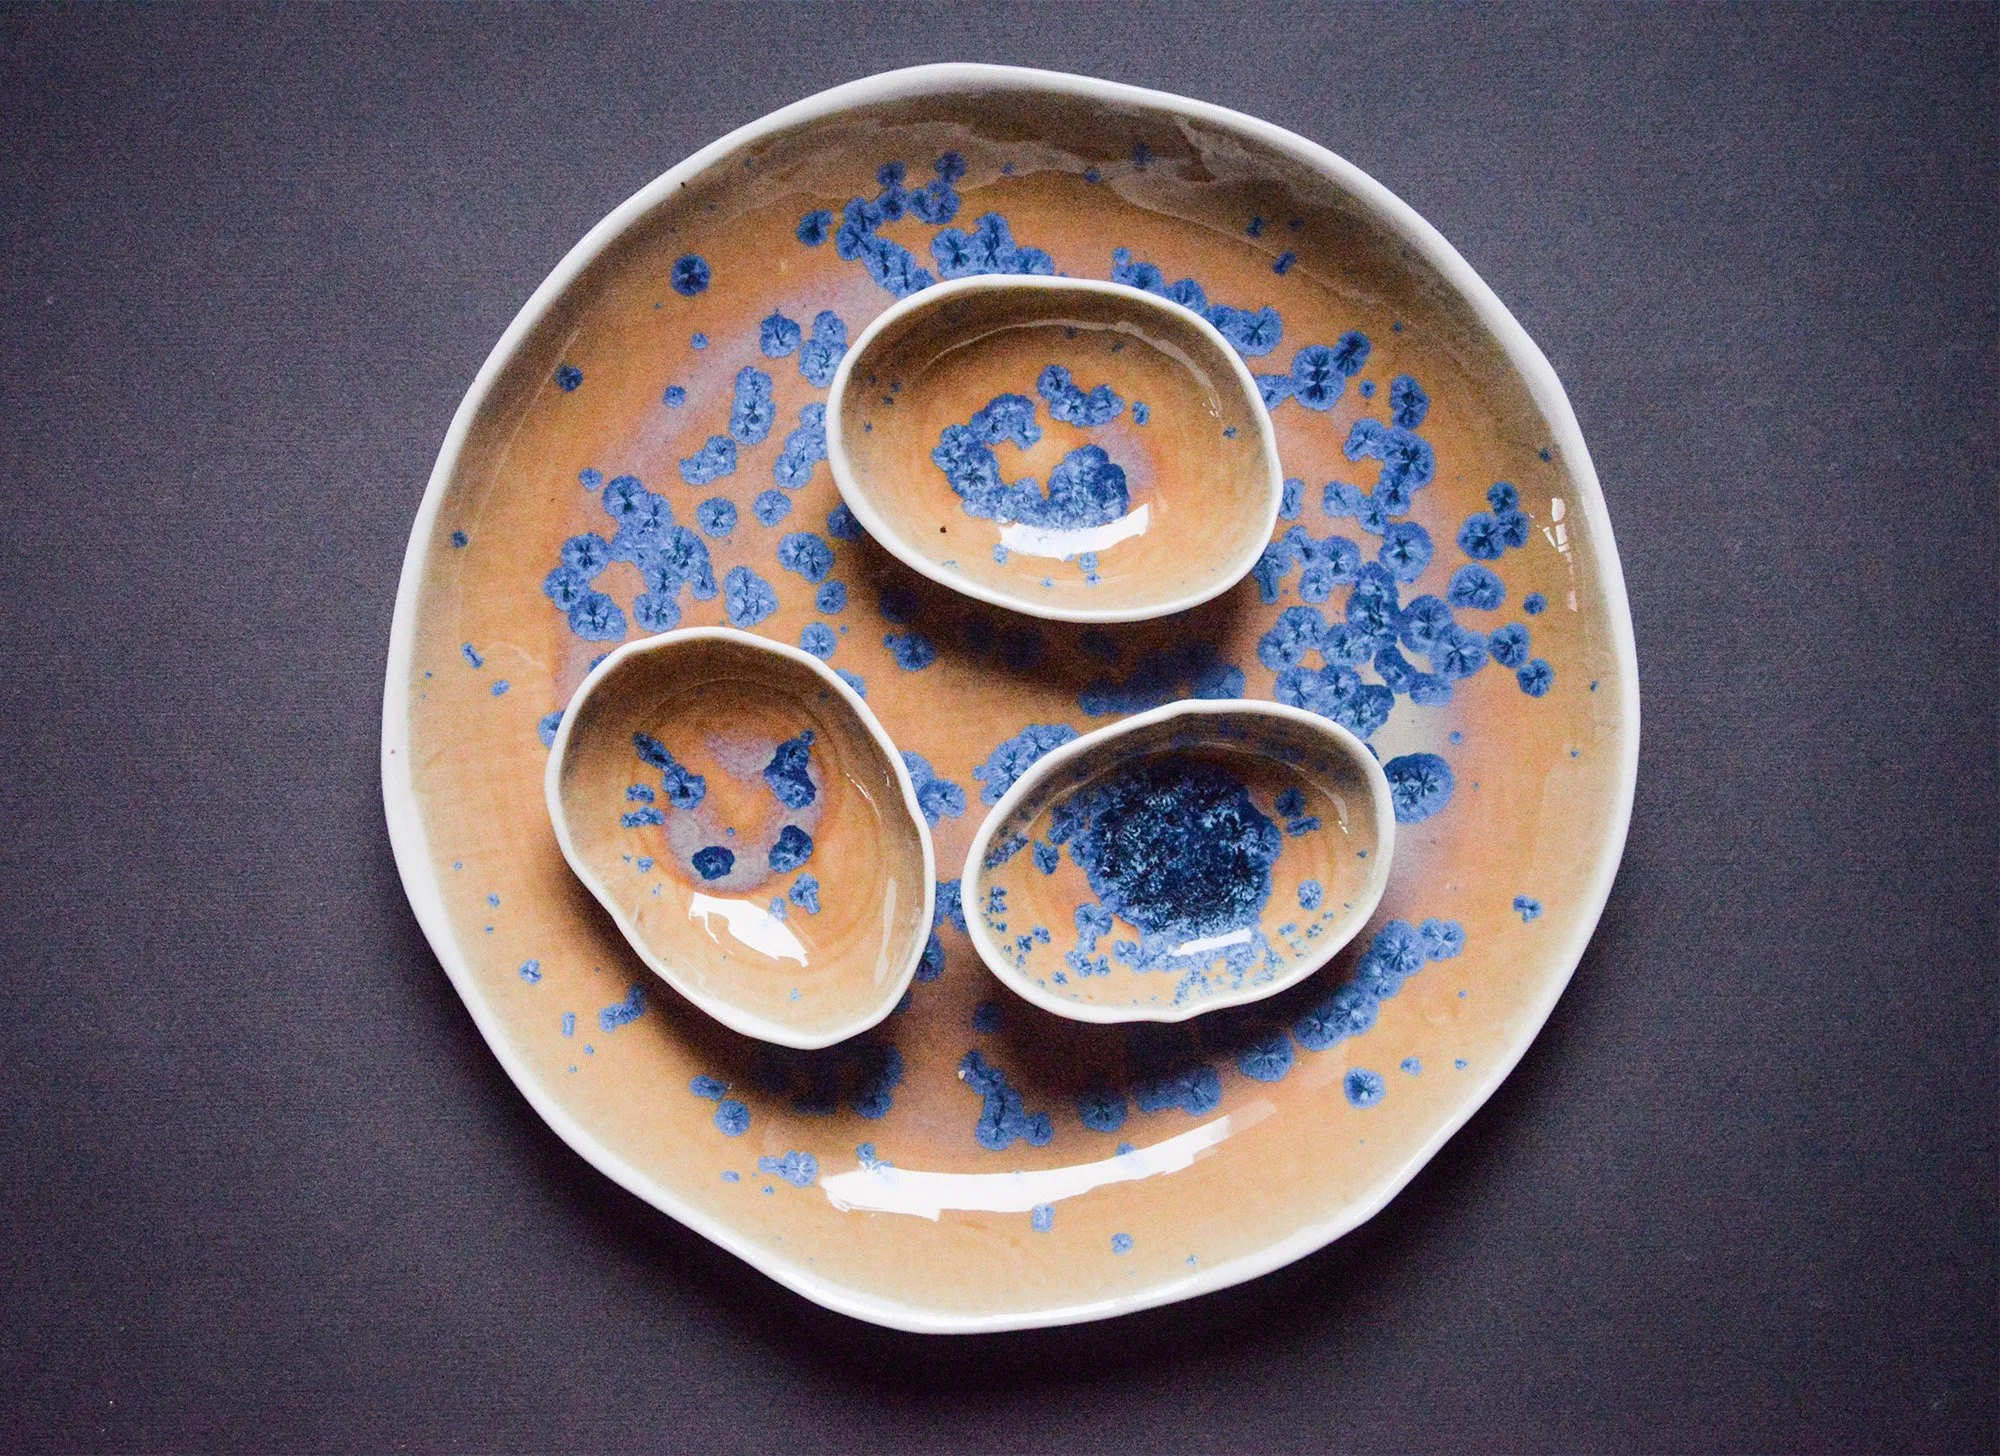
Crystals → may either develop more or fully melt out (losing texture)
Lava glazes → bubbles can collapse and smooth out, glaze may become runny
Color shifts → often deeper/darker or slightly burnt out depending on oxides
We always recommend testing — especially when pushing temperatures. Our 100g sample packs are perfect for this, so you can explore how a glaze behaves in your own kiln before committing.
-
With glazes — especially special-effect surfaces — the following factors all play a role:
glaze thickness
application method (dipping, brushing, spraying, layering)
firing temperature
firing curve (speed, holds, cooling)
kiln position (top, middle, bottom shelf)
clay body
-
Are crystal, metallic & crackle glazes food safe?
For a deeper guide (including durability, acids, and long-term use), explore here:
-
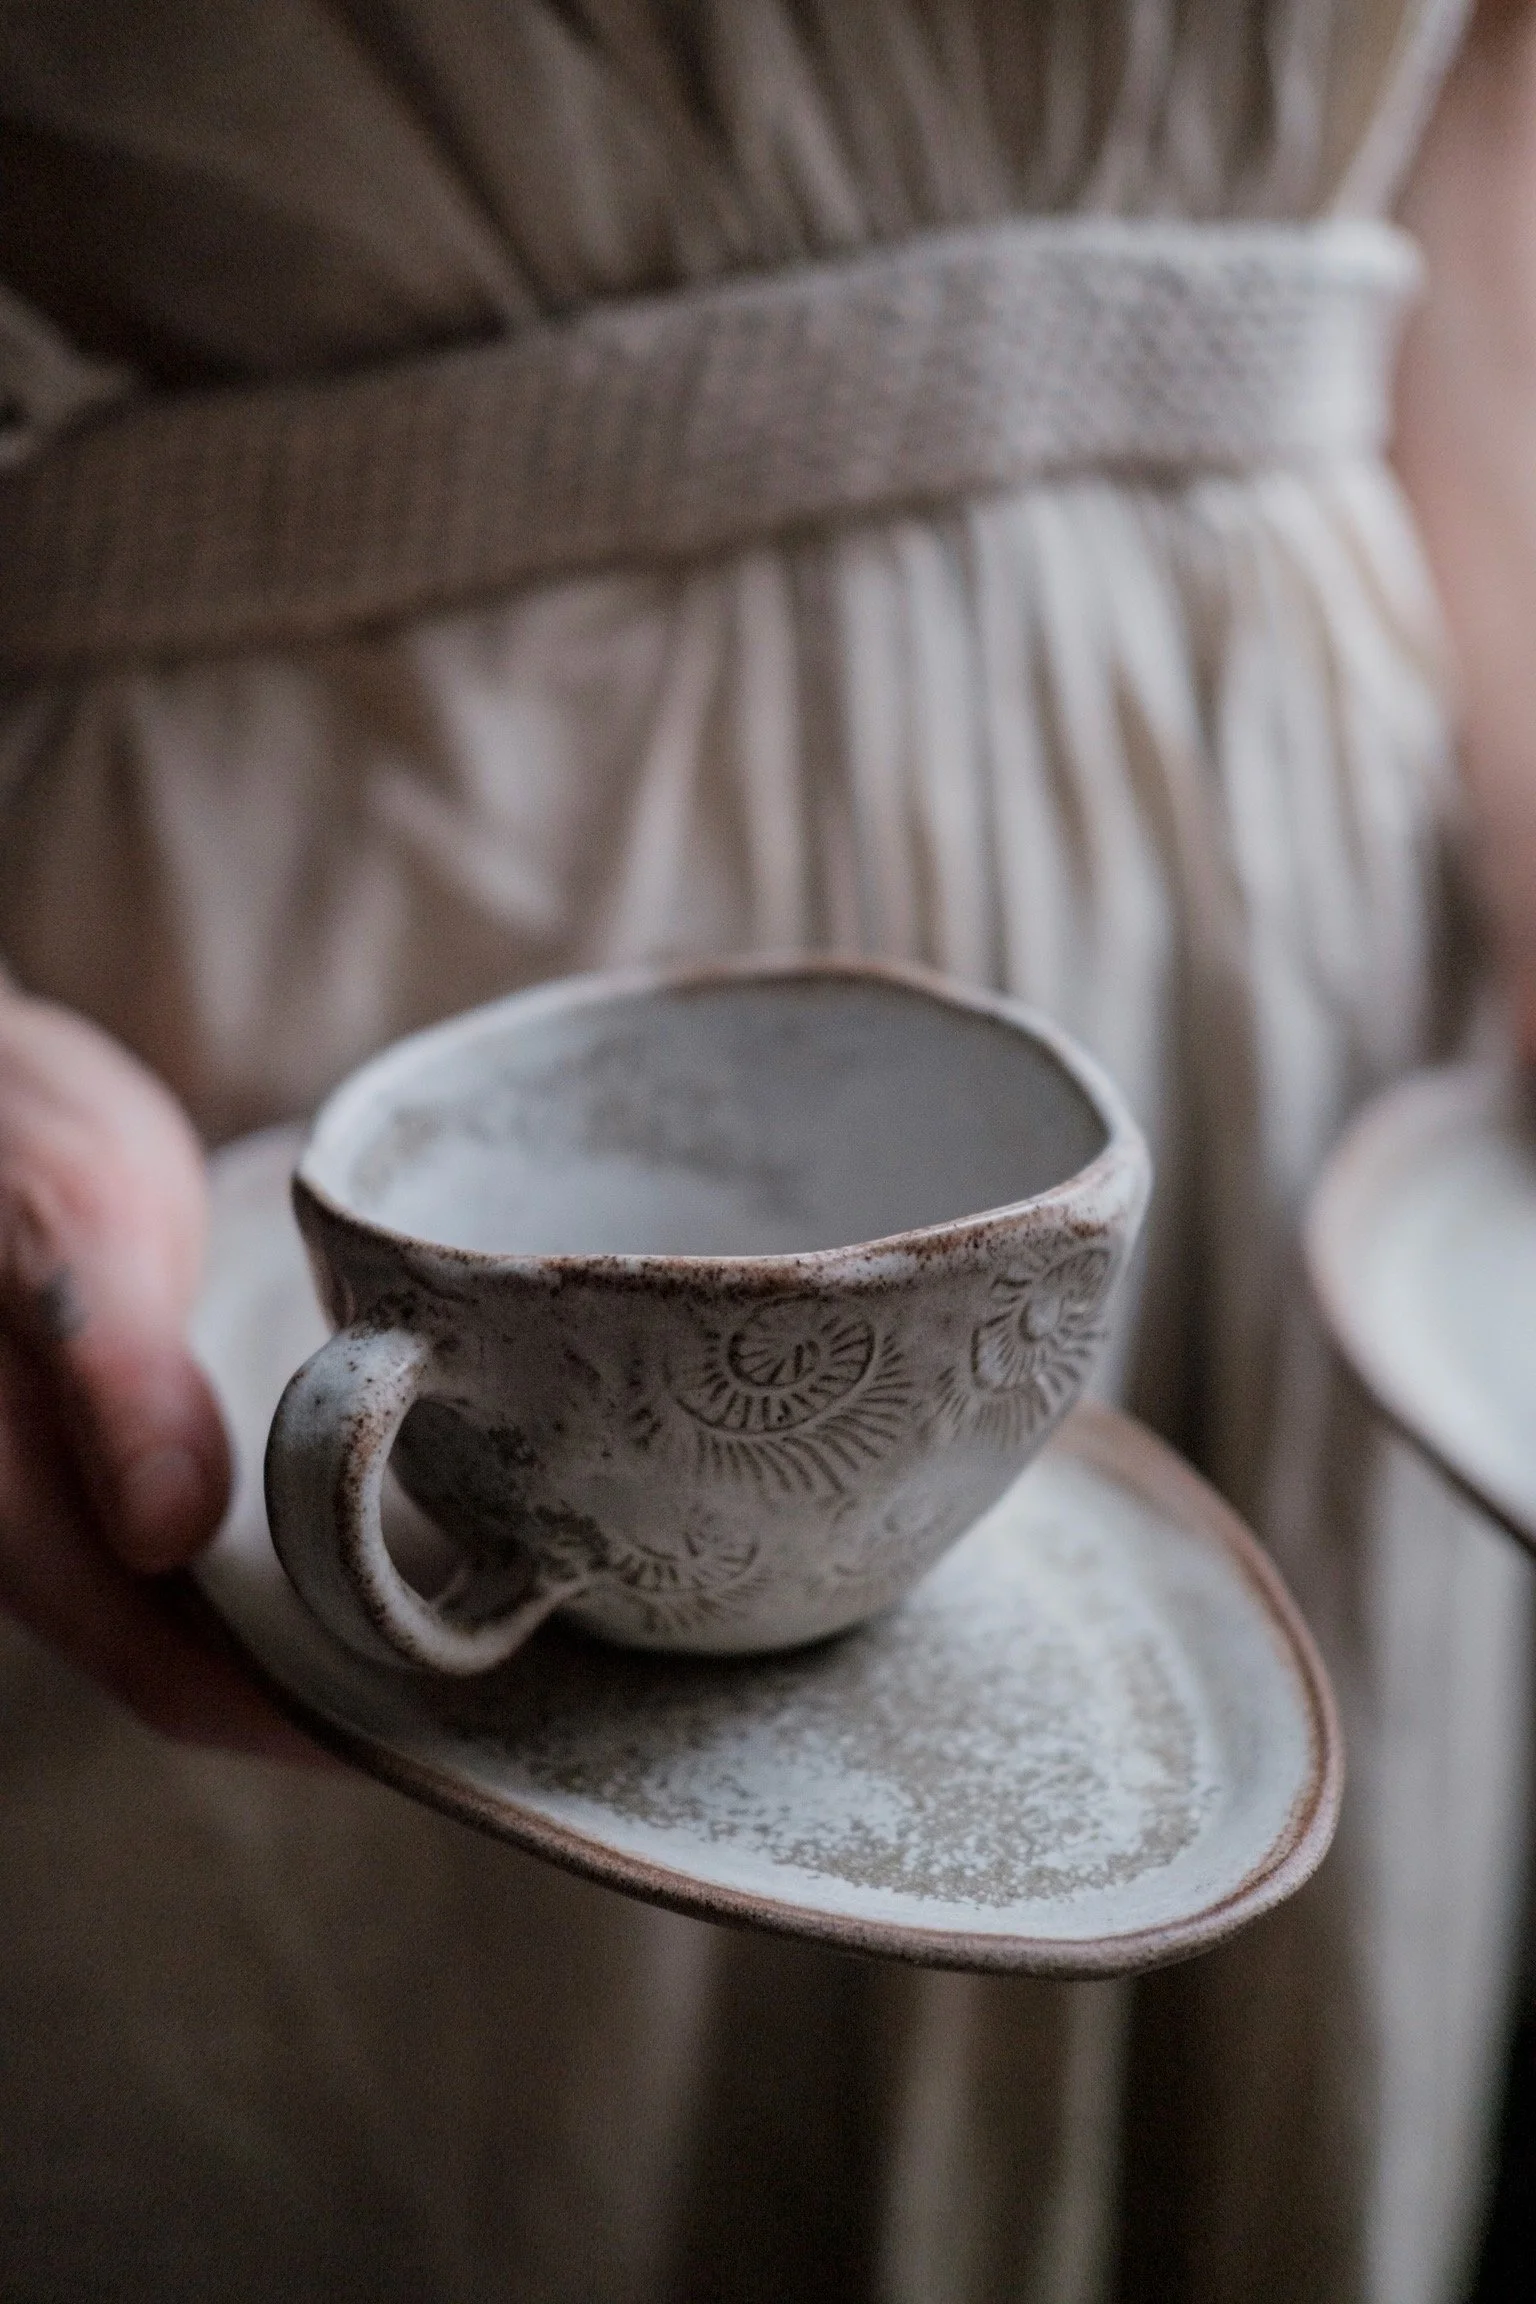
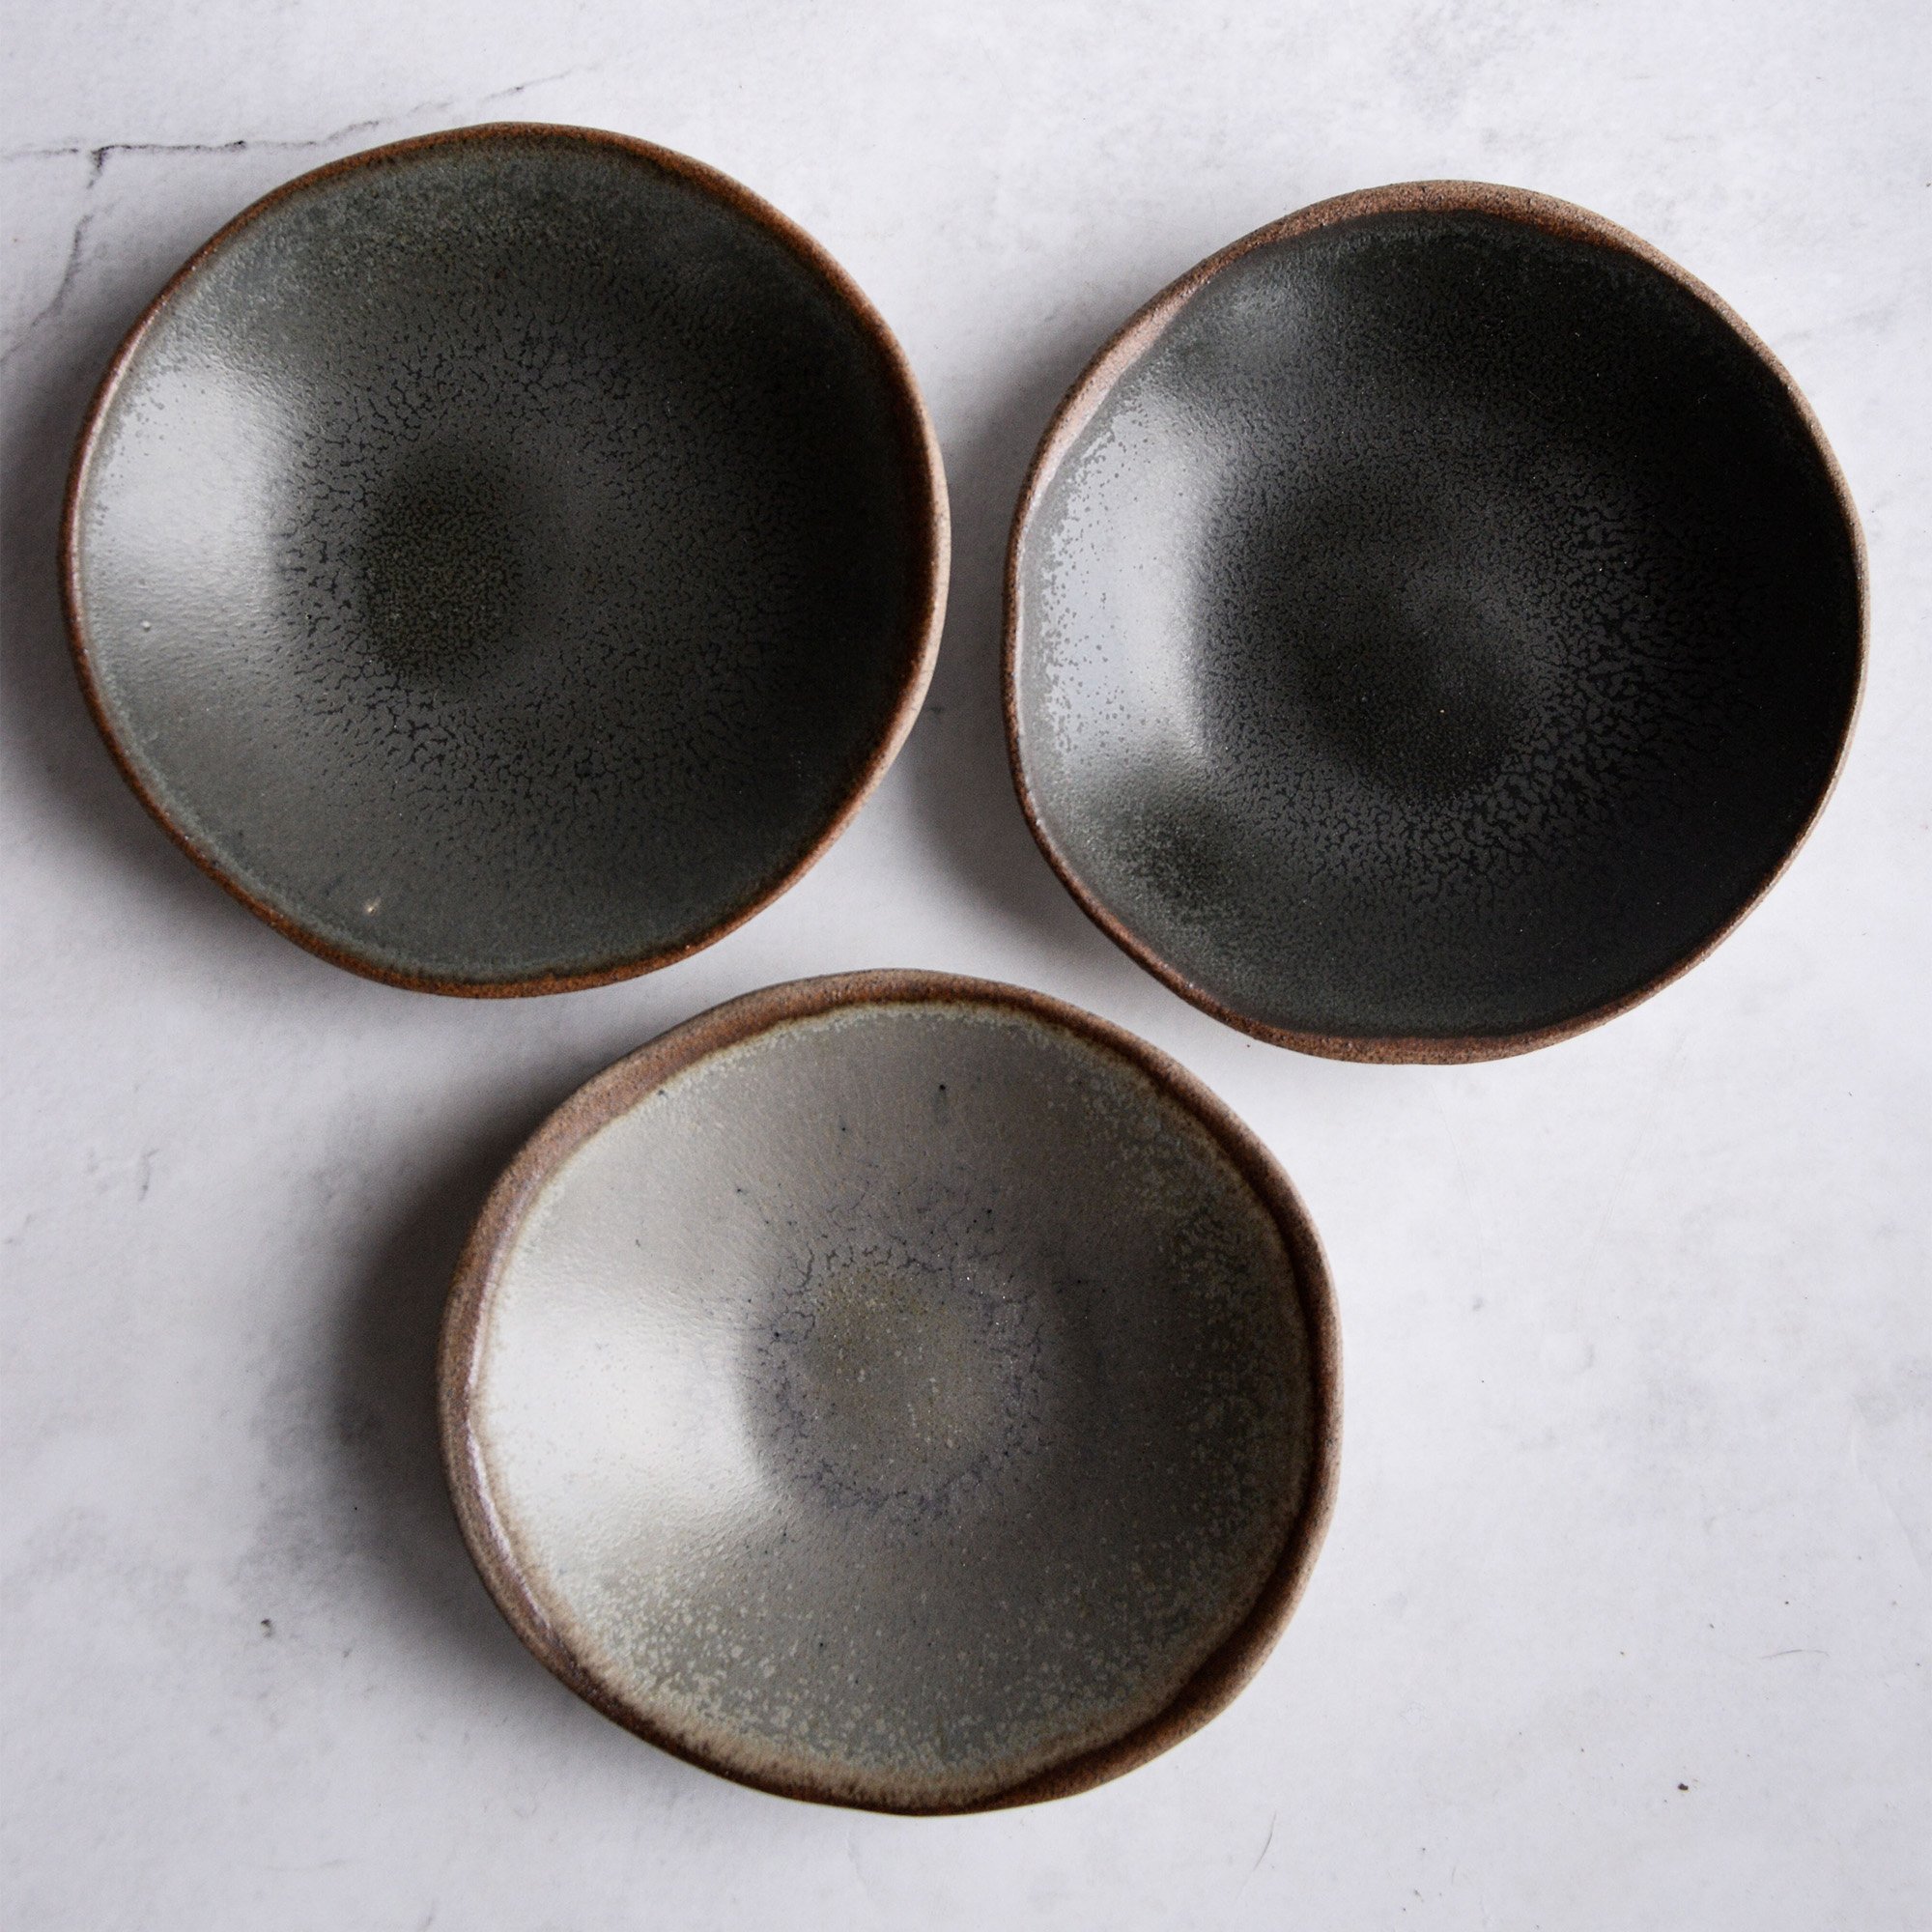
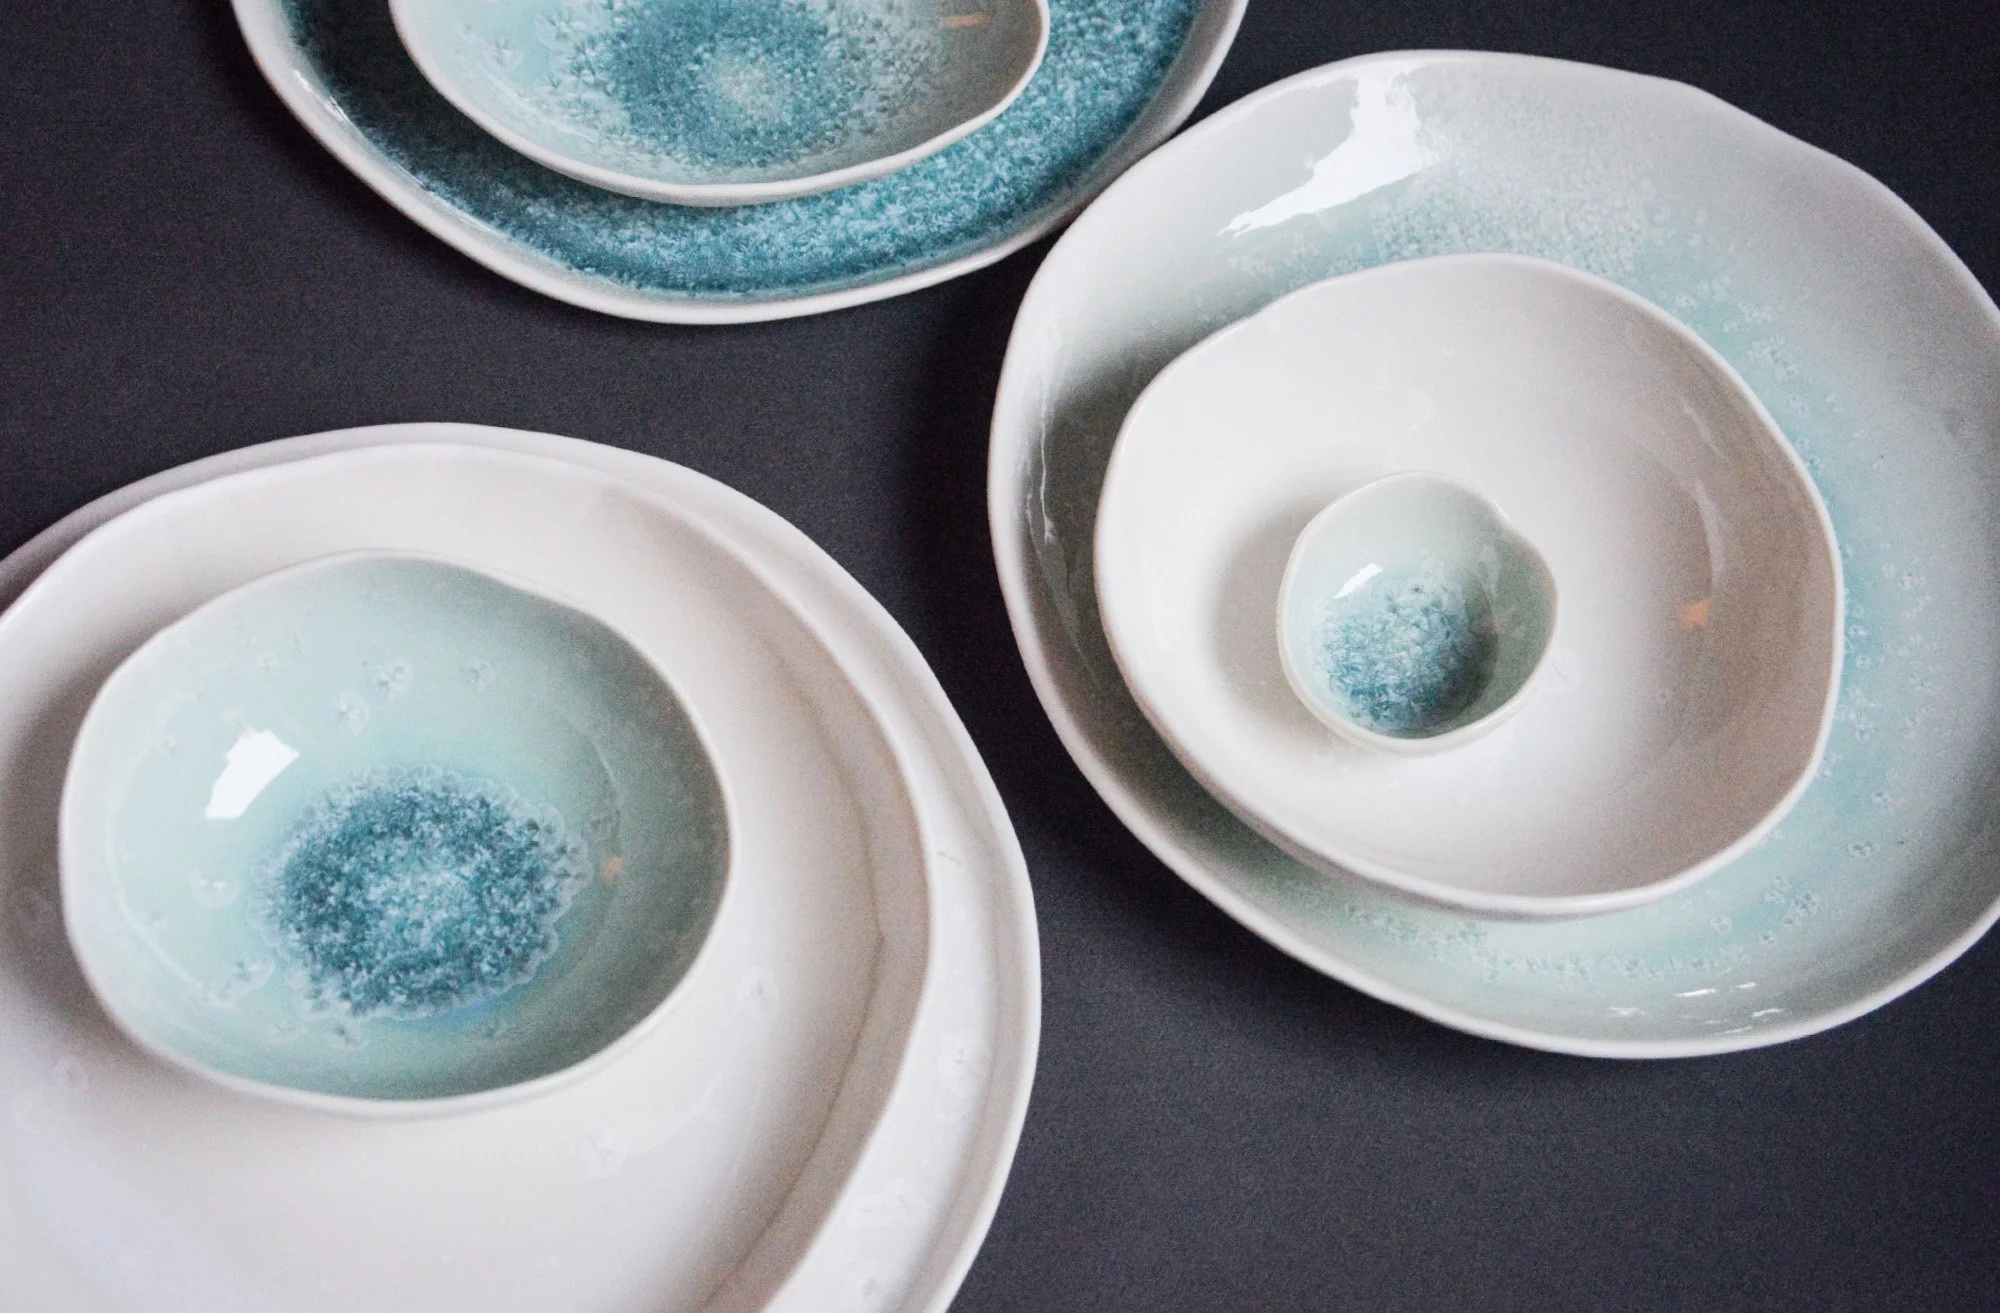
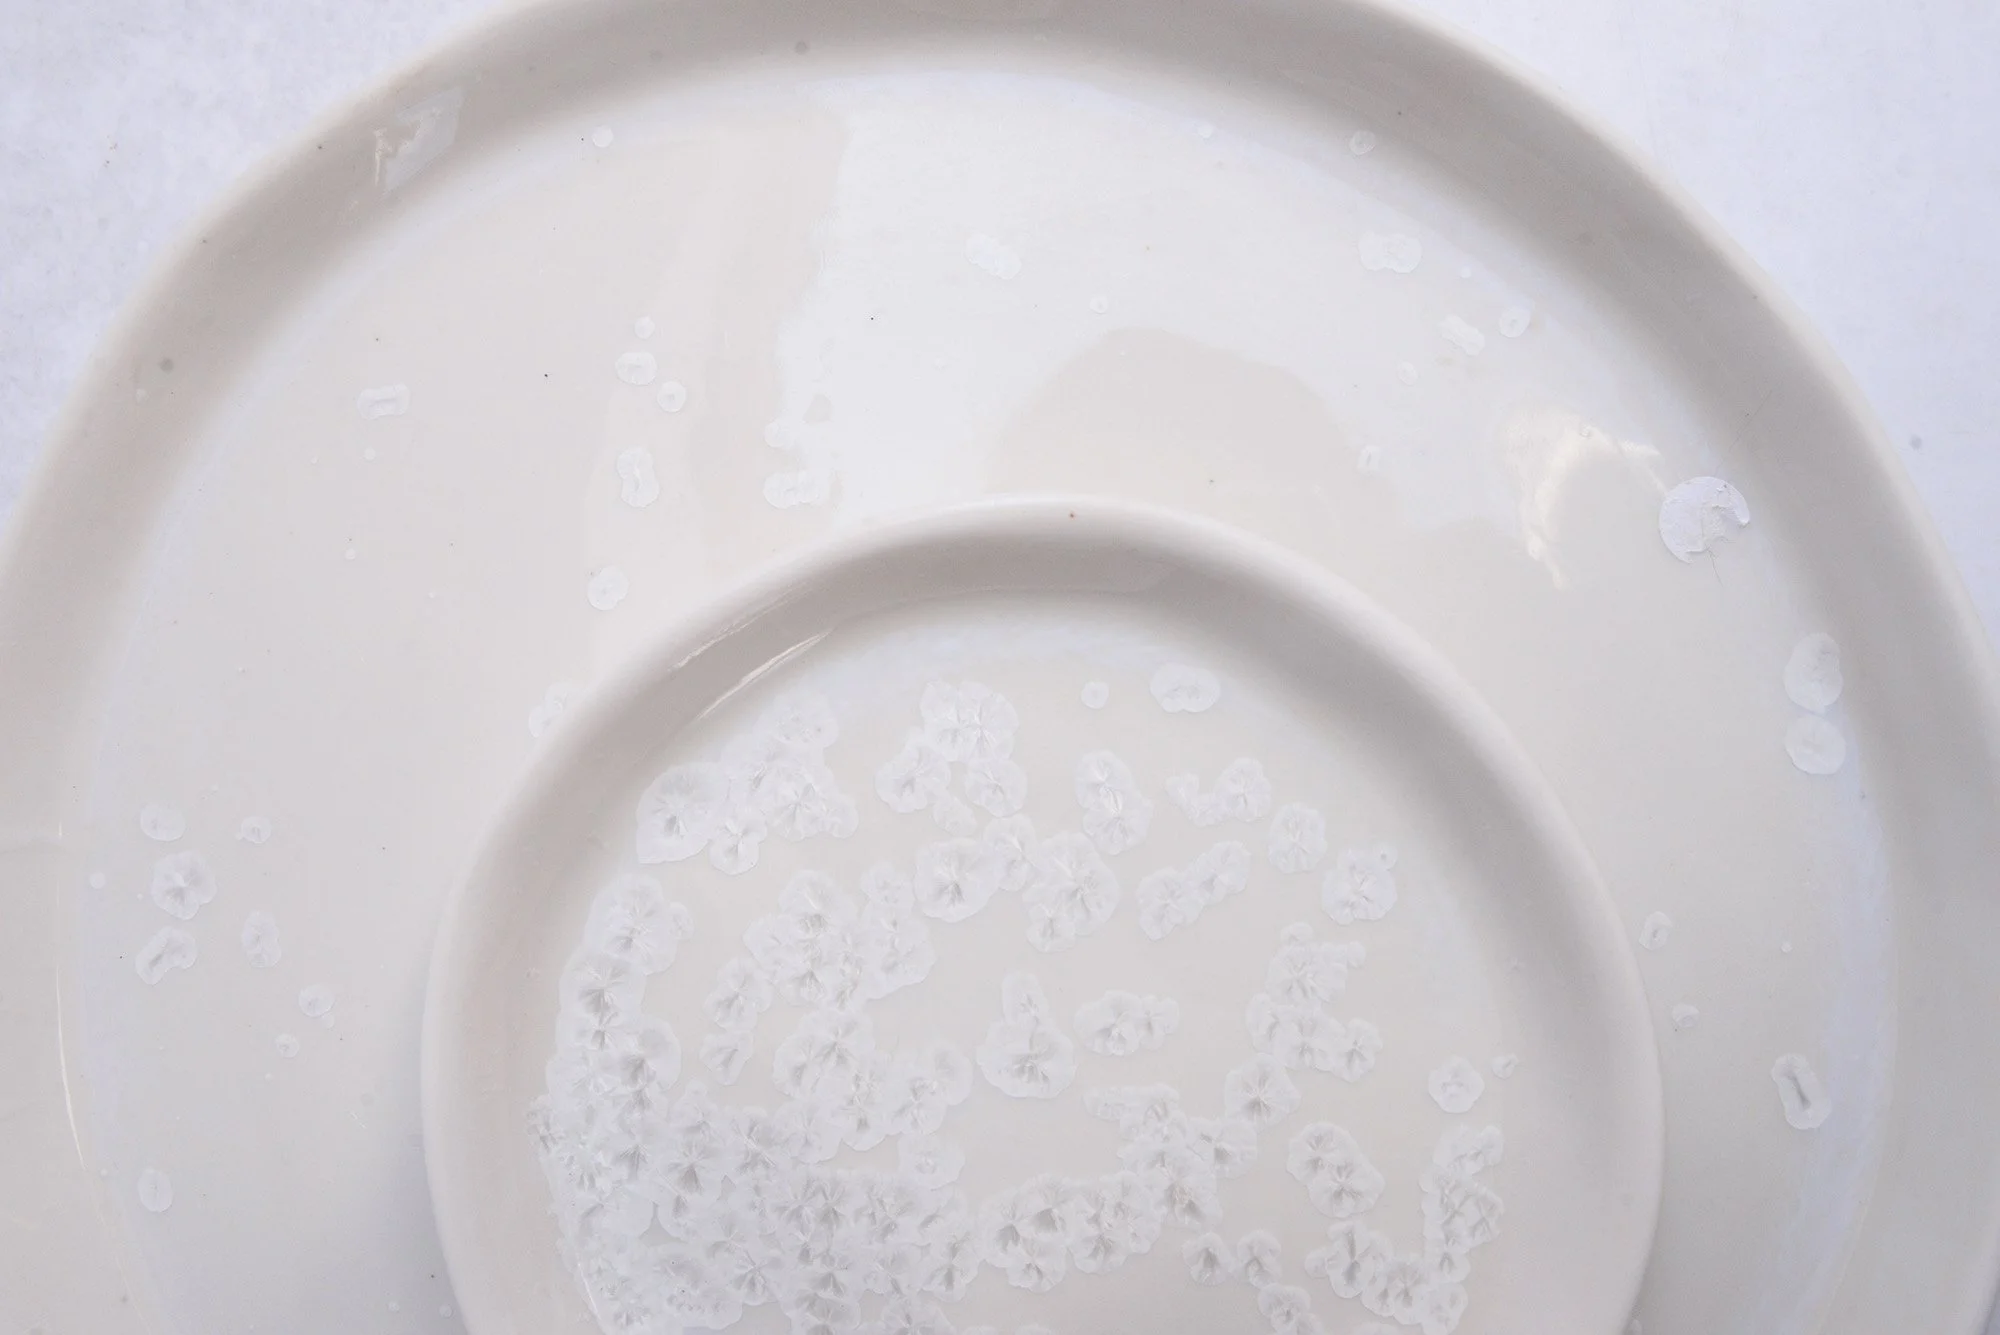
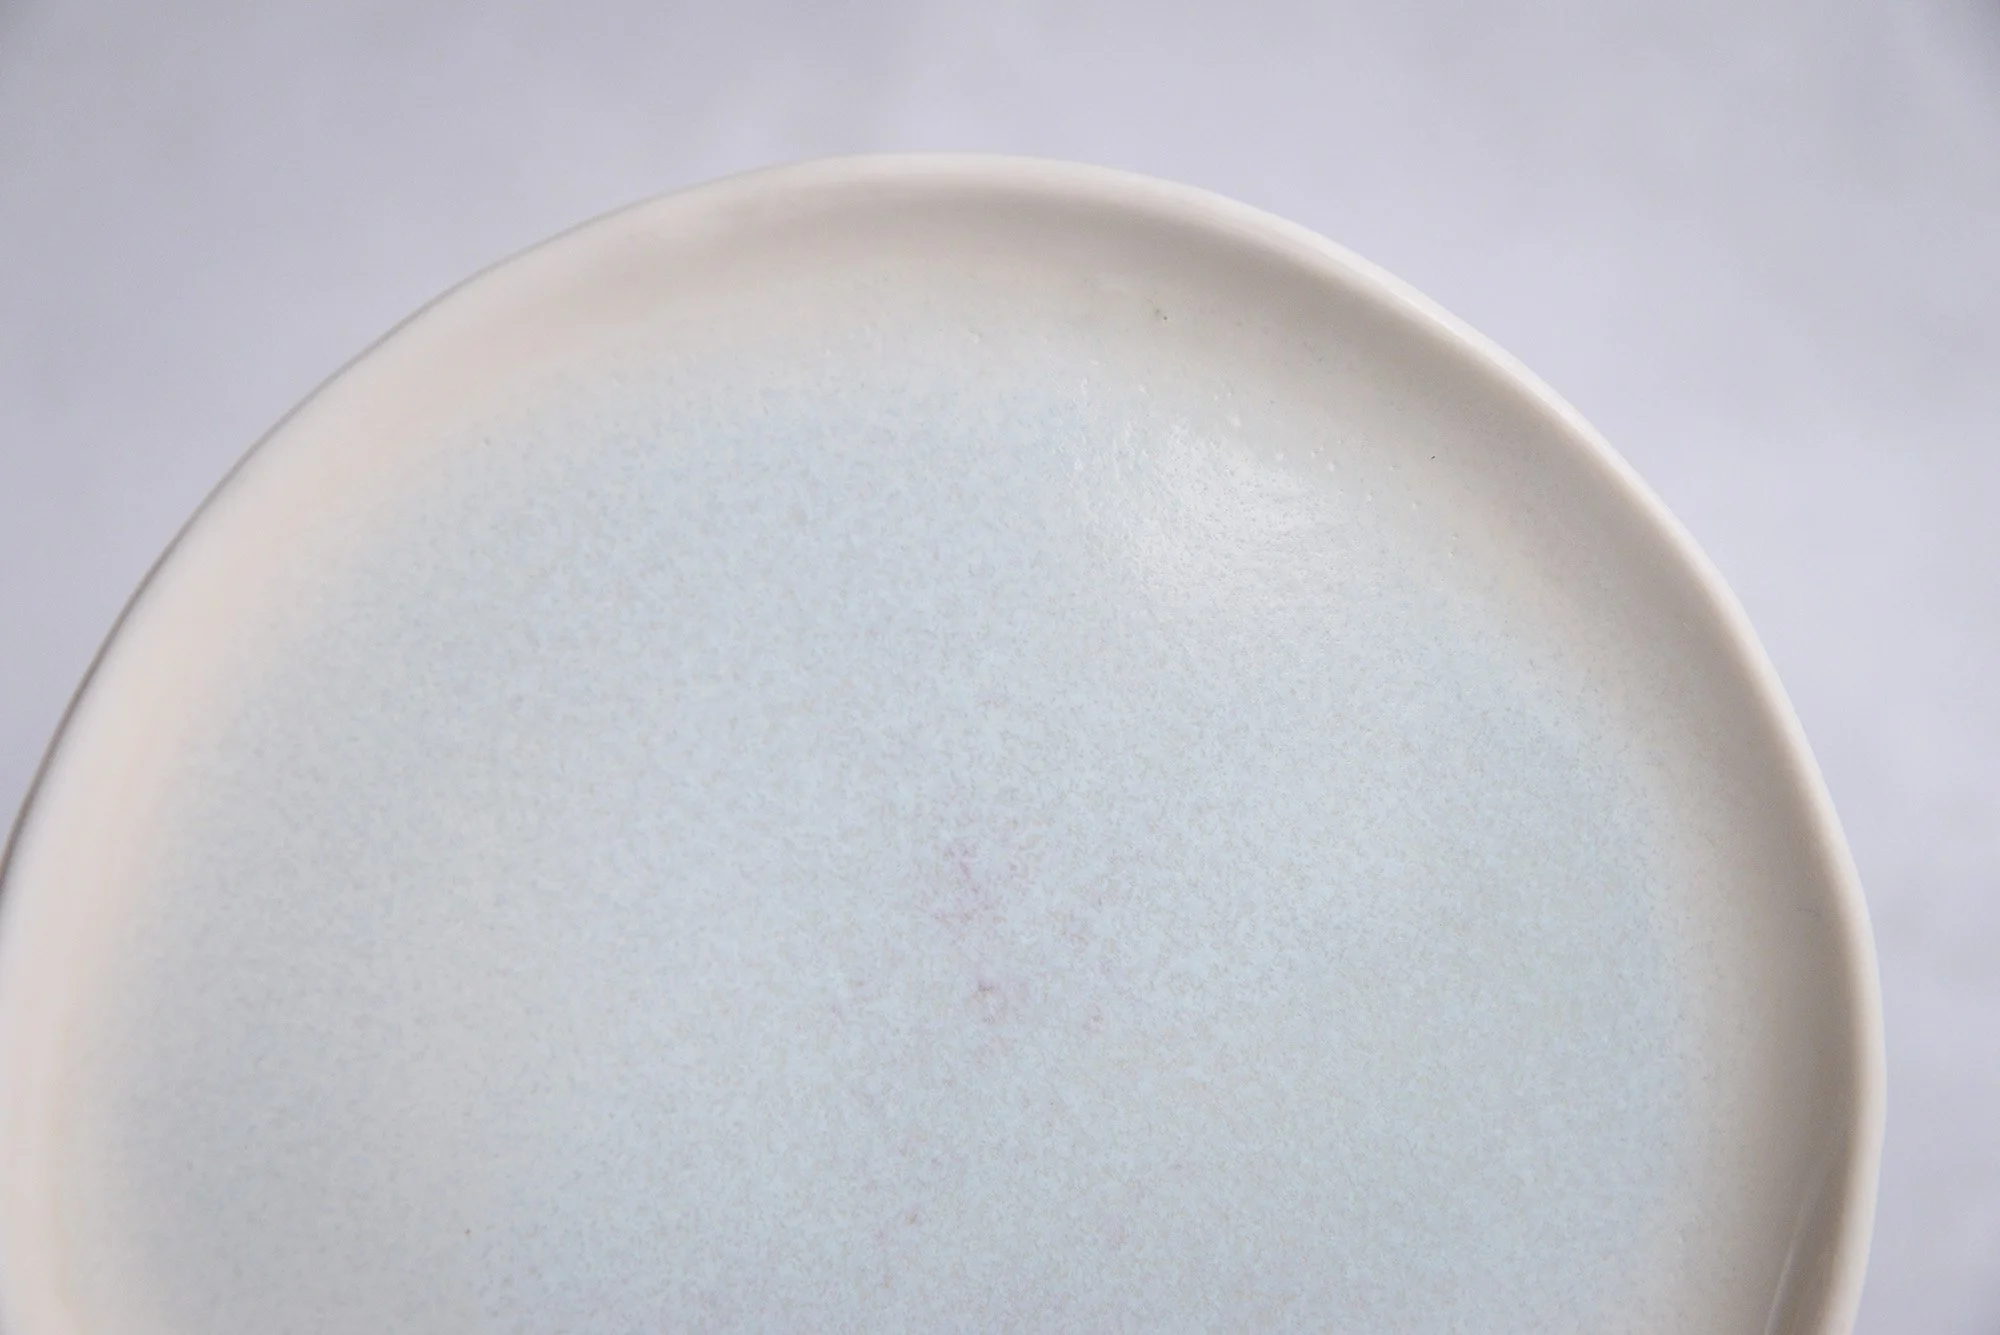
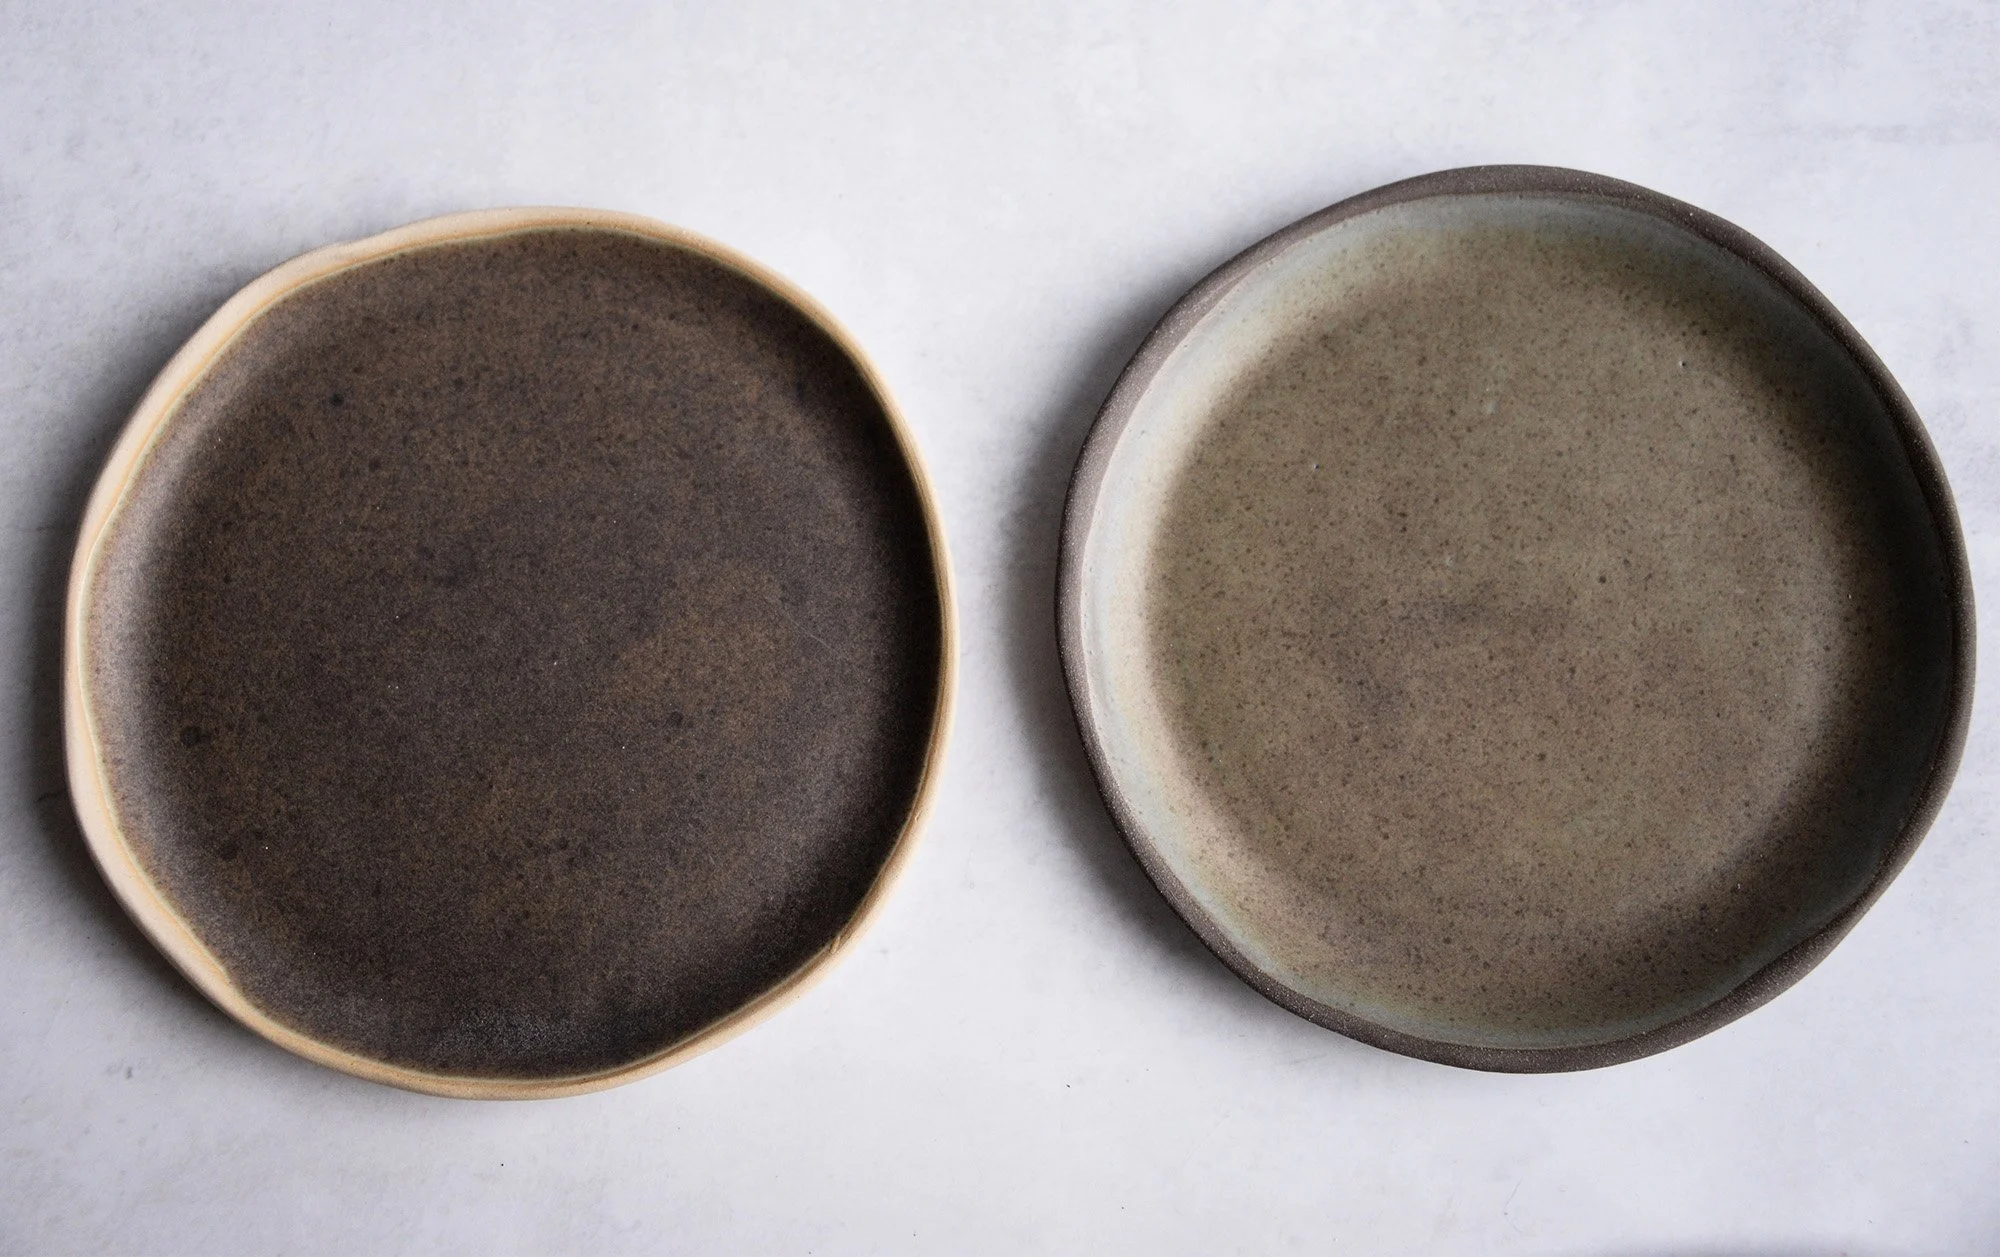
Matte and satin‑matte glazes are beloved for their soft, stone‑like surfaces, subtle light absorption, and quiet, earthy presence on the table.
One common questions we receive from clients — concerns cutlery marks on matte glazes.
For a deeper guide explore our blog: https://www.laimaceramics.com/blog/2025/12/19/cutlery-marks-on-matte-glazes-what-they-are-and-why-they-happen -
We fire in ROHDE TE 200S BH TOPLOADER.
Our BISQUE is to 980C with 30min soak and our high-fire is:
60°C / hr » 300°C.
80°C / hr » 1230°C (≈1260°C actual
heat work confirmed by cones).
30 min soak, natural cool down.
We use this schedule for all the glazes shown, including LAVA and CRYSTALLINE glazes.
-
Our webshop invoices are automatically issued based on the details entered at checkout.
VAT-free (intra-EU, reverse charge) orders for companies are available, but must be arranged manually in advance. These are offered for bulk purchases (2.5 kg glaze packages only) and orders above €500, and are processed via bank transfer.
If you would like to place a VAT-free order as a company, please contact us before purchasing with your company name, VAT number, and order details — we’ll then prepare a custom invoice for you.