
GLAZE MIXING GUIDELINES
How Much Water to Add to Glaze Powder?
One of the most common questions I receive is:
“How much water should I add?”
The honest answer is — it depends.
But there is a reliable starting point.
Starting Ratio
A good baseline is 1:1 (water : glaze powder) by weight.
However, in practice, I always recommend starting slightly thicker, then gradually adding water as you go. It’s far easier to thin a glaze than to fix one that has become too runny.
Specific Gravity Guidelines
For consistency and repeatable results, working with Specific Gravity (SG) is essential.
As a general guide:
Spraying: ~1.40 (thinner)
Dipping: ~1.45 (medium)
Brushing: ~1.50 (thicker)
This means:
100 ml of glaze should weigh between 140–150 g, depending on your application method.
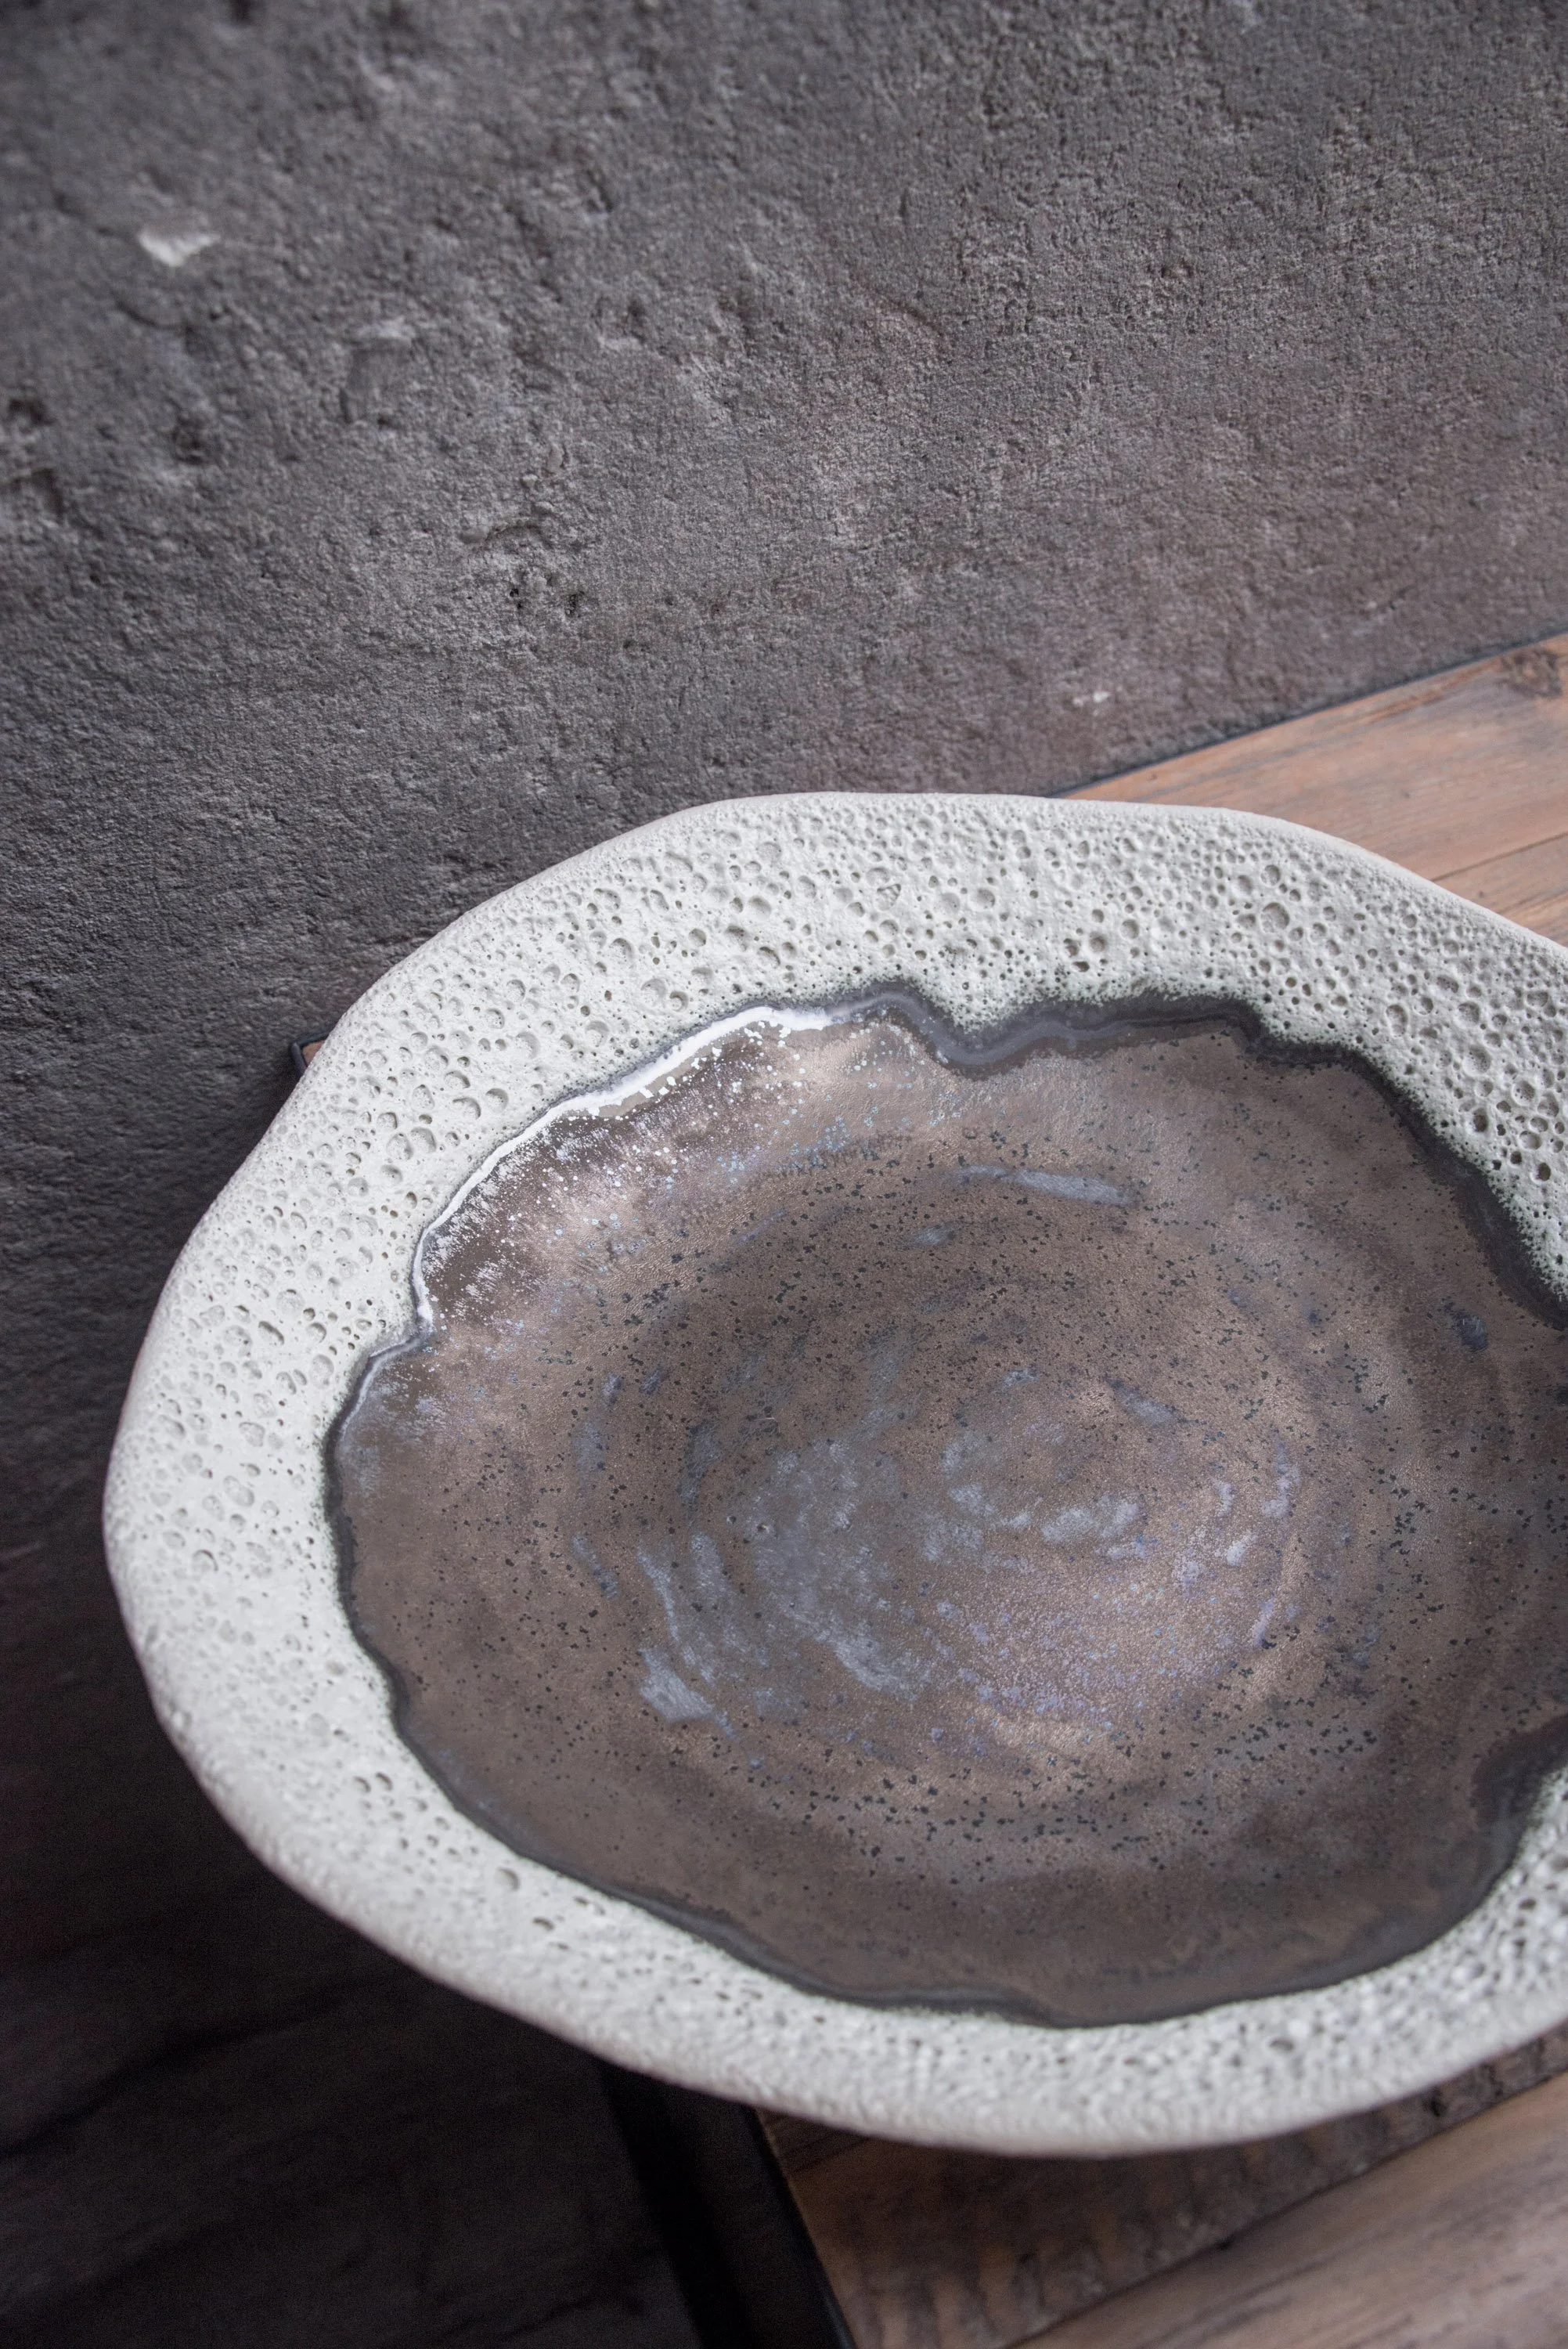
Special-effect glazes — such as lava or crawl glazes — often benefit from being even thicker, but this still depends on how you apply them (dipping, brushing, layering).
Adjusting Consistency
Always begin thicker and slowly add water.
If your glaze becomes too thin:
Let it settle for a few hours
Carefully pour off excess water from the top
This is a simple but very effective way to correct consistency without compromising the glaze.
Why Thickness Matters
Many of these glazes — especially special-effect surfaces — are highly sensitive to thickness.
A small variation can completely change:
surface texture
gloss vs matte balance
movement and break

How to Measure Specific Gravity (Simple Method)
You don’t need any special equipment to measure Specific Gravity accurately.
The simplest and most reliable method is weighing.
What you need:
a digital scale
a container or cup
water
your glaze
Step-by-step:
Place your empty container on the scale and tare it to zero
Fill it with exactly 100 ml of water → this should weigh 100 g
(this helps you confirm your measurement reference)Empty and dry the container
Fill it with 100 ml of your glaze
Weigh it
How to read the result:
140 g = SG 1.40 (good for spraying)
145 g = SG 1.45 (good for dipping)
150 g = SG 1.50 (good for brushing)
This method is:
fast
accurate
repeatable
…and once you start using it, it becomes an essential part of your glaze routine.
A Small but Important Habit
Always record:
the SG
your application method
and the firing result
Over time, this becomes your personal glaze map — and this is where real control begins.

Why There Is No Universal Formula
Exact water amounts cannot be prescribed universally, as they depend on:
application method (brushing, dipping, spraying, layering)
glaze composition
clay body absorption
desired thickness and effect
Some glazes prefer thick application, others need to be built in layers.
Important Mixing Note
Because these glazes are handmade, the dry powder is not pre-homogenised.
This means you must mix the entire bag at once to achieve an even formula.
Do not split batches.
For example:
0.5 kg → mix in a 1 L bucket
2.5 kg → mix in a 5 L bucket
When to Use a Deflocculant
If your glaze:
settles heavily
becomes hard to remix
feels overly thick despite correct SG
…it may benefit from a deflocculant.
Some handmade glazes respond beautifully to this and become much more fluid and pleasant to use.
Can I Fire These Glazes at Cone 6?
Another very common question I receive is:
“Can I fire these glazes lower — at cone 6?”
All of our glaze recipes are developed and tested in high-fired oxidation, specifically at cone 7 (around 1260 °C), and generally perform within the cone 7–9 range (≈1220–1280 °C).
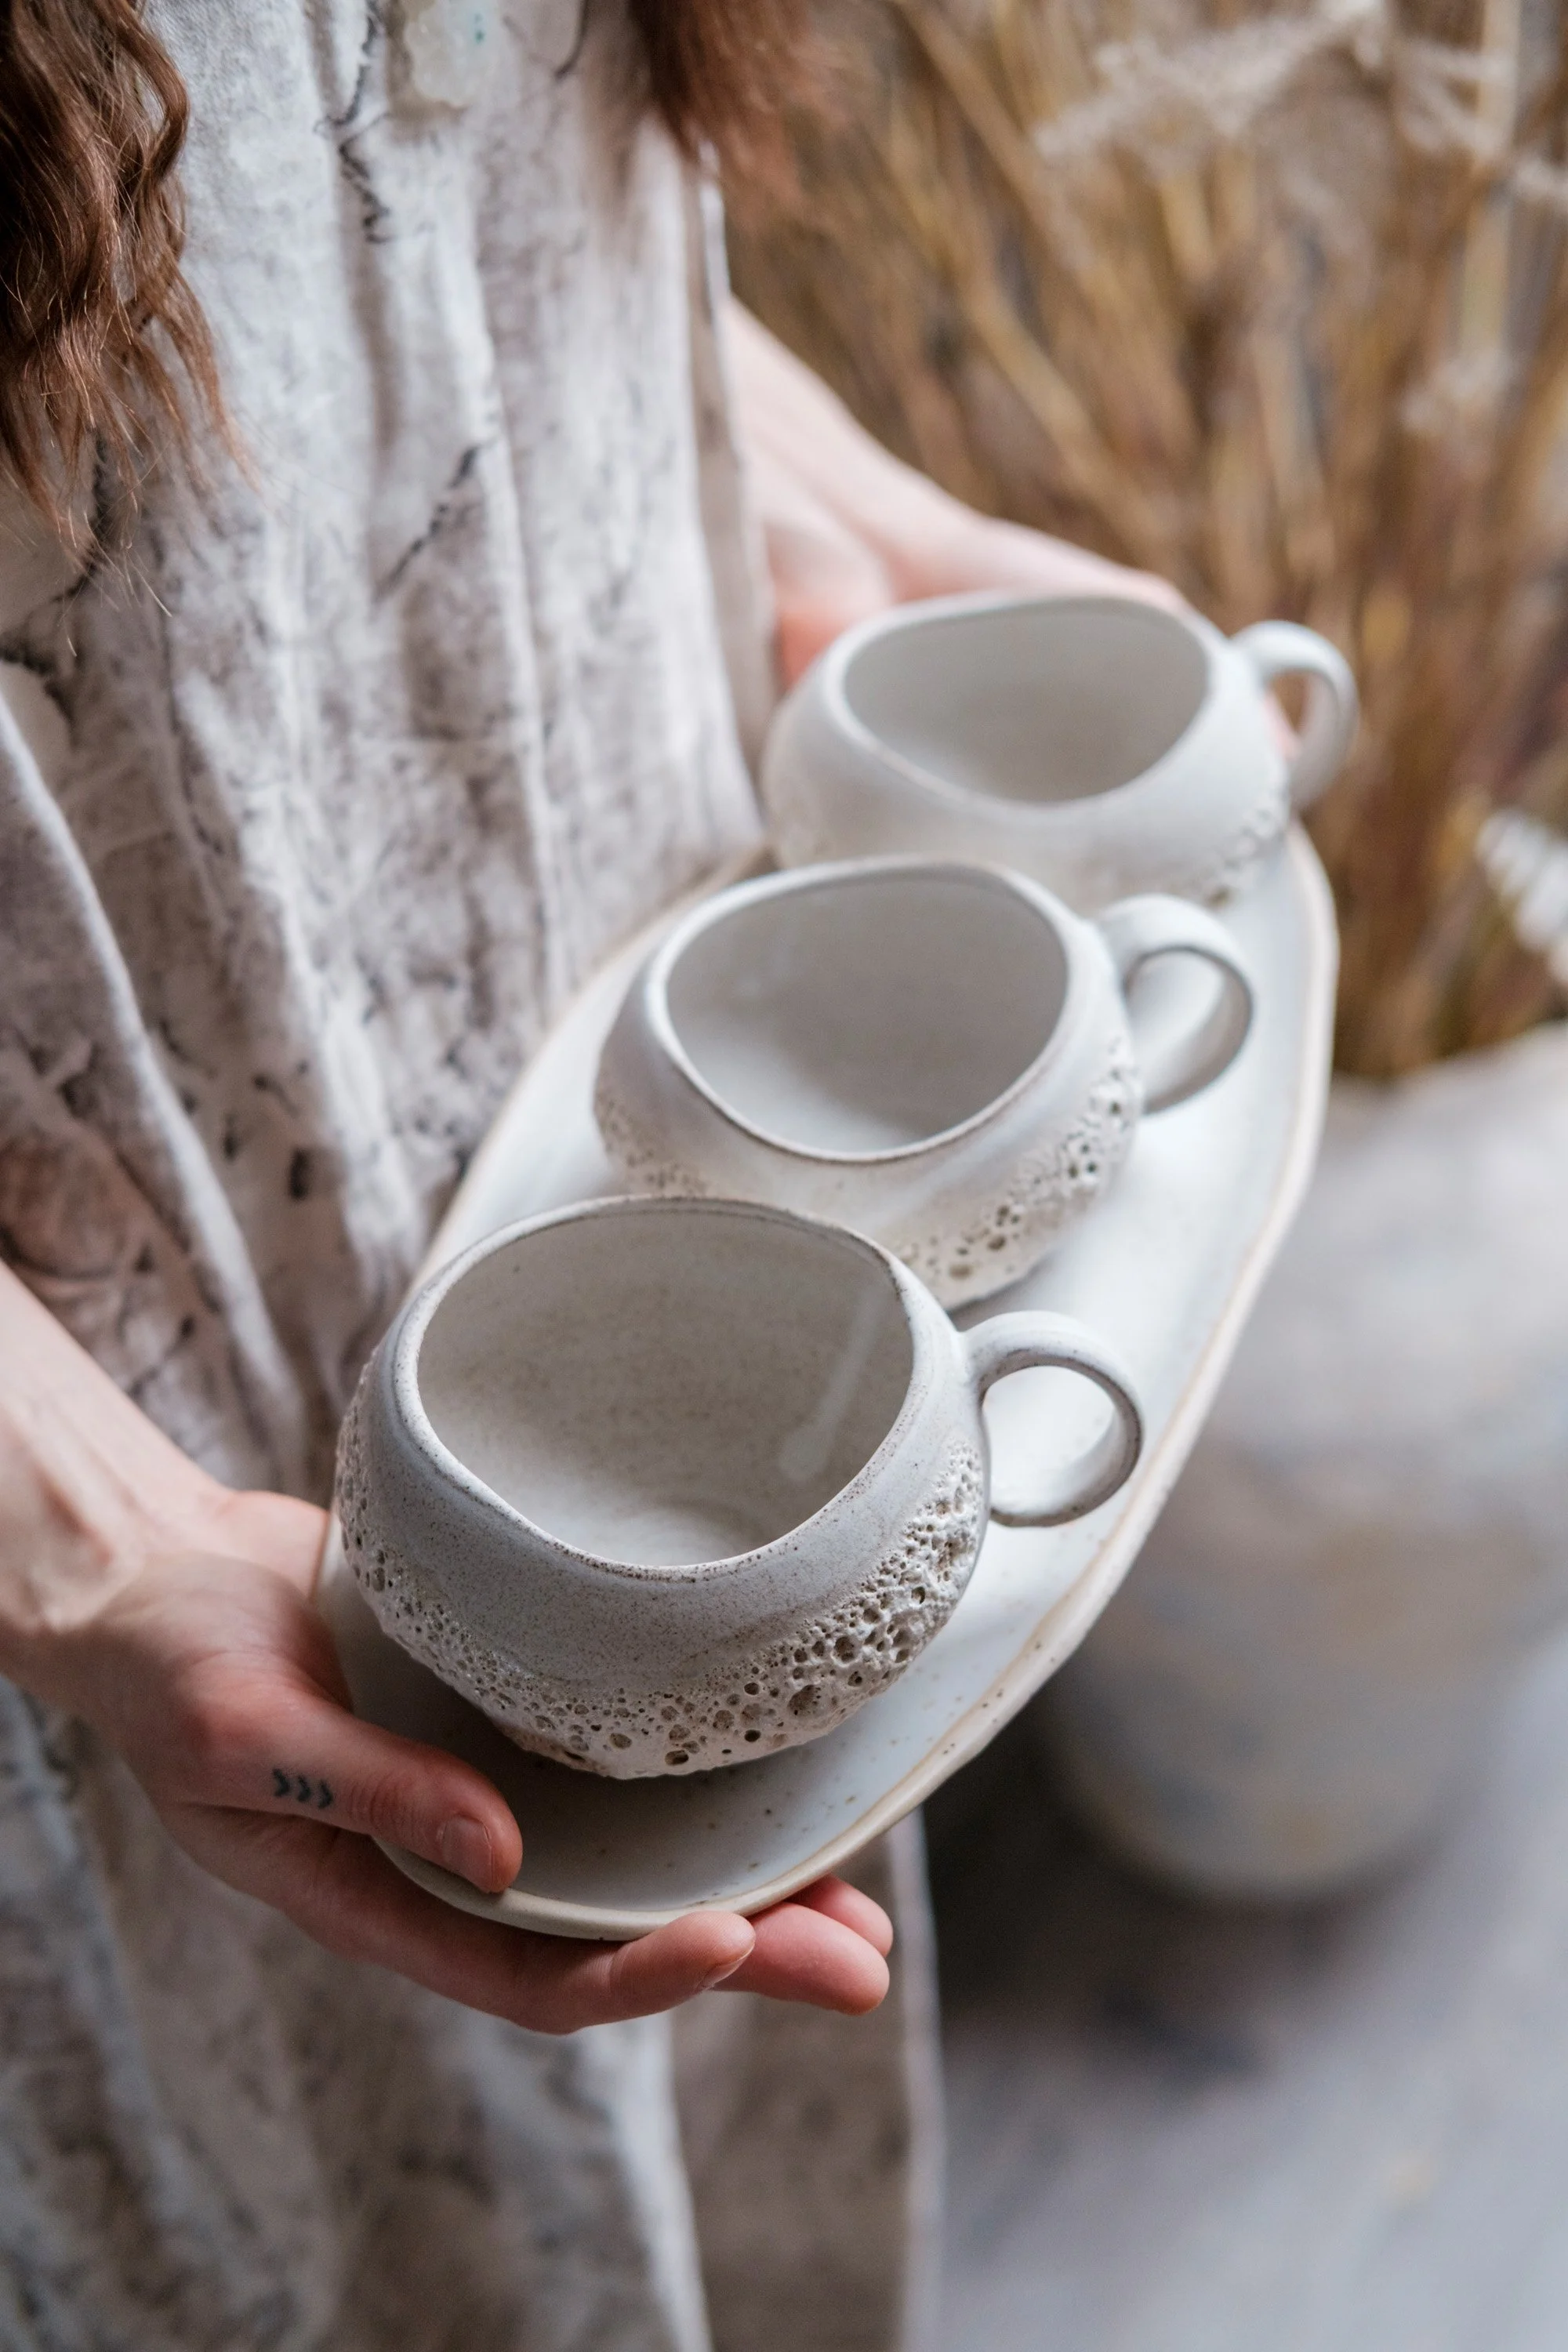
The surfaces you see in the photos — the way the glaze pools, breaks, flows, or develops texture — rely on the glaze reaching at least the lower end of this maturity range.
What Happens at Cone 6?
When fired lower, such as cone 6 (around 1220 °C), the glaze may not fully develop the same effect.
You may observe:
a more matte or drier surface
less movement or pooling
slightly different color development
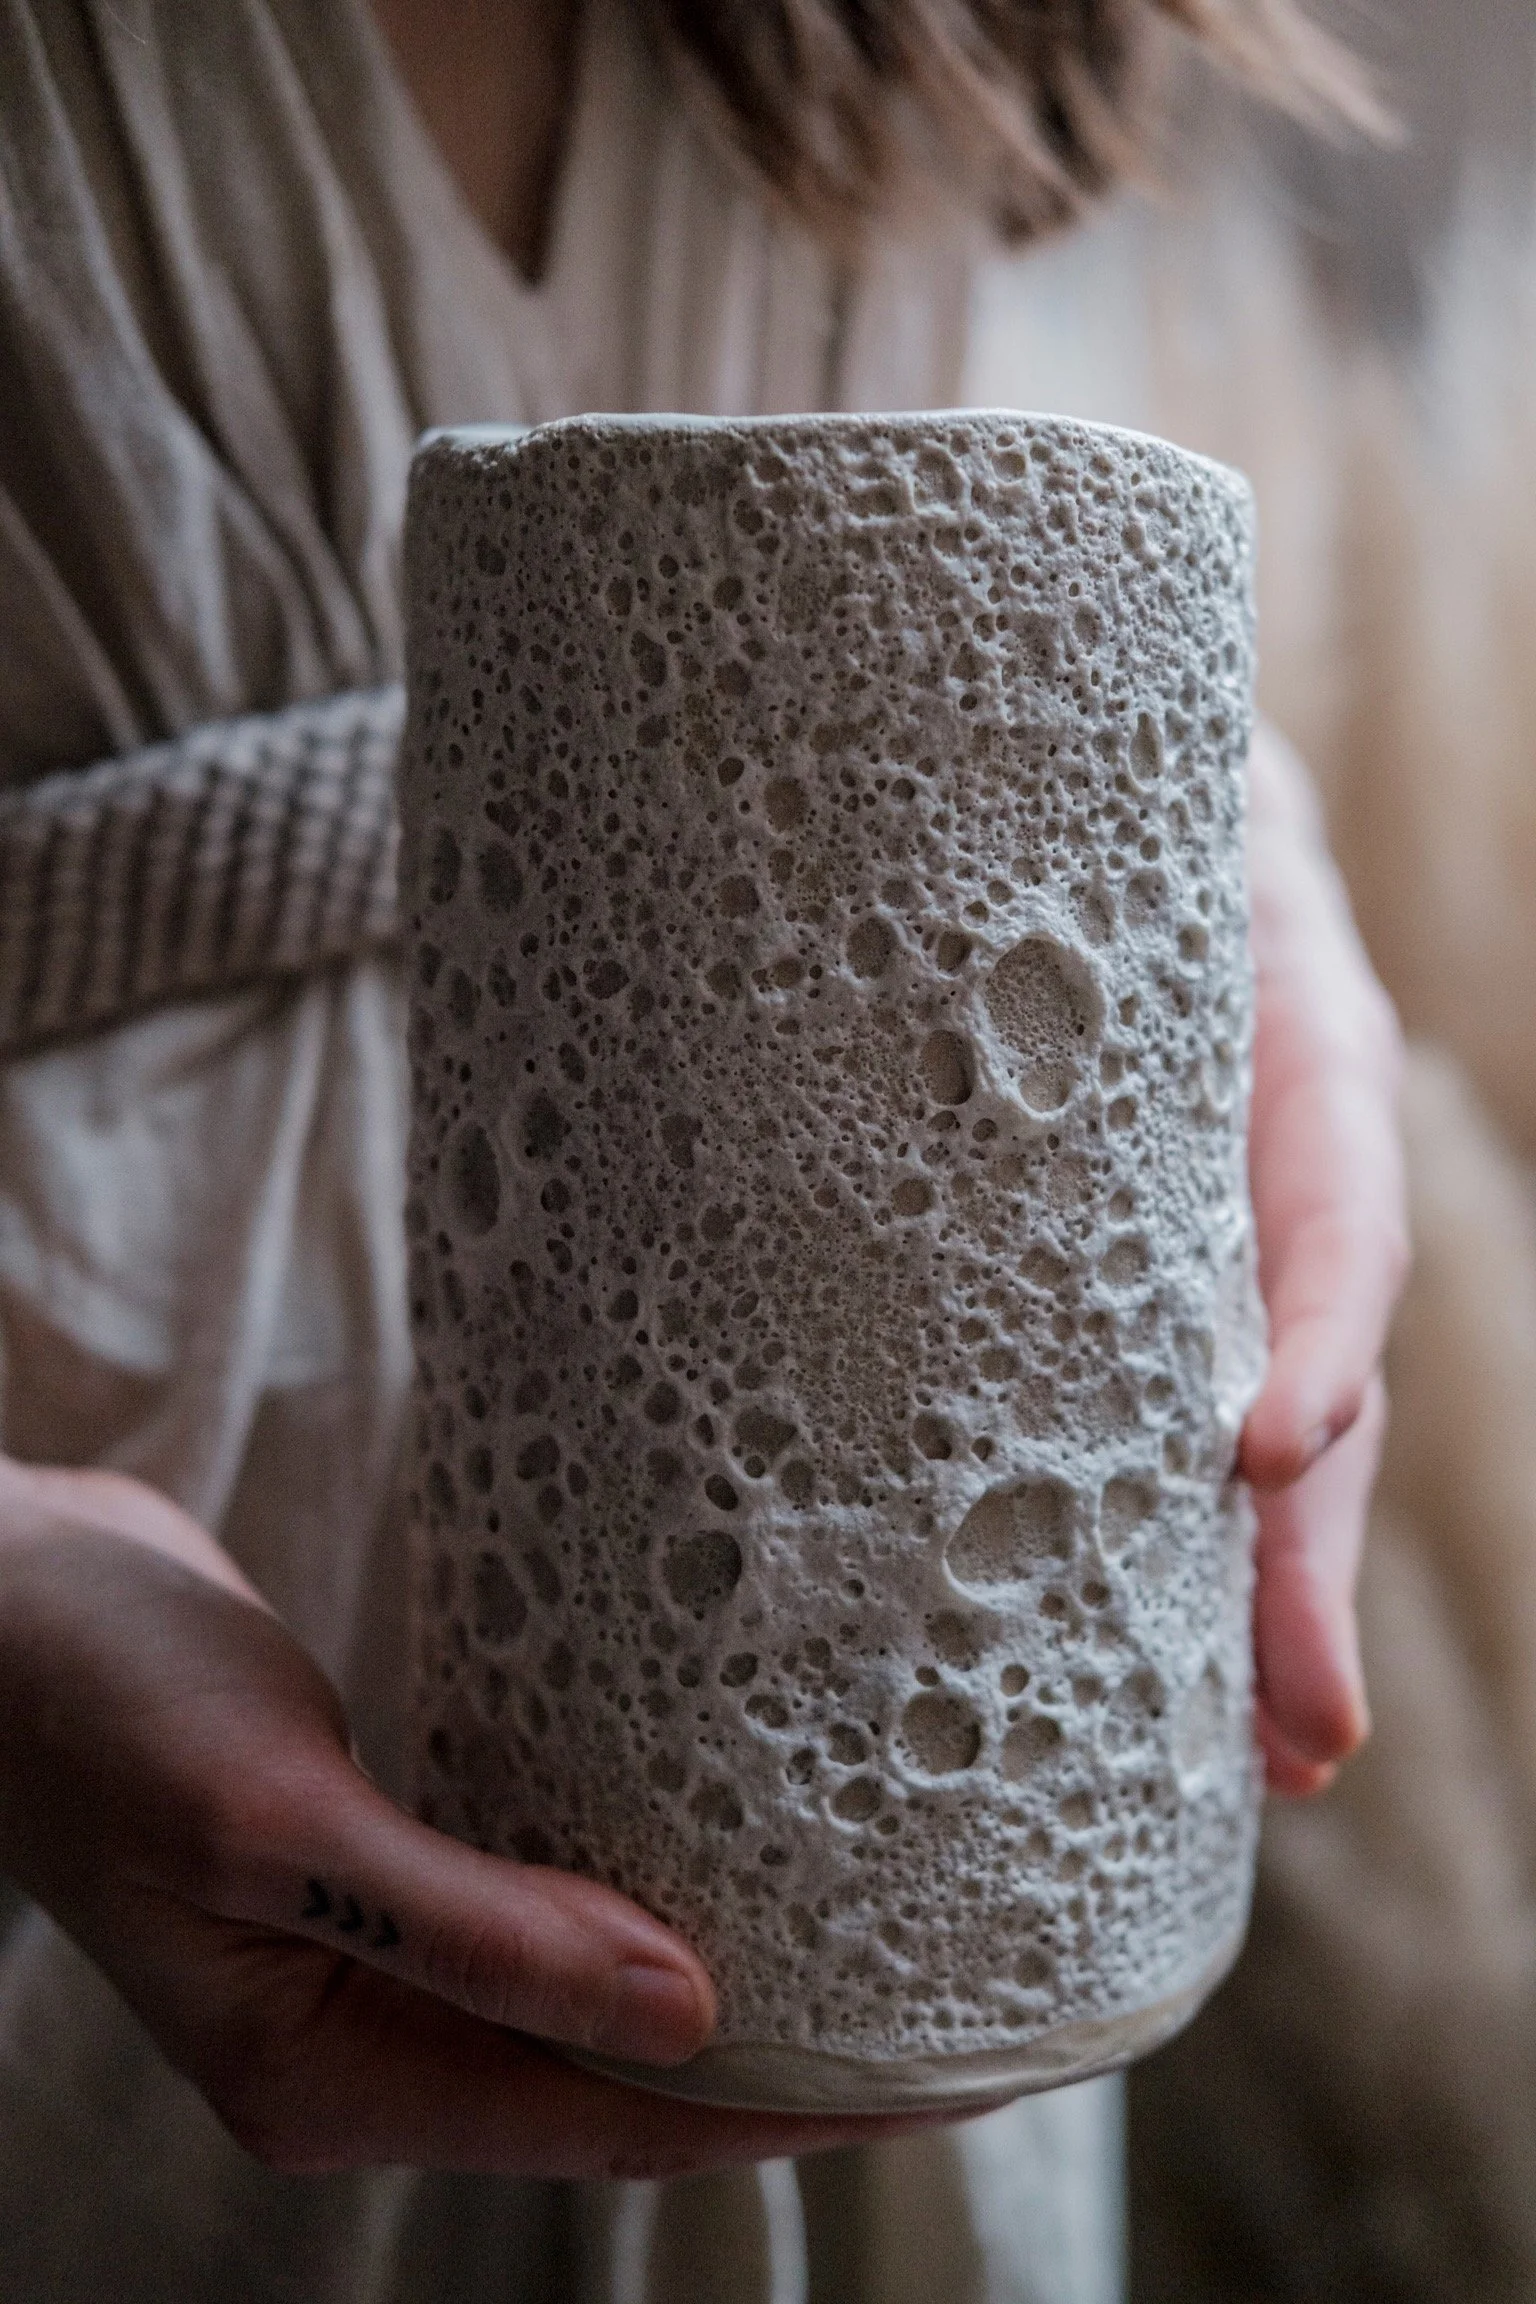
With special-effect glazes — especially lava and crawl glazes — this becomes even more noticeable.
These surfaces rely heavily on heatwork to develop their characteristic texture, so at lower temperatures they may appear more subdued or not fully activated.
Is It Still Possible?
Yes — many potters do experiment with these glazes at cone 6 and sometimes achieve interesting results.
However, because we have not tested them at this temperature, we cannot guarantee:
the final surface
the exact color
or the effects shown in our examples
How to Get Closer Results at Lower Temperatures
If your kiln reaches around 1240 °C, you are already quite close to the intended glaze behavior.
You can also increase heatwork by:
slowing down the firing
adding a soak/hold at peak temperature
This can help the glaze mature more fully, even if the peak temperature is slightly lower.
E-Book vs Online Course — What’s the Difference?
Another common question is:
“Should I choose the e-book or the course?”
To clarify:
The E-Books includes the glaze recipes, along with our firing schedule
The Online Course does not include recipes.
Instead, it focuses on application techniques, demonstrated through video, along with a troubleshooting section covering both application and firing.
The course goes deeper into:
glaze thickness
firing accuracy
kiln mapping
clay body interactions
colourant behaviour
adjusting firing schedules for consistent crater texture
These two resources are designed to complement each other — one gives you the formulas, the other teaches you how to truly work with them.
All courses are self-paced, and deeper technical guidance is available exclusively through these lessons or during our in-person experiences.
If you’re interested in joining us in the studio, you can view upcoming opportunities here:
https://www.laimaceramics.com/opportunities
A Final Note
Working with glazes — especially special-effect surfaces — is a process of testing, observation, and refinement.
This is not fast knowledge, but it is deeply rewarding.
If you’d like to stay connected, you’re very welcome to subscribe to our newsletter. We share monthly updates including:
new glaze recipes
blog posts
course releases
studio work and product launches
“I Didn’t Get the Same Result as in the Photos”
This is another common message we receive.
Glazing is not a fixed formula — it is a process.
Even when using the exact same recipe, small variations can lead to very different results.
A helpful way to think about it is like baking a cake:
you can follow the same ingredients, but small differences in method will change the outcome.
What Affects the Final Result?
With glazes — especially special-effect surfaces — the following factors all play a role:
glaze thickness
application method (dipping, brushing, spraying, layering)
firing temperature
firing curve (speed, holds, cooling)
kiln position (top, middle, bottom shelf)
clay body
Each of these variables can significantly influence:
surface texture
colour
movement and pooling
What We Provide — and What Remains Yours
We provide:
the glaze powders and recipes
tested firing ranges
application guidance and in-depth learning through our online courses, where we show exactly how we work with these glazes
However, ceramics always requires personal testing and refinement.
Developing your own results means:
adjusting to your kiln
your clay
your application methods
This is not a flaw in the process — it is the nature of ceramics.
A Gentle Note
Because of the many variables involved, we’re not able to offer individual glaze troubleshooting via email.
Instead, we’ve created:
detailed blog articles
structured online courses
and in-person learning opportunities
These resources will give you far more clarity and control than isolated answers ever could.
Once you begin tracking your variables and testing with intention,
you move from guessing → to understanding → to control.
And that is where glazing becomes truly rewarding.
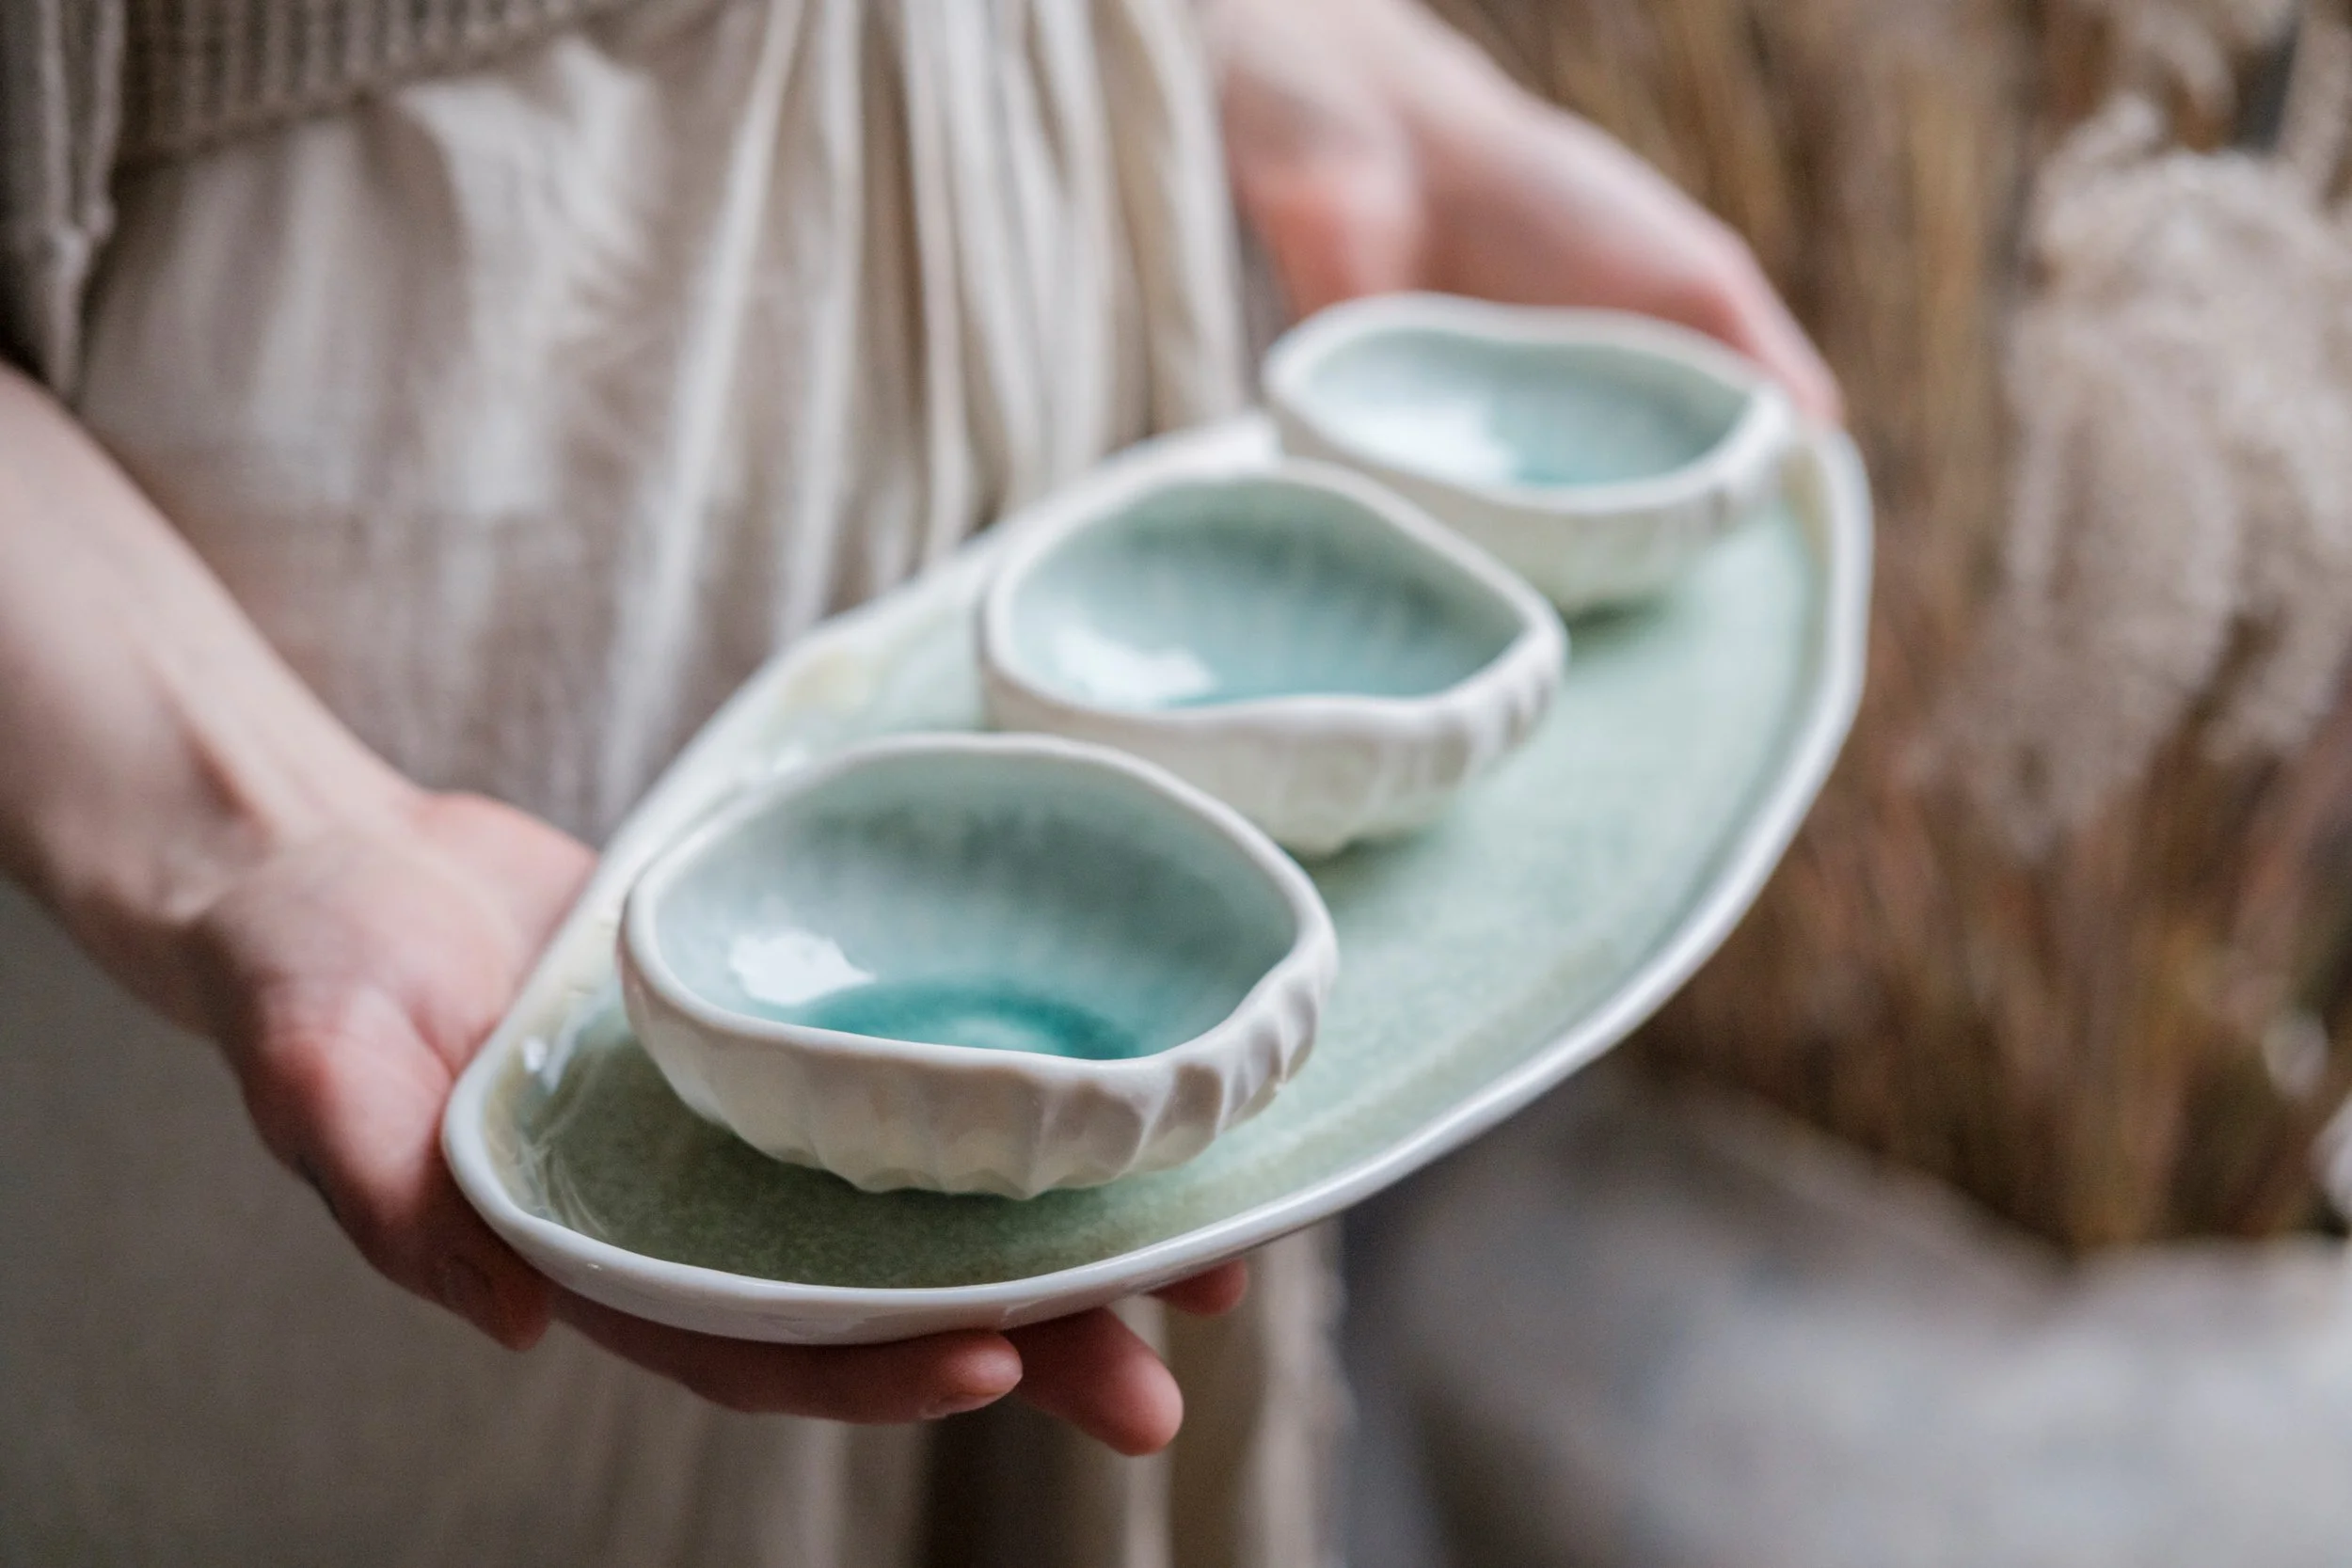
These glazes are suitable for stoneware and porcelain bodies fired in oxidation, and as always, the final result will depend on:
clay body
glaze thickness
firing curve
Glaze recipes available for digital download here.
If you’d like to better understand food safety in relation to special-effect glazes, you’re very welcome to explore this article:
It covers topics such as lead and cadmium testing, surface stability, and how food safety is evaluated.
Wishing you a beautiful and rewarding studio journey,
- Laima 🤍